Chocolate Thumbprint Cookies

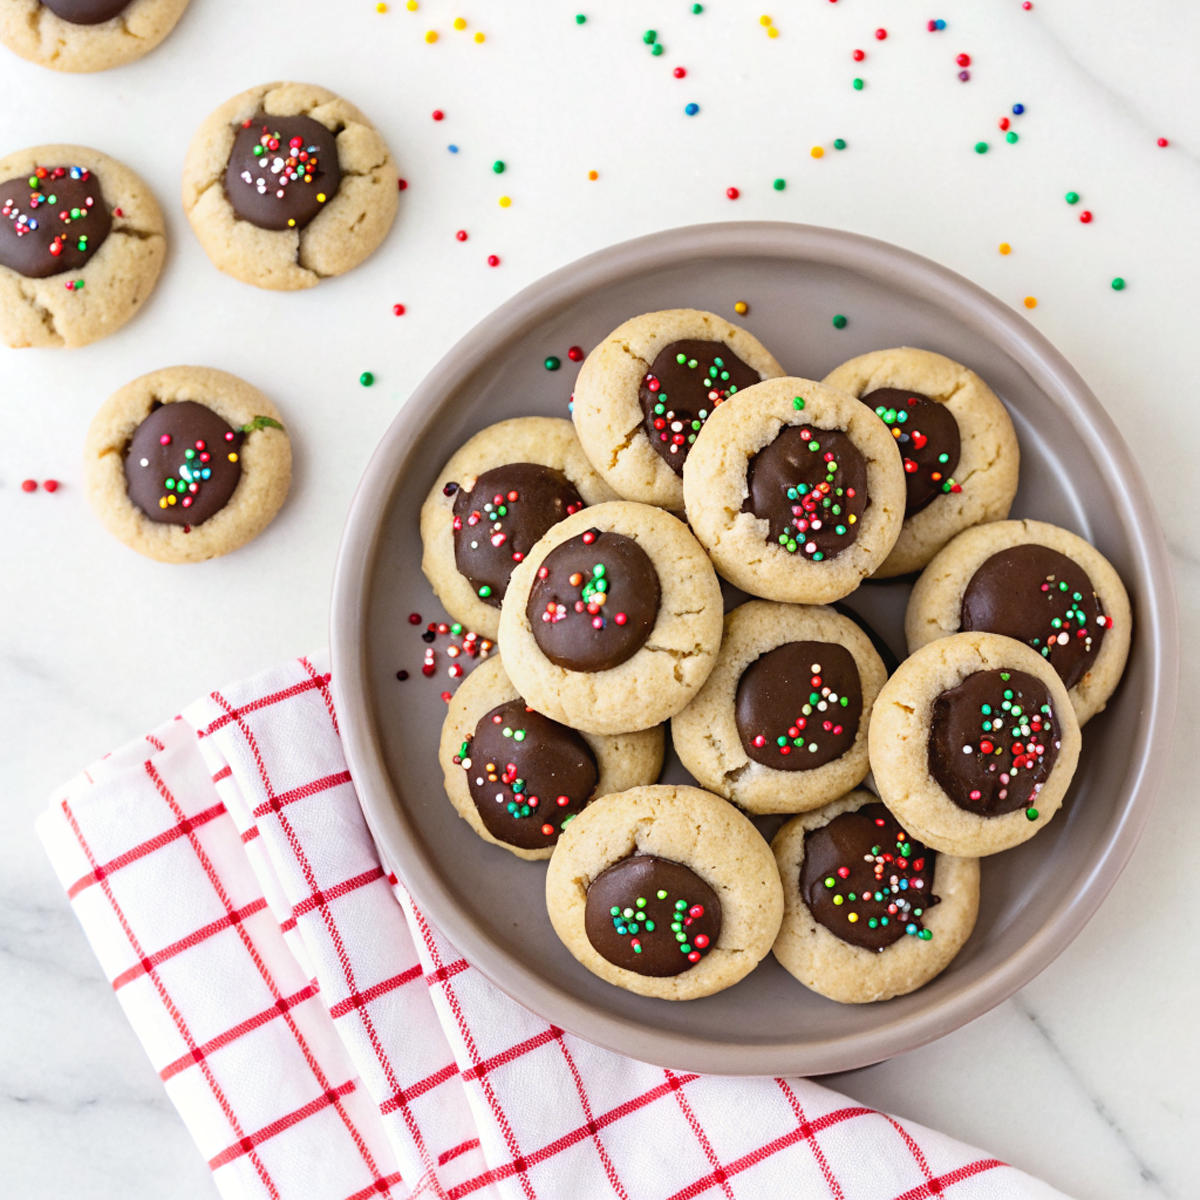
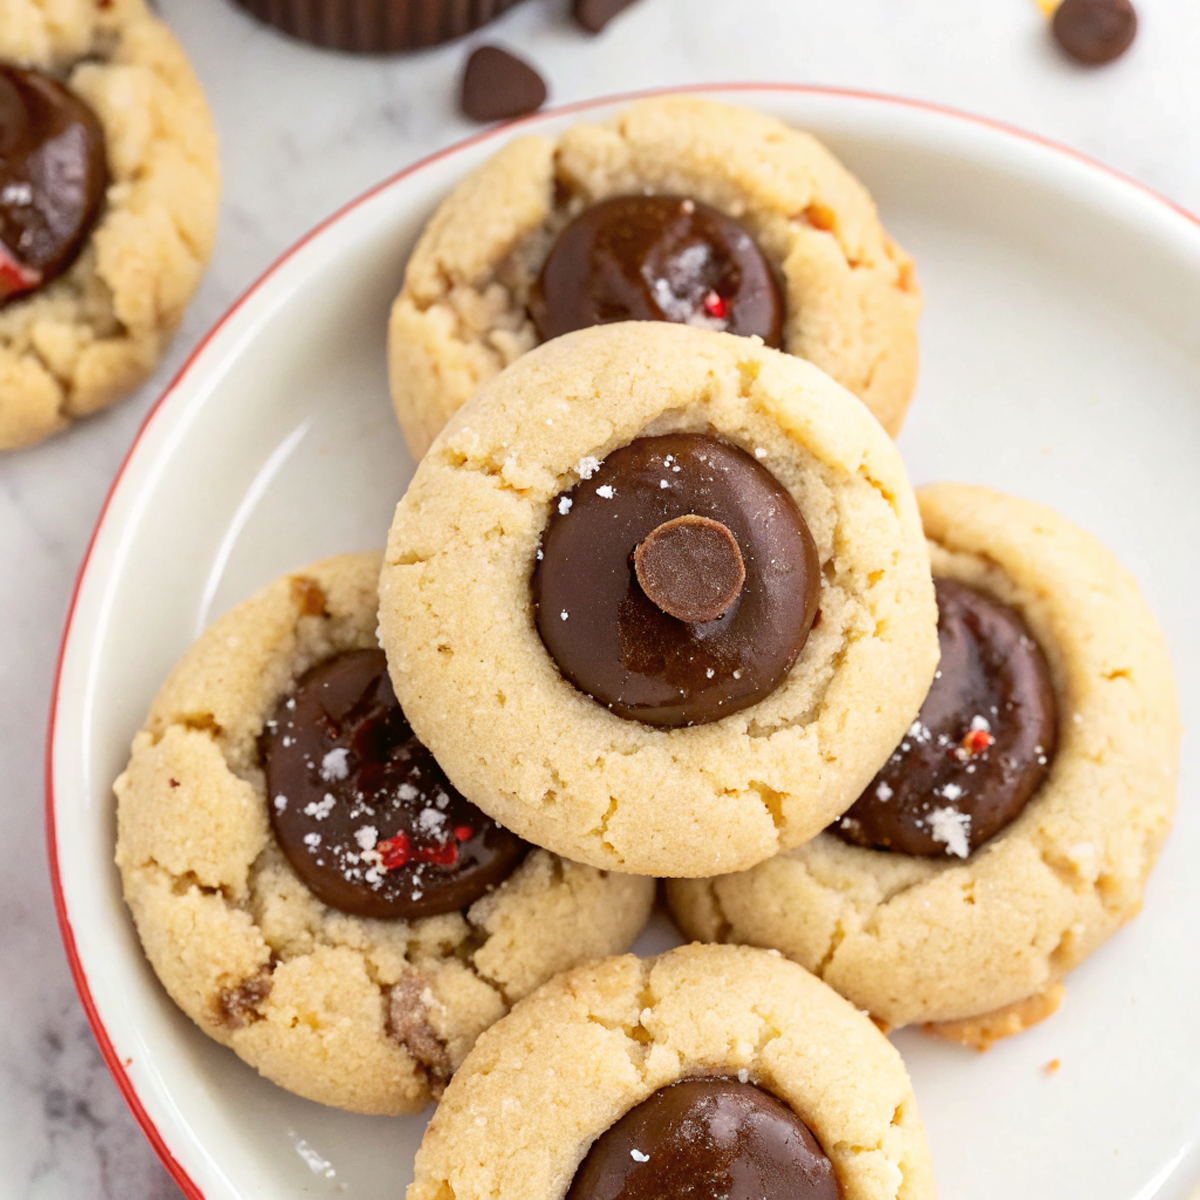
Chocolate thumbprint cookies are tender, cocoa-scented shortbread rounds with a jammy or chocolate center — crisp at the edges and soft in the middle. They deliver deep chocolate flavor without being heavy, and the little wells of filling make them pretty and easy to portion.
These are a straightforward, make-ahead cookie: the dough comes together quickly, benefits from a short chill, and you can customize the filling. They’re forgiving for beginner bakers and work well for cookies boxes or a casual tea.
Why This Chocolate Thumbprint Cookies Works
1. Cocoa in the dough gives a rich chocolate backbone that pairs nicely with bright jam or a sweeter ganache.
2. Shortbread-style texture (butter-forward) keeps the cookie tender while the edges crisp slightly.
3. Pressing a well after baking creates a neat cavity that holds filling without overflowing.
4. Dough chills and freezes well, making this an easy make-ahead cookie.
Ingredients




A short list of pantry staples — each one matters for texture and flavor.
MORE OF OUR FAVORITE…
– Unsalted butter: Creamed for structure and flavor; use room temperature butter so it creams evenly.
– Granulated sugar: Sweetens and helps cookies spread slightly; superfine is good if you have it.
– Egg yolk: Adds richness and tenderness; using a whole egg will make the dough a touch cakier.
– All-purpose flour: The base of the dough; spoon-and-level for accuracy.
– Cocoa powder: Use Dutch-processed for a mellow chocolate or natural for brighter cocoa notes; sift to avoid lumps.
– Vanilla extract: Balances the chocolate and brightens flavor.
– Jam or preserves: Raspberry, apricot, or blackberry work well — thicker preserves hold up better in the well.
Substitutions and Variations
– Swap jam for chocolate ganache: richer, smoother center — add ganache after cookies cool so it sets.
– Use brown sugar (part or all) for a deeper, slightly chewy bite; cookies will be a touch softer.
– Replace some flour with almond flour for a nuttier flavor and a more delicate crumb.
– Use a teaspoon of instant espresso powder to deepen the chocolate flavor without tasting coffee.
– Make them citrusy: stir a little orange zest into the dough and use apricot jam for a bright finish.
How to Make Chocolate Thumbprint Cookies
This is a summary — the full recipe card has exact amounts and detailed bake times.
1. Cream room-temperature butter and sugar until light, then mix in the egg yolk and vanilla.
2. Whisk together flour, cocoa, and salt; fold into the butter mixture until just combined into a soft dough.
3. Chill the dough for 30–60 minutes so it’s easier to handle and less likely to spread.
4. Roll into uniform balls (about 1 tablespoon each for small cookies, larger if you prefer). Place on a lined baking sheet.
5. Bake until the cookies are set and edges are slightly firm (watch closely so they don’t darken). Immediately press the center with the back of a teaspoon or your thumb to form a well.
6. Fill wells with a small spoonful of warm jam (or wait for cookies to cool and fill with ganache). Let cool completely so the filling sets.

Tips for the Best Results
1. Chill the dough — it reduces spreading and makes it easier to form neat balls.
2. Keep cookie sizes consistent so baking is even; use a small cookie scoop.
3. Press wells right after baking while the cookie is still warm for a clean indentation.
4. Use thick preserves or warm thin jam slightly to make it spoonable — runny jam will spread.
5. Don’t overbake; pull when set and slightly soft in the center to keep them tender.

Common Mistakes
– Dough too warm and buttery -> cookies spread. Fix: chill the dough until firm.
– Pressing an indentation before baking -> hole may collapse. Fix: press gently right after baking.
– Overfilling with jam -> spills and soggy bottoms. Fix: use a small spoonful and thicker preserves.
– Overbaking -> dry, crumbly cookies. Fix: remove when centers are just set and edges are firm.
– Using very liquid jam -> filling won’t hold shape. Fix: reduce jam on stove to thicken or choose preserves.
Storage
Storing: Keep baked cookies in an airtight container at room temperature for up to 4 days; separate layers with parchment so fillings don’t stick.
Freezing: You can freeze unbaked dough balls (flash freeze on a tray, then bag) for up to 3 months; bake from frozen adding a couple of minutes. Baked cookies also freeze well — layer between parchment in a sealed container.
Reheating or serving later: Let frozen cookies thaw at room temperature. Warm briefly in a 300°F / 150°C oven for 3–5 minutes to refresh crisp edges.
How to Serve Chocolate Thumbprint Cookies
– On a cookie platter with tea or coffee for an afternoon treat.
– Decorate the jam wells with a fresh berry for a pretty holiday tray.
– Package in small boxes for gifts — they travel well at room temperature.
– Serve a couple alongside vanilla ice cream for a simple dessert.
More Helpful Notes
– Sifting cocoa into the dry mix avoids streaks and ensures even color.
– If jam is very thick, warm it slightly so it’s easier to spoon without tearing the cookie.
– For a glossy jam finish, brush a very light glaze of warmed jam over the top once set.
– Use parchment or a silicone mat to prevent sticking and for easy cleanup.
Frequently Asked Questions
Chocolate Thumbprint Cookies
Ingredients
Cookie Dough
- 1/2 cup unsalted butter, at room temperature (113 g)
- 1/2 cup granulated sugar (100 g)
- 1 large egg yolk
- 1 teaspoon pure vanilla extract
- 1 2/3 cups all-purpose flour (210 g)
- 1/4 teaspoon fine sea salt
- 2 teaspoons milk
Chocolate Filling & Finish
- 3 ounces dark chocolate, finely chopped
- 1/4 cup heavy cream (60 ml)
- 1/8 teaspoon instant espresso powder (optional)
- flaky sea salt, for sprinkling (optional)
Instructions
Preparation Steps
- In a medium bowl, whisk the flour and fine sea salt to combine; set aside.
- In a mixing bowl, beat the butter and sugar with a hand mixer or stand mixer on medium-high until very light and fluffy, 2 to 3 minutes. Beat in the egg yolk and vanilla until smooth, scraping the bowl once.
- Add the dry mixture in two additions on low speed, mixing just until mostly incorporated. Drizzle in the milk and mix only until the dough clumps together and no dry spots remain.
- Flatten the dough into a 1-inch-thick slab, wrap, and chill for 15 minutes. While it chills, heat the oven to 340°F (170°C) and line 2 baking sheets with parchment.
- Scoop 1-tablespoon portions of dough (about 20), roll into smooth balls, and arrange 2 inches apart on the sheets.
- To make the wells, dust a 1/2-teaspoon measuring spoon lightly with flour and press into the center of each ball, giving a small twist to form a neat cavity without cracking the edges.
- Bake one sheet at a time for 12 to 14 minutes, rotating the pan halfway through, until the edges are set and just turning pale golden. Immediately re-press the centers with the measuring spoon to deepen the wells. Cool 5 minutes on the pan, then move cookies to a rack to cool completely.
- For the filling, place the chopped chocolate in a heatproof bowl. Warm the cream in a small saucepan over medium heat until steaming with tiny bubbles at the edges (do not boil). Pour over the chocolate, add espresso powder if using, let sit 1 minute, then stir gently from the center outward until glossy and smooth.
- Transfer ganache to a small piping bag or zip-top bag (snip a tiny corner) and fill the cooled cookies. Let stand at room temperature until set, 30 to 45 minutes. Sprinkle with flaky sea salt before the ganache fully sets, if desired.
Notes
Featured Comments
“This morning favorite recipe was family favorite — the festive really stands out. Thanks!”
“Impressed! Clear steps and will make again results. Perfect for busy nights.”
“Super easy and will make again! My family asked for seconds. Saving this one.”
“Made this last night and it was will make again. Loved how the crusty came together.”
“This creamy recipe was family favorite — the party favorite really stands out. Thanks!”
“This hearty recipe was so flavorful — the comforting really stands out. Thanks!”
“Made this last night and it was will make again. Loved how the juicy patty came together.”
“New favorite here — absolutely loved. allergen-friendly was spot on.”
“This healthy swap recipe was family favorite — the crusty really stands out. Thanks!”
“Impressed! Clear steps and family favorite results. Perfect for busy nights.”