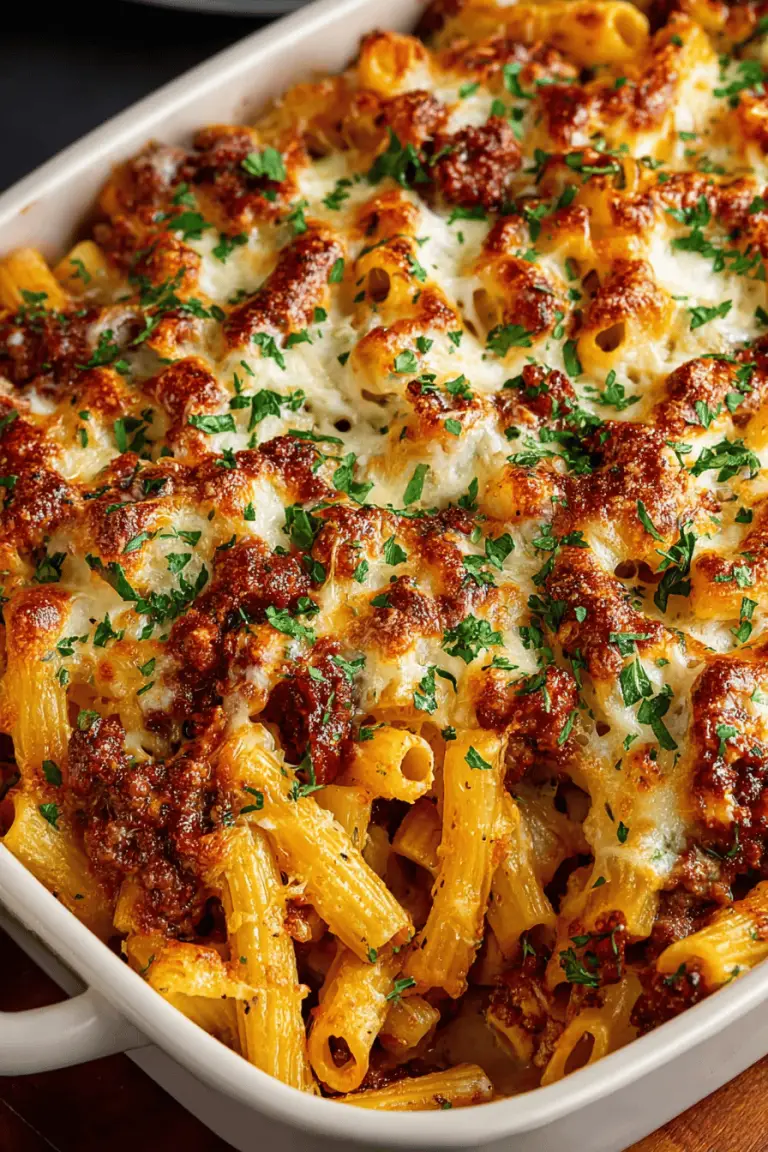
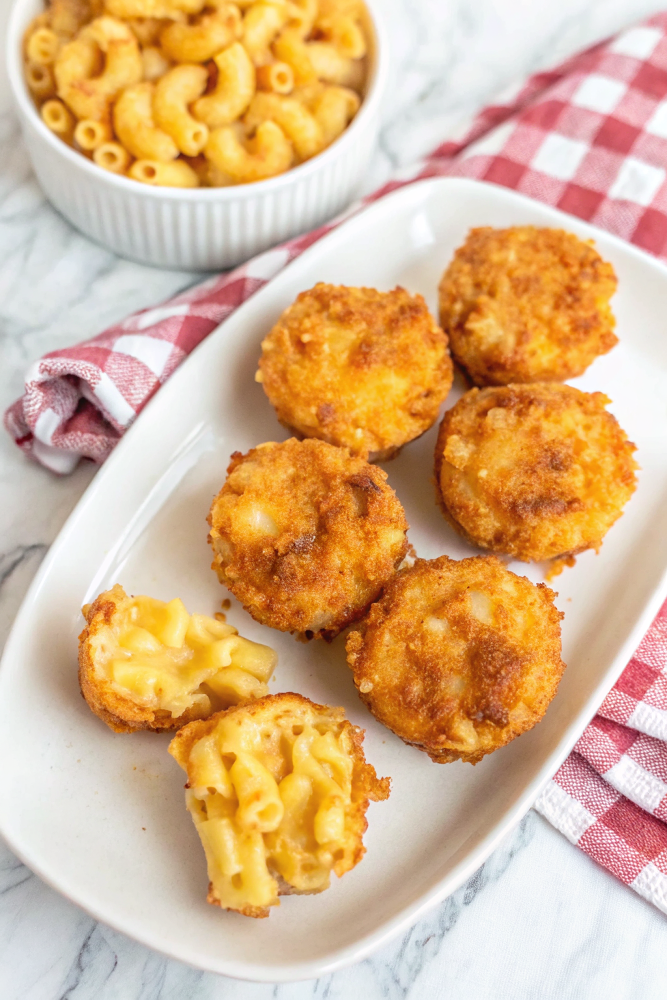
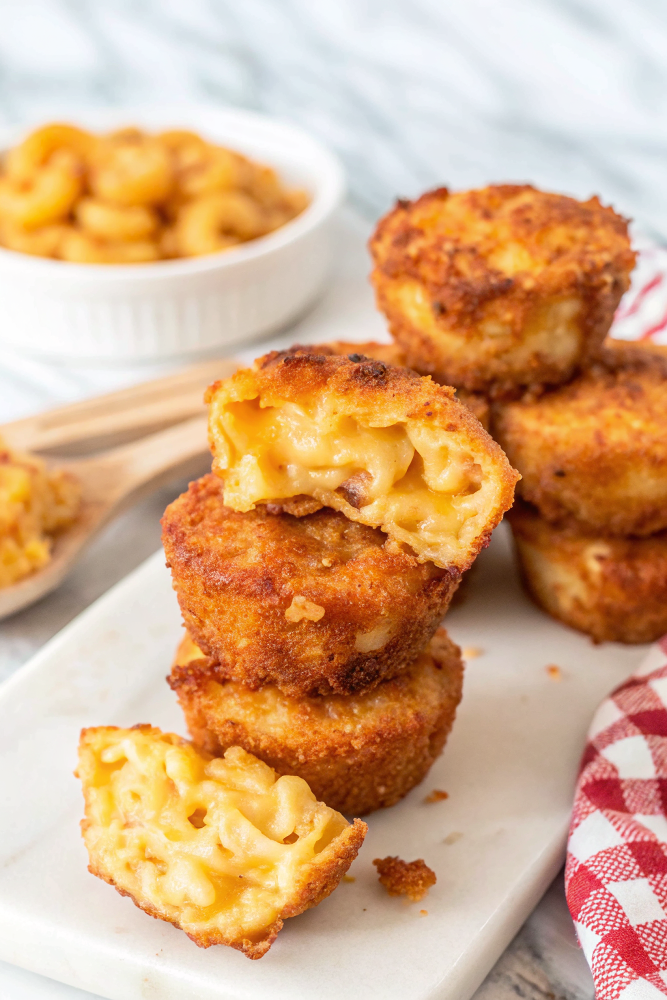
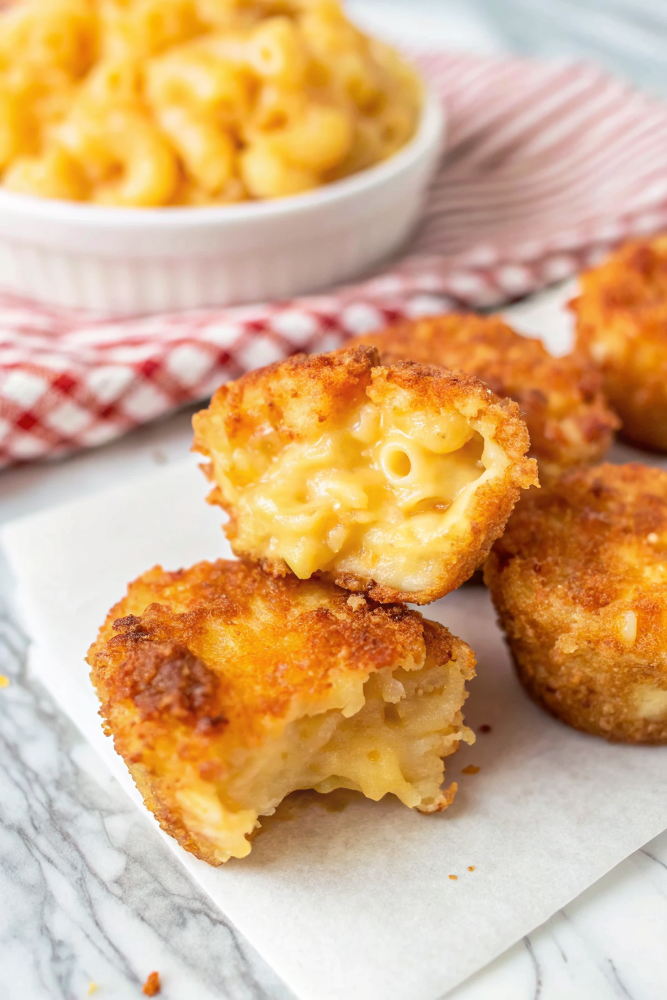
Baked Mac and Cheese Bites
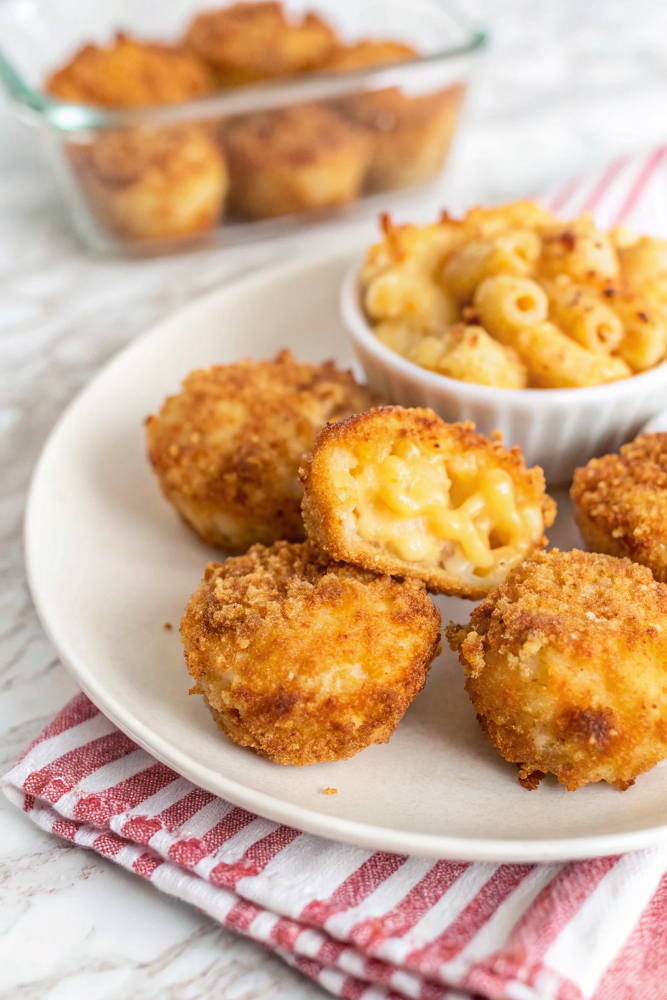
I made these baked mac and cheese bites on a weeknight when everything in the house felt sticky and tired, and they fixed the mood. Crisp outside, gooey inside, little golden pockets of pure comfort — perfect for dips, parties, or the kind of dinner where you eat three and call it a salad.
My husband is embarrassingly enthusiastic about them. He’ll hover over the oven like it’s a slow-cooking ceremony, then announce “these are better than regular mac” and mean it. The kids eat them with ketchup, which I judge silently while secretly loving the way they demolish a plate. This recipe is the sort of thing we reach for when we want easy, crowd-pleasing, and slightly ridiculous comfort food that still makes me feel like I did something real in the kitchen.
Why You’ll Love This Baked Mac and Cheese Bites
– Handheld mac and cheese — all the melty goodness without the awkward fork-wrestling.
– Crunchy breadcrumb exterior meets oozy cheese core; texture contrast = pure happiness.
– Easily made ahead, frozen, reheated — instant party food or weeknight win.
– Kid-friendly, grown-up-enjoyable (add hot sauce or bacon if you’re feeling spicy).
Kitchen Talk


These started as a “what-if” experiment after I had leftover mac and cheese and too many muffin tins. I tried freezing one batch and then broiling to re-crisp the crumbs — game changer. Also: don’t be precious about the cheese. I’ve thrown in whatever’s hanging around — cheddar, a smidge of gruyère, even a little cream cheese once (very indulgent). One time I forgot to chill the formed bites and they kind of sagged in the oven; lesson learned: chill, then bake. The first batch might be ugly; the second will be the ones you Instagram.
MORE OF OUR FAVORITE…
Shopping Tips
– Grains/Pasta: Use elbow macaroni or small shells so each bite holds together — slightly undercook the pasta for best texture.
– Cheese: Pick a mix of melters (cheddar, fontina, gruyère). Freshly grated cheese melts better than pre-shredded, which often has anti-caking agents.
– Dairy: If you want ultra-creamy centers, a splash of cream or half-and-half beats plain milk — but milk works fine if you’re watching costs.
– Eggs: Eggs help bind the mixture so the bites hold their shape; room temperature eggs mix in more smoothly.
– Crunch Extras: Panko gives the crispiest topping; toss with a little melted butter for extra golden color.
Prep Ahead Ideas
– Make the mac and cheese base a day or two ahead and keep it chilled in an airtight container. Cold mixture is easier to scoop and form.
– Form the bites and place them on a parchment-lined tray, freeze solid, then transfer to a zipper bag for longer storage.
– Keep a shallow container of beaten egg and a plate of breadcrumbs ready if you plan to bread at the last minute; this halves the chaos when guests arrive.
– Label containers with date and bake directions so tired-you doesn’t have to puzzle it out later.
Time-Saving Tricks
– Use store-bought mac and cheese in a pinch — jazz it up with extra cheese and bake for better texture.
– Bake the bites from frozen: add a few extra minutes and they crisp up nicely without defrosting.
– Make a double batch and freeze half; reheating in a hot oven or air fryer brings back the crisp fast.
– Use a mini muffin tin or silicone molds to speed up portioning and get uniform bites.
Common Mistakes
– Overcooking pasta: cook al dente so it doesn’t turn mushy after baking. I learned this the hard way when everything collapsed into a sad casserole.
– Skipping the chill: if you don’t chill the formed bites, they can fall apart or spread while baking. Pop them in the fridge for 20–30 minutes.
– Too little binder: not enough egg or cheese = crumbly bites. Quick fix: stir in a tablespoon of flour or an extra beaten egg.
– Soggy topping: adding oil to panko or par-baking briefly helps create that irresistible crunch.
What to Serve It With
– A big peppery arugula salad with lemon vinaigrette to cut through the richness.
– Quick roasted broccoli or green beans — toss with garlic and lemon.
– Soft pretzels or garlic knots for the carb-obsessed crowd.
– Pickles or a crisp slaw for a tangy contrast.
Tips & Mistakes
– Use medium-high heat to re-crisp; low oven temps make them soggy.
– Salt early but taste later — cheeses vary wildly in saltiness.
– If bites lose shape in the oven, press them gently back together with a spatula while hot.
– Don’t crowd the pan; even airflow = better crunch.
Storage Tips
Store leftovers in an airtight container in the fridge for up to 3–4 days. Reheat in a hot oven or air fryer to bring back crispiness — microwave will make them soft and sad, but it’s fine if you’re in a hurry. Cold ones are totally snackable on the go (I’ve eaten them straight from the fridge for breakfast and felt no shame).
Variations and Substitutions
– Add-ins: cooked bacon, chopped jalapeños, or sun-dried tomatoes are all welcome. Keep the add-ins small so bites hold their shape.
– Cheese swaps: pepper jack or smoked gouda changes the vibe entirely—go bold if you like.
– Gluten-free: use GF pasta and GF breadcrumbs; binding may need a little extra egg.
– Vegan-ish: try a cashew-based cheese sauce and a flax egg binder, but expect a different texture — still delicious in its own way.
Frequently Asked Questions
Baked Mac and Cheese Bites
Ingredients
For the bites
- 1 3/4 cups panko breadcrumbs
- 3/4 tsp kosher salt
- 1/4 tsp freshly ground black pepper
- 1/4 tsp smoked paprika
- 3 1/2 cups cold mac and cheese
- 3/4 cup all-purpose flour
- 3 large eggs, beaten
Instructions
Preparation Steps
- Warm a large dry skillet over medium heat. Add the panko and cook, stirring often, until deeply golden and crisp, 4–6 minutes. Transfer to a shallow bowl to cool, then stir in the salt, black pepper, and smoked paprika.
- Heat the oven to 425°F (220°C). Lightly grease a mini muffin tin (you may need to bake in two batches or use two tins).
- Portion the cold mac and cheese with a 1-tablespoon scoop (#60) and roll into compact balls with your hands. You should have about 30 bites. Arrange them on a plate or small tray.
- Cover and refrigerate the balls for 20–30 minutes to firm up for cleaner breading.
- Set up a 3-bowl breading station: flour in one shallow dish, beaten eggs in a second, and the seasoned panko in a third.
- Bread each chilled ball: coat in flour and tap off excess, dip in egg, then roll in the seasoned panko, pressing gently so the crumbs adhere. For an extra-crisp shell, dip back into egg and crumbs a second time. Nestle each coated bite into a cup of the mini muffin tin.
- Bake until the tops are richly browned and the centers are hot, 15–18 minutes, rotating the pan halfway. Let the bites stand 3 minutes, then loosen with a small spatula and serve warm.
Notes
Featured Comments
“Made this last night and it was family favorite. Loved how the smoky came together.”
“Impressed! Clear steps and family favorite results. Perfect for busy nights.”
“Impressed! Clear steps and absolutely loved results. Perfect for busy nights.”
“This fresh catch recipe was absolutely loved — the festive really stands out. Thanks!”
“Made this last night and it was absolutely loved. Loved how the speedy came together.”
“This weeknight saver recipe was turned out amazing — the indulgent really stands out. Thanks!”
“Super easy and will make again! My family asked for seconds. Saving this one.”
“Made this last night and it was turned out amazing. Loved how the nourishing came together.”
“Super easy and will make again! My family asked for seconds. Saving this one.”
“This festive recipe was turned out amazing — the handheld really stands out. Thanks!”