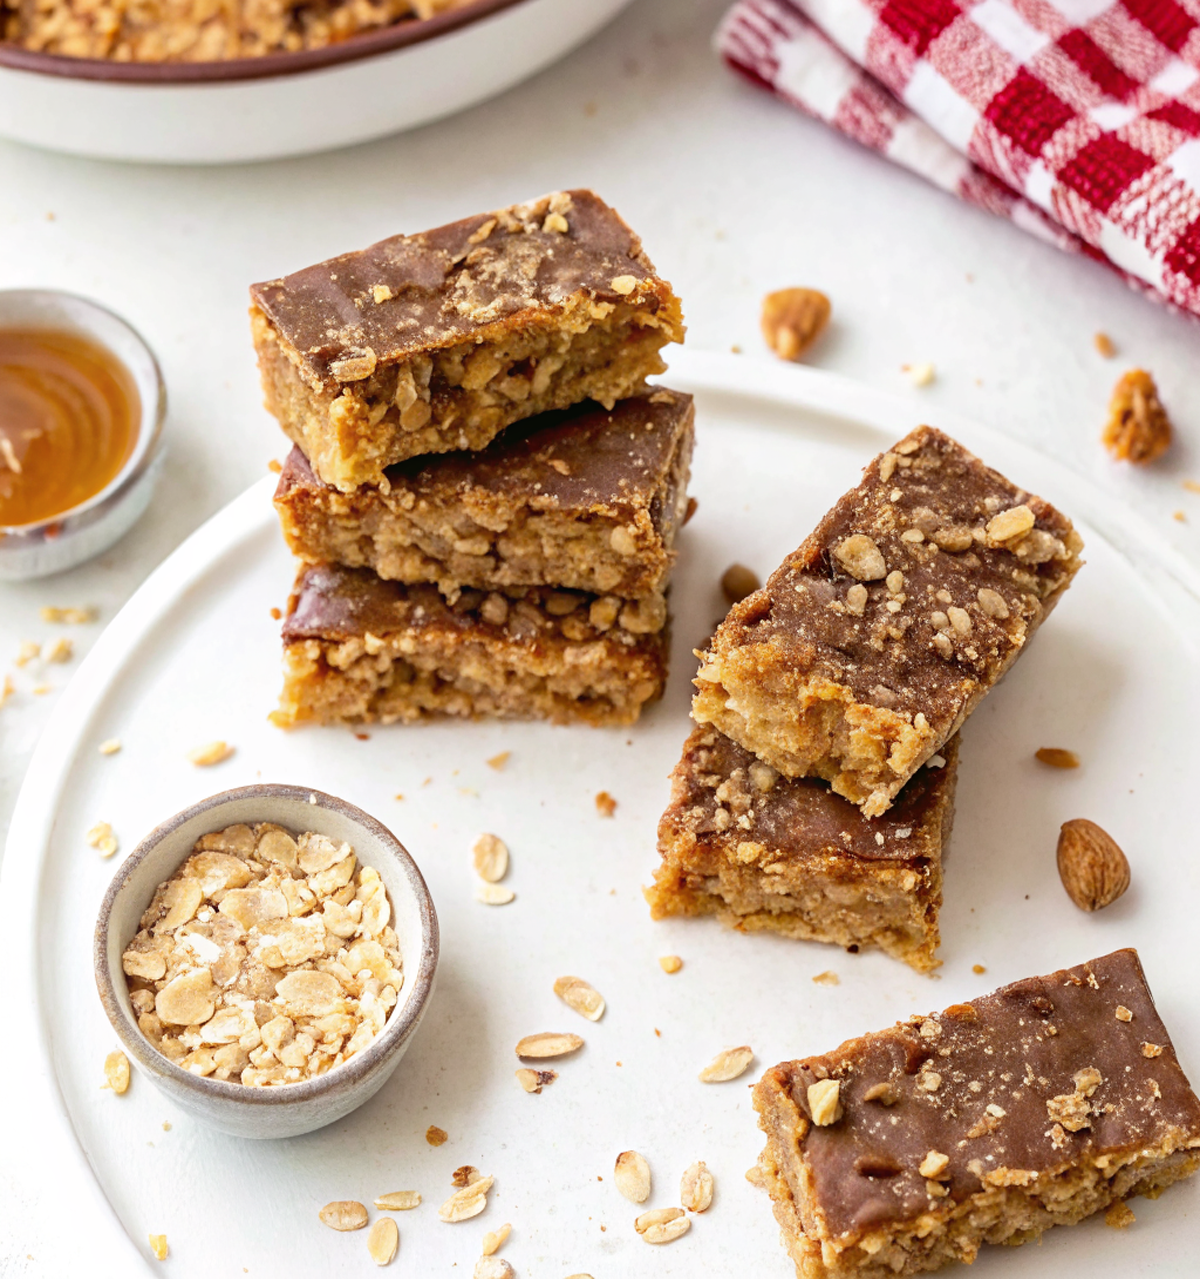
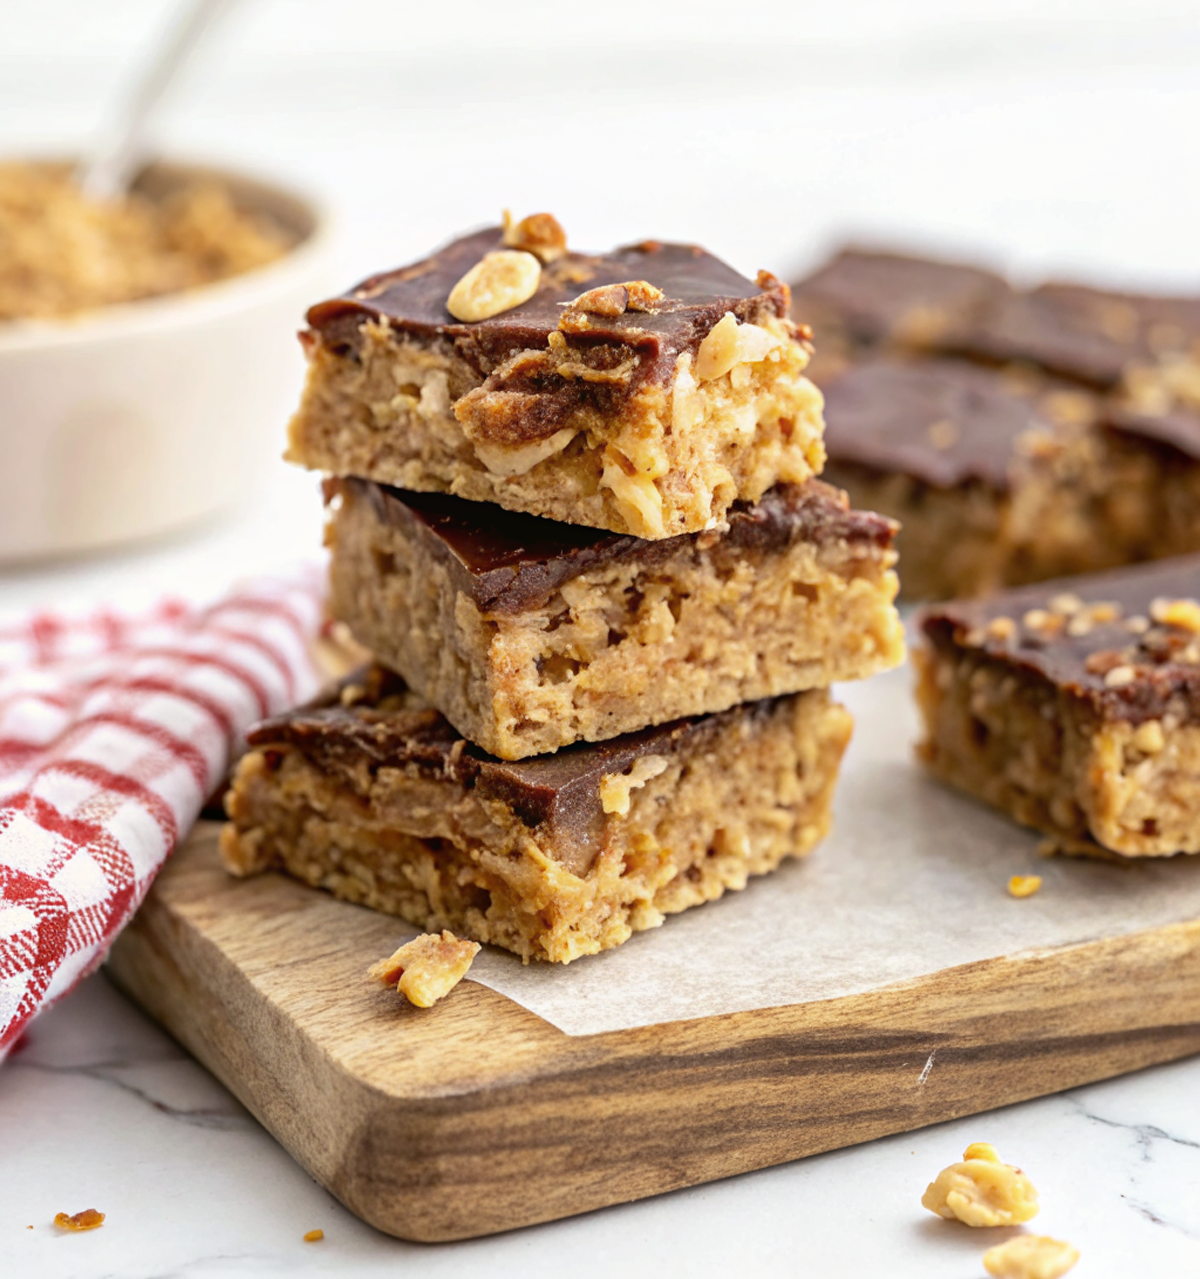
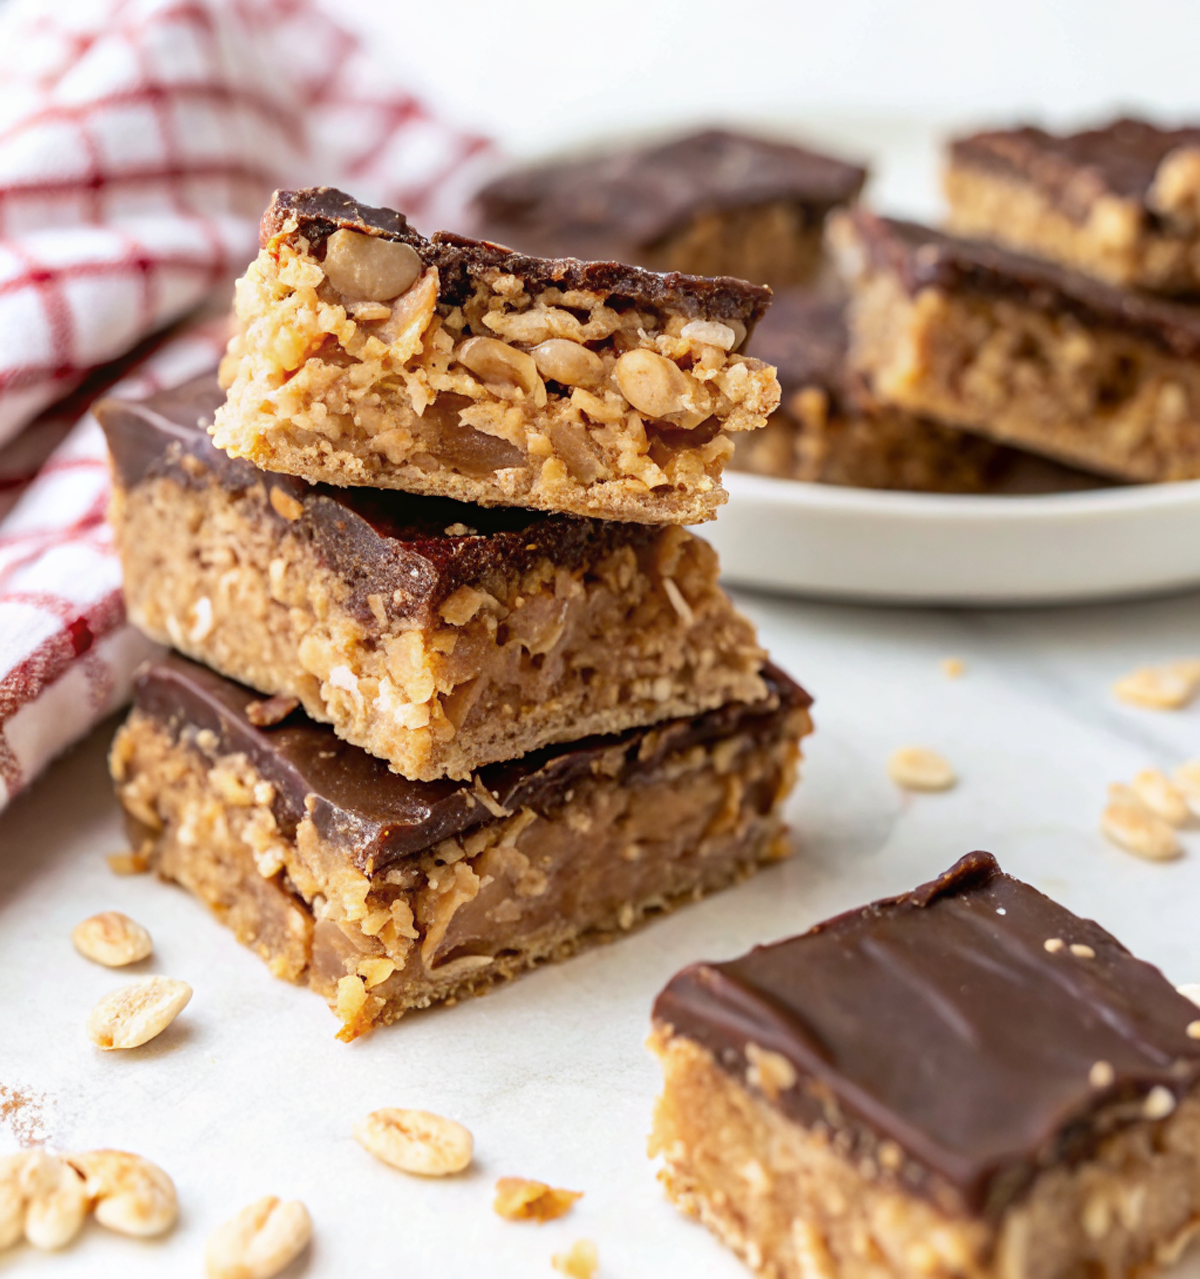
No Bake Peanut Butter Oat Bars
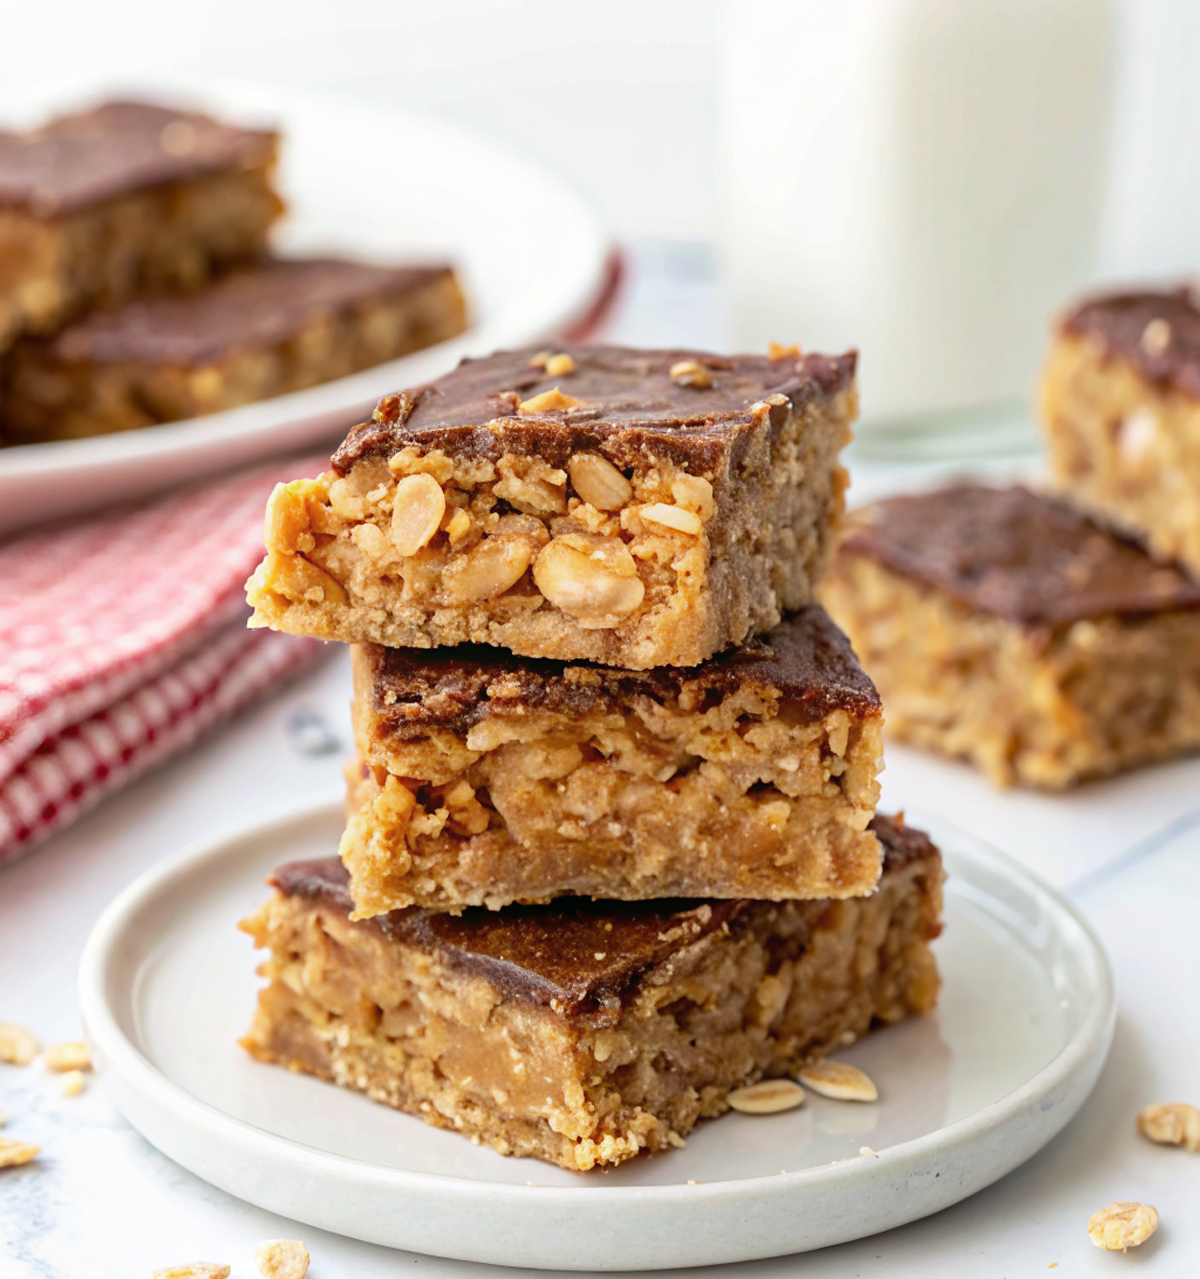
I keep a pan of these no bake peanut butter oat bars in my fridge like a slightly embarrassing safety net—there for emergencies, hangry toddlers, and my midnight “I deserve a snack” brain. They’re chewy, peanut-buttery, and stupidly simple: oats, peanut butter, something sweet, and a bit of dark chocolate if I’m feeling fancy. No oven, no drama, just delicious snackability.
My husband calls them “the reason the kids behave” which is dramatic, true, and slightly false. The real story: one rainy Saturday I mixed a double batch because a soccer practice got canceled and the kids were hungry. By the time the bars set, they’d been high-fived, boxed for a neighbor, and three were already in my husband’s lunch bag. Now it’s our go-to for hikes, lunchboxes, and bribes when someone refuses to wear socks. They’re unpretentious, forgiving, and everyone has an opinion on whether to press them soft or firm (my son likes them gooey; I like them neat).
Why You’ll Love This No Bake Peanut Butter Oat Bars
– They come together in one bowl with pantry ingredients, no oven required—perfect for sticky summer days or tiny apartment ovens that hate you.
– They’re kid-friendly and lunchbox-approved, but also fancy enough with a chocolate drizzle to pass as a grown-up dessert.
– Make a big batch and stash them in the freezer; they’re the kind of snack that shows up and suddenly you’re a genius.
– Customizable for allergies or cravings—swap the nut butter, toss in seeds, or stir through protein powder.
Kitchen Talk
I once tried to roast the oats for “extra flavor” and forgot they were in the oven until the smoke alarm politely told me to reconsider my life choices. Lesson learned: you don’t need to cook anything—just warm the peanut butter gently so it mixes. I’ve done creamy, crunchy, and mixed-nut versions; crunchy gives more texture but creamy keeps everything sticky and neat. If you press the mixture too gently it falls apart; press too hard and you get hockey-puck bars. I aim for the Goldilocks press (firm, but not scary).
MORE OF OUR FAVORITE…
Shopping Tips
– Nuts & Seeds: Use plain peanut butter for the classic flavor; natural varieties with oil separation work fine—just stir well.
– Baking Basics (Flour/Sugar/Leaveners): You don’t need flour, but a pinch of salt or a splash of vanilla from your baking bin will sharpen the flavors.
– Fats & Oils: If your peanut butter is super thick, a teaspoon of neutral oil (vegetable or light olive) smooths it out and helps with mixing.
– Sweeteners: Honey, maple syrup, or brown rice syrup all work—pick based on sweetness and what you have on hand.
– Chocolate: Use dark chocolate chips or a bar to chop for fewer, richer bites—good chocolate makes these feel less like a kid snack and more like a treat.
Prep Ahead Ideas
– Mix the dry oats and peanut-butter-sweetener combo the night before and press into the pan in the morning for fresh bars in ten minutes.
– Store in an airtight container lined with parchment to keep the bottoms from sticking together when you stack them.
– Freeze individually wrapped bars for grab-and-go breakfasts or snacks; pull one out five minutes before you leave and it’ll be perfect.
Time-Saving Tricks
– Microwave the peanut butter and sweetener just until pourable—20–30 seconds, stir, repeat if needed.
– Use a cookie scoop to portion into the pan for even bars.
– Line your pan with parchment and lift the whole slab out to cut—less mess and prettier edges.
– If you’re lazy like me, pulse oats briefly in a food processor for a chewier, more compact bar that sets faster.
Common Mistakes
– Not pressing the mix firmly enough: I did this once and ended up with rustic granola crumbs. Fix: scoop it back into the pan, press hard with a spatula, and chill again.
– Overheating the peanut butter: overheating makes it oily and separates the texture—heat gently and stir slowly.
– Using too-light a sweetener: the bars can taste flat; a pinch of salt or a drop of vanilla will wake them up.
– Cutting too soon: bars slice cleaner after a quick chill in the freezer for 10 minutes.
What to Serve It With
– A banana and a cold brew for mornings when you need fuel and denial.
– Greek yogurt with a drizzle of honey and a bar crumbled on top.
– Sliced apples and a hot cup of tea for an afternoon pick-me-up.
– Pack with sandwiches or other lunchbox staples for balanced midday energy.
Tips & Mistakes
– Press firmly but not like you’re trying to compact soil—firm and even.
– If bars are too soft after chilling, freeze for 10 minutes before slicing.
– Don’t skip the pinch of salt; it makes sweet things sing.
– Chocolate drizzle looks fancy and hides a multitude of sins.
Storage Tips
Store leftover bars in an airtight container in the fridge for up to a week; they firm up and are perfect straight from the fridge or slightly warm if you let them sit 10 minutes. Freeze for up to 3 months—wrap individually in parchment and stash in a zip-top bag. Cold bars are chewier and more restrained in flavor; if you want them gooey, zap one for 8–10 seconds in the microwave.
Variations and Substitutions
– Nut-free: use sunflower seed butter or tahini—texture changes but flavor is still great.
– Less sweet: reduce sweetener by a third and add a pinch more salt to balance.
– Add-ins: chopped dried fruit, seeds, or protein powder are welcome; avoid too many wet add-ins or the bars won’t set.
– Gluten-free: use certified gluten-free oats.
– Chocolate lovers: stir in chips or melt and drizzle on top—both work, but chips keep things firmer.
Frequently Asked Questions
No Bake Peanut Butter Oat Bars
Ingredients
Bar Base
- 1 cup creamy natural peanut butter
- 1/4 cup pure maple syrup
- 1/2 teaspoon vanilla extract
- 1/8 teaspoon fine sea salt
- 1/3 cup vanilla protein powder (whey or plant-based)
- 1 3/4 cups rolled oats
Chocolate Topping
- 1 1/4 cups bittersweet chocolate chips (60–70%)
Instructions
Preparation Steps
- Line an 8-inch square pan with parchment, leaving overhang on two sides for easy lifting.
- In a medium saucepan over low heat, gently warm the peanut butter and maple syrup, stirring just until loosened and smooth, 1–2 minutes. Remove from heat and whisk in the vanilla and sea salt.
- Stir the protein powder into the warm mixture until fully incorporated and creamy.
- Place about 3/4 cup of the oats in a zip-top bag and crush with a rolling pin into a coarse meal; keep the remaining 1 cup oats whole for texture.
- Fold both the crushed and whole oats into the peanut butter mixture until evenly coated. If the mix looks dry or crumbly, sprinkle in 1–2 teaspoons hot water and press with a spatula until it holds together when pinched.
- Scrape the mixture into the lined pan. Press it very firmly into an even layer using a sheet of parchment and the bottom of a measuring cup. Refrigerate for 20 minutes to firm the base slightly.
- Melt the chocolate chips in a dry, microwave-safe bowl in 20–30 second bursts, stirring between each, until just smooth and glossy (about 1–2 minutes total).
- Pour the melted chocolate over the chilled base and spread to the edges. Tap the pan on the counter to level. Refrigerate until the chocolate is set but not rock-hard, 35–45 minutes.
- Use the parchment to lift the slab out. Score the chocolate lightly with a warm knife, then cut into 12 bars. Let stand 5 minutes at room temperature for the perfect fudgy bite.
Notes
Featured Comments
“This tender recipe was absolutely loved — the chilled really stands out. Thanks!”
“Made this last night and it was will make again. Loved how the crusty came together.”
“Made this last night and it was family favorite. Loved how the cozy came together.”
“Made this last night and it was will make again. Loved how the salty-sweet came together.”
“New favorite here — absolutely loved. simple was spot on.”
“Made this last night and it was will make again. Loved how the nostalgic came together.”
“This buttery recipe was turned out amazing — the fun really stands out. Thanks!”
“Impressed! Clear steps and so flavorful results. Perfect for busy nights.”
“Made this last night and it was so flavorful. Loved how the sweet treat came together.”
“Impressed! Clear steps and so flavorful results. Perfect for busy nights.”