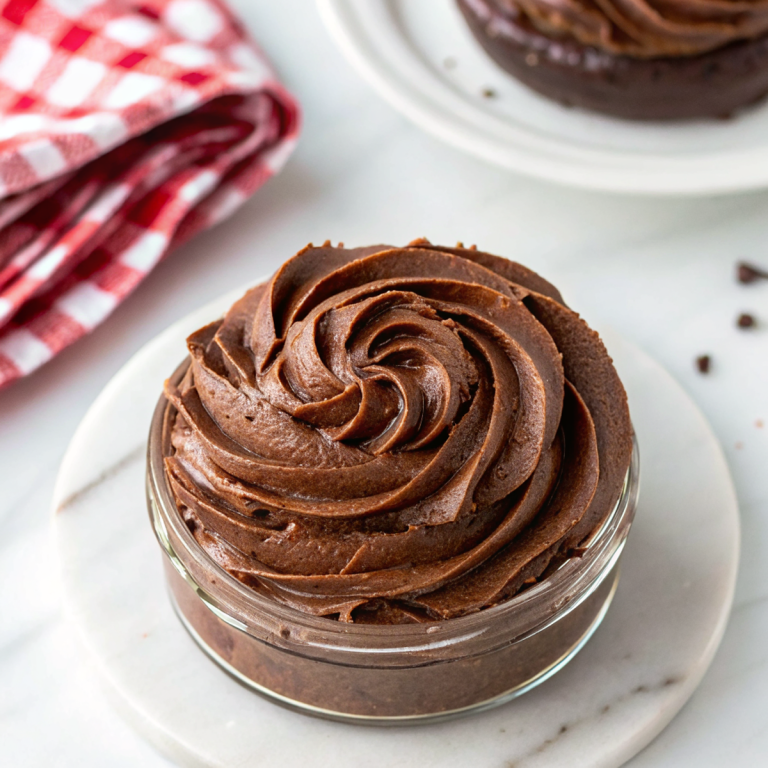
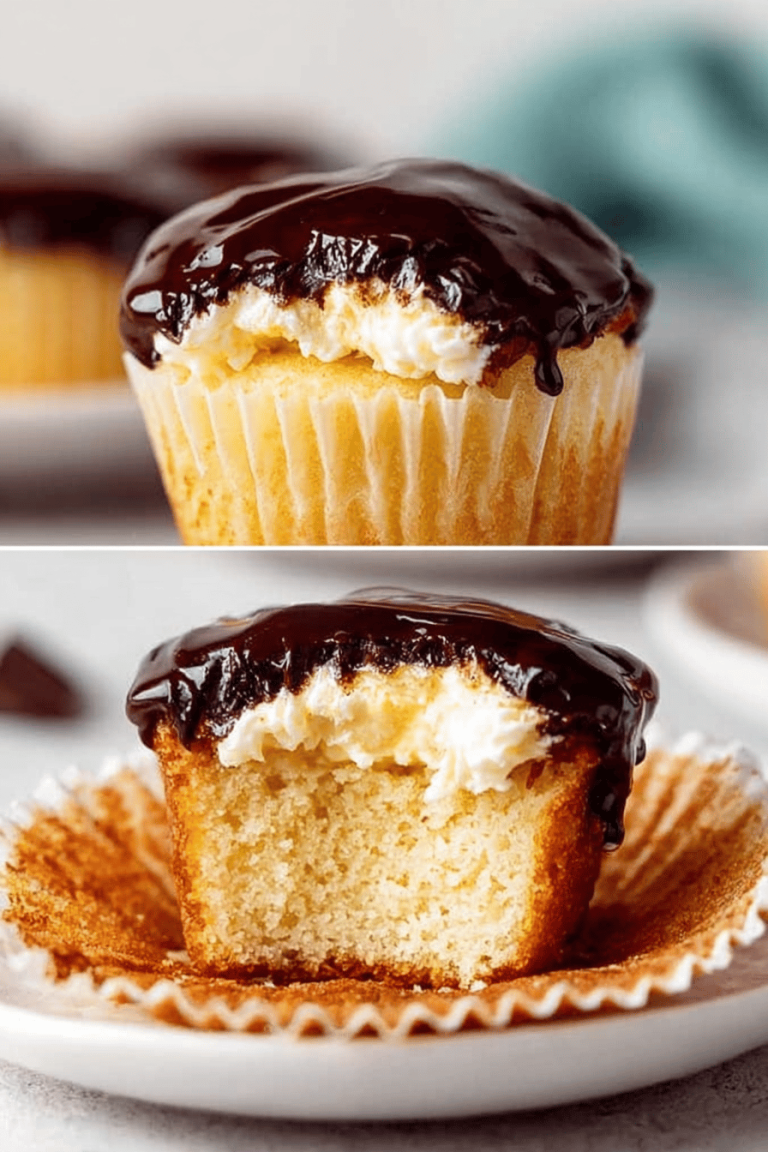
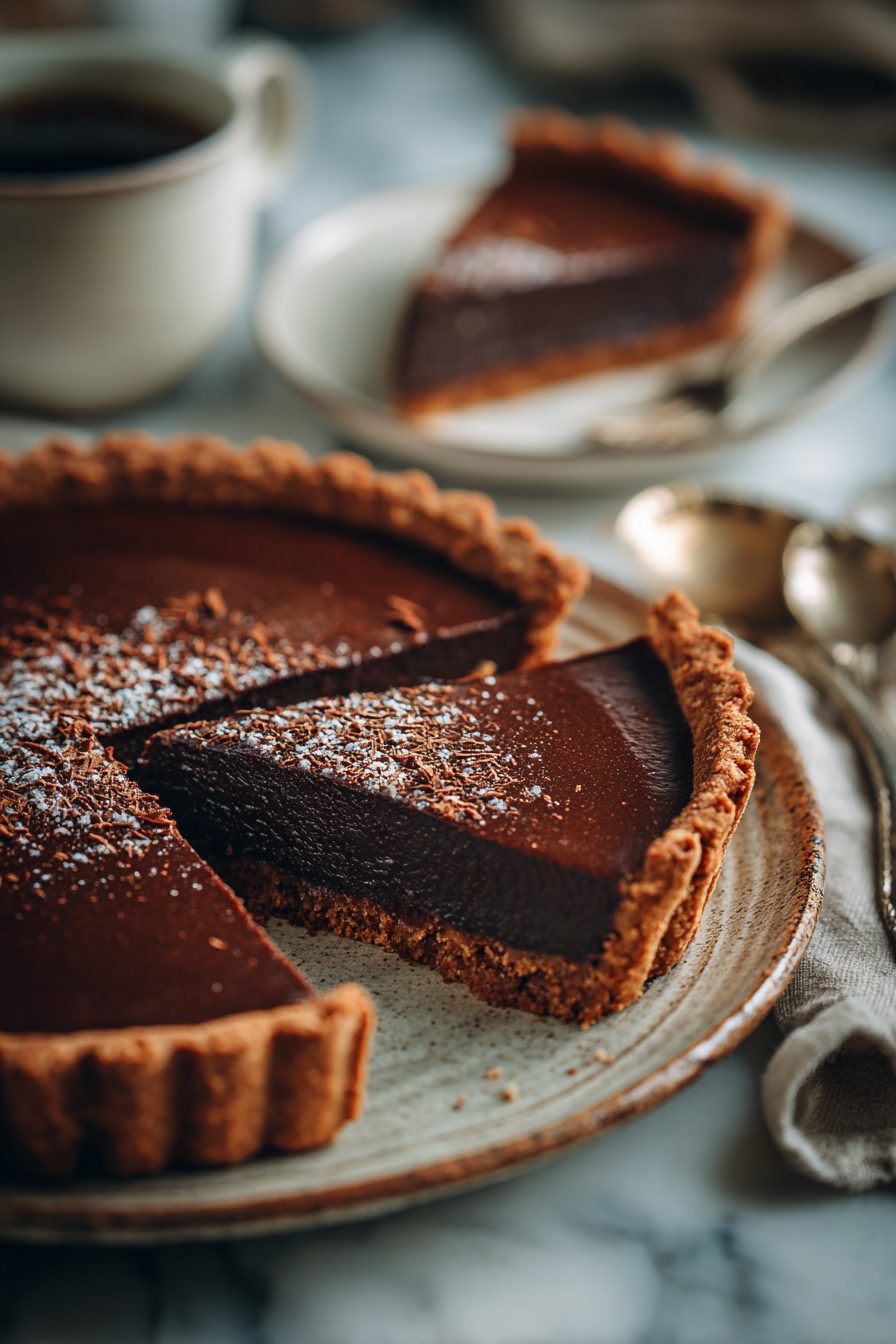
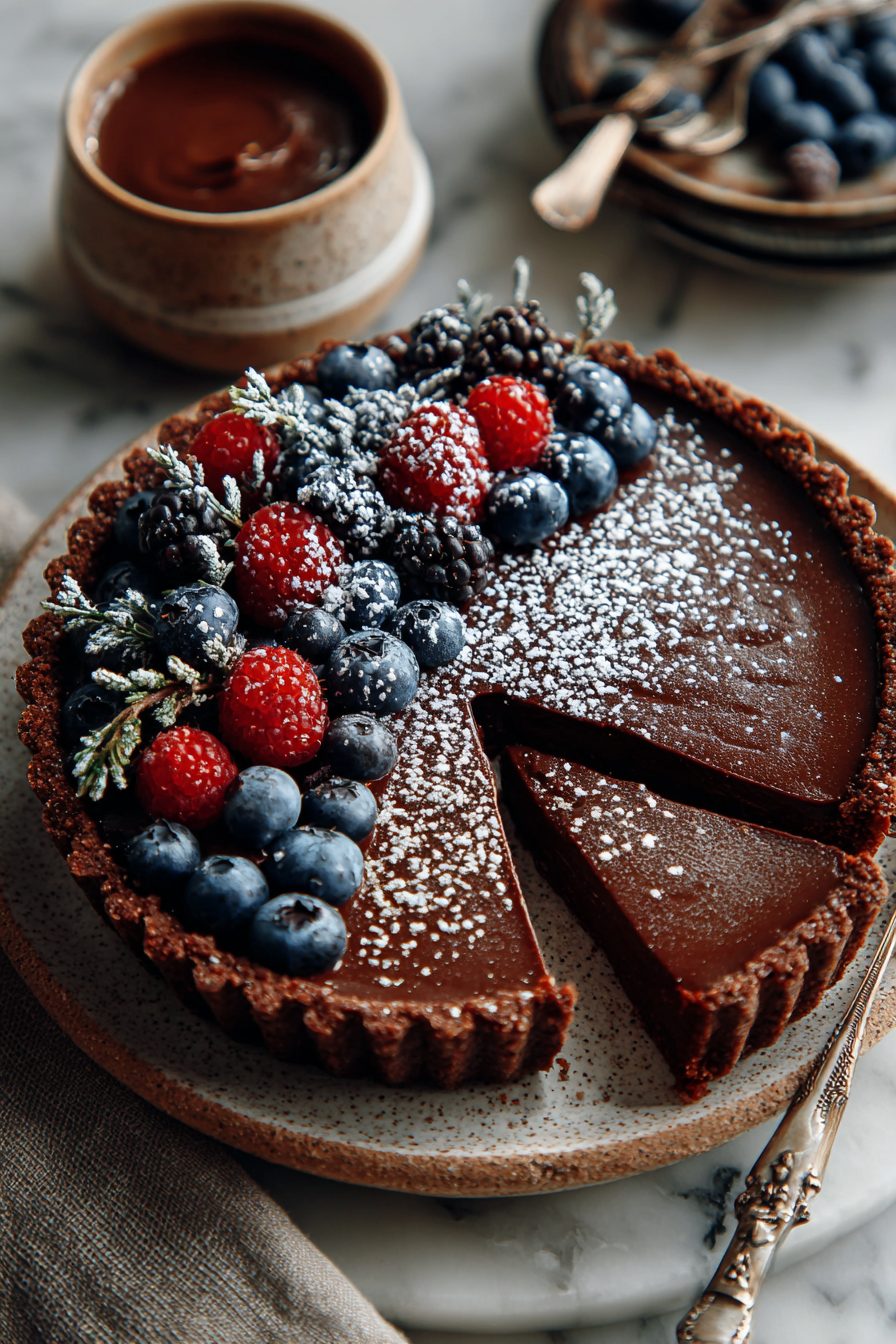
Easy Vegan Chocolate Tart Recipe
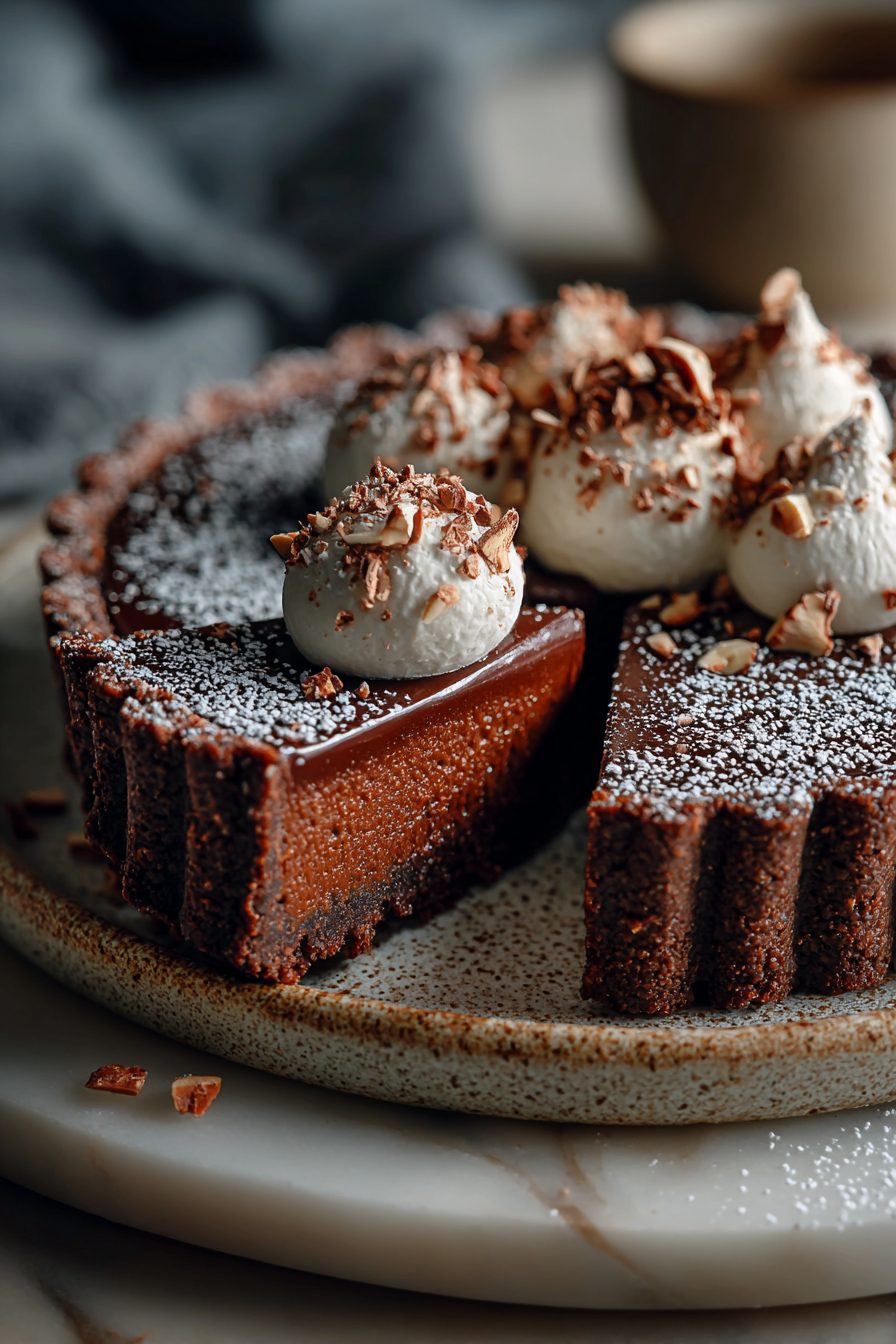
This tart is the kind that makes you stop mid-scroll, shove your phone aside, and actually make dessert—because it’s rich, chocolatey, and somehow light enough that you can rationalize a second slice. It’s vegan, which means no eggs or dairy drama, but still glossy and decadent thanks to a silky ganache-like filling and a crunchy, slightly nutty crust.
My husband calls it “the magic pie” and uses it as currency—get the oil changed, fetch my coat, wash one dish, and I’ll give you a wedge. The kids beg for it on birthdays and then pretend they hate chocolate to seem cool, but I catch them sneaking it from the fridge at 10 p.m. It became our staple after one failed cheesecake attempt that stayed liquid for three days; this tart, by contrast, sets up like a boss. We roll our eyes at fancy pastry that needs twelve components — this one does the job with a few pantry heroes and a forgiving hand.
Why You’ll Love This Easy Vegan Chocolate Tart Recipe
– It tastes like classic chocolate tart but skips the dairy — rich and glossy without the guilt.
– The crust is forgiving: press-in, nut-forward, and pleasantly crunches under that smooth filling.
– No tempering or fancy equipment — you’ll mostly stir, pour, chill, and look like a pro.
– Great for last-minute guests: it chills into perfect slices and survives travel to potlucks.
– Vegan friends and skeptics both cheer when you pull it from the fridge.
Kitchen Talk

This is the sort of dessert where I talked to myself out loud while melting chocolate like some sort of focused chef-monologue. I once substituted tahini for part of the coconut oil because I was out, and guess what — it added a toasty, almost caramel-y undertone that I low-key loved. Also: don’t freak out when the filling looks too runny at first. Give it time in the fridge and it will firm up into a sliceable dream. Worst fail? Overbaked crust that tastes like sad granola. Learn from me: watch the edges and pull it a little early — it’ll finish while cooling.
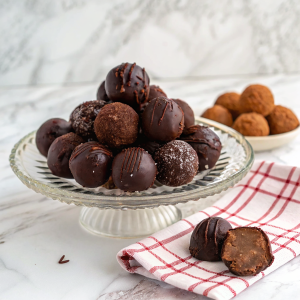
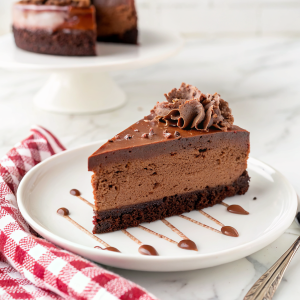
MORE OF OUR FAVORITE…
Shopping Tips
– Baking Basics (Flour/Sugar/Leaveners): You don’t need fancy flours here — plain all-purpose or a 1:1 gluten-free blend works for the crust; use powdered sugar if you want extra smoothness in the filling tweaks.
– Fats & Oils: Unrefined coconut oil gives a slight coconut note and firm set; refined (neutral) coconut oil keeps the flavor chocolate-forward — pick based on how coconut-y you want it.
– Chocolate: Use good-quality dark chocolate (60–75% cocoa) marked vegan; chocolate chips are fine in a pinch, but bars melt more silky.
– Nuts & Seeds: Almonds or pecans for the crust give the best texture—toast them lightly for more flavor, and look for unsalted, raw nuts to control the salt.
– Sweeteners: Maple syrup or agave blend smoothly into the filling if you want a less refined-sugar option; granulated sugar is fine for a crisper crust.
Prep Ahead Ideas
– Make the crust a day ahead: press into the tart pan, cover tightly, and keep in the fridge so it’s ready for the filling.
– Melt the chocolate and mix the filling a day before if you want—cover and chill; bring to room temp for 20–30 minutes before slicing for cleaner cuts.
– Store leftover slices in an airtight container in the fridge; prepping ahead like this turns dessert assembly into “dump-and-chill” mode on busy nights.
Time-Saving Tricks
– Use a food processor to blitz nuts and crumbs in one go — saves hand-grinding and gives an even crust texture.
– Microwave the chocolate in short bursts or use a double boiler, but don’t walk away; chocolate goes from silky to seized in a blink.
– If you’re in a rush, pop the tart in the freezer for 30–40 minutes to firm it quicker, then transfer to the fridge for setting.
Common Mistakes
– Overheating the chocolate: it will seize and get gritty. If it happens, add a tablespoon of neutral oil or plant milk and stir gently to revive it.
– Skimping on chill time: cut too soon and you’ll end up with messy slices. Patience = clean lines.
– Using very soft or oily nuts in the crust without adding a binder: results in a crumbly sad crust. Add a touch more oil or a tablespoon of flour to help it bind.
– I once forgot to toast the nuts and the crust tasted flat — a quick 5–7 minute toast in a 350°F oven brings them to life.
What to Serve It With
– A scoop of plain dairy-free vanilla ice cream or coconut whipped cream for contrast.
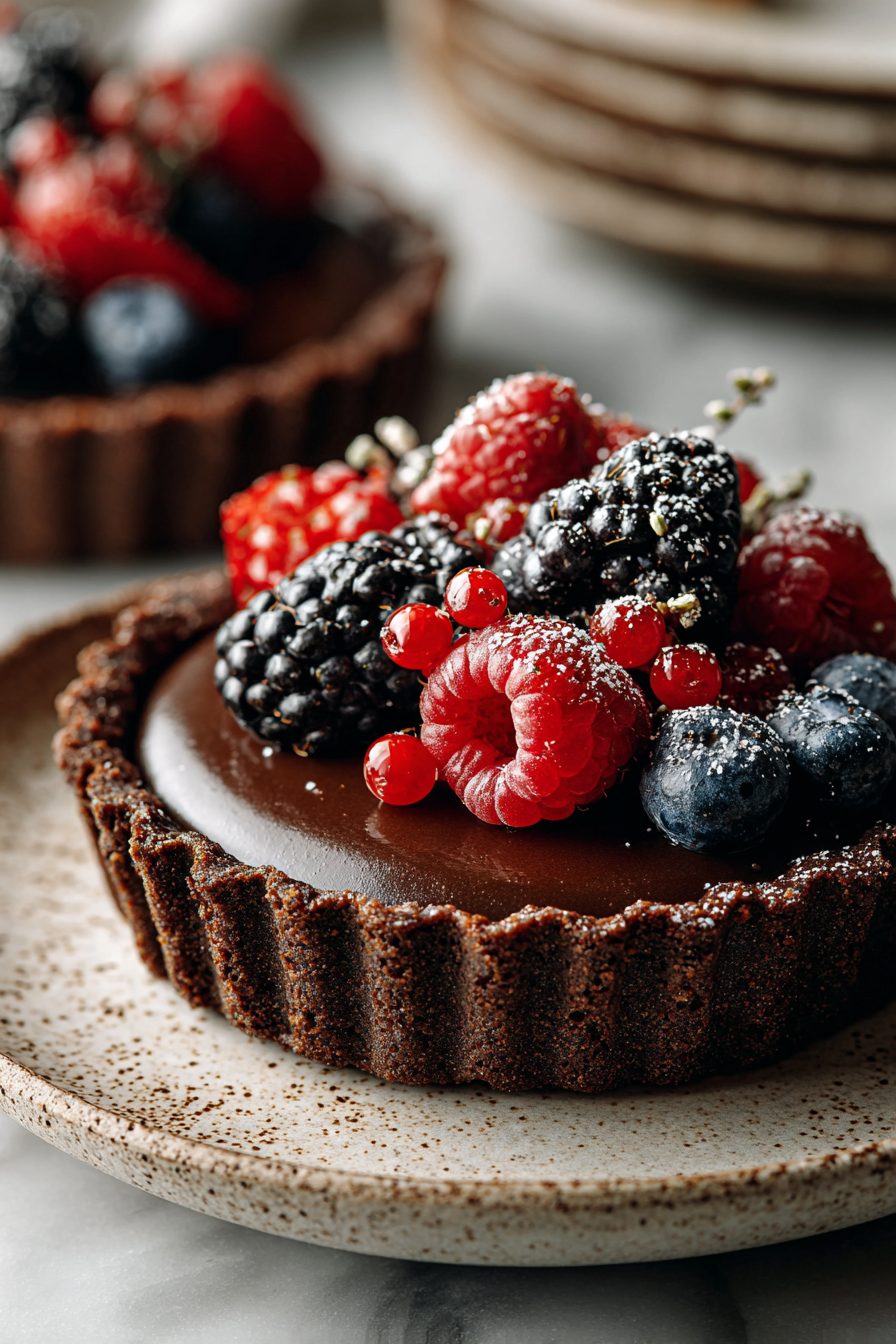
– Fresh berries or a quick macerated berry compote to cut the richness.
– Coffee or a strong tea; espresso brings out the chocolate notes big time.
– For something zippy, a drizzle of orange-infused olive oil or a scatter of flaky sea salt.
Tips & Mistakes
– Heat levels: melt chocolate gently over low heat or in short microwave bursts.
– Pan size: use a standard 9-inch tart pan for best thickness; smaller pan = thicker filling.
– Salt timing: salt the crust mixture before pressing so it’s evenly distributed.
– Oops fix: if the filling cracks after chilling, let it sit at room temp 15–20 minutes and the surface will soften and look shiny again.
Storage Tips
Leftovers live happily in the fridge for up to 5 days in an airtight container. It’s fine to eat cold (I do it walking to the couch), and slightly warmed for 10-20 seconds in the microwave gives it that just-baked vibe. Freezing slices works too—wrap tightly and thaw overnight in the fridge for best texture. No shame in breakfast chocolate tart; it’s basically a mood lifter.
Variations and Substitutions
– Nut-free crust: swap ground oats + sunflower seeds for nuts and add a tablespoon of neutral oil to bind.
– Swap coconut oil for vegan butter if you want a less coconut-forward flavor; the set will be slightly softer.
– Add espresso powder to the filling for a mocha twist, or orange zest for brightness.
– If you only have plant milk, use it sparingly to loosen the ganache — too much makes it softer, which can be great for spooning but not for neat slices.
Frequently Asked Questions
Easy Vegan Chocolate Tart Recipe
Ingredients
Main Ingredients
- 2.25 cup chocolate sandwich cookie crumbs finely ground
- 6 tbsp melted coconut oil for the crust
- 0.25 tsp fine sea salt for the crust
- 10 oz dairy-free dark chocolate, chopped
- 1 cup full-fat coconut milk well shaken
- 2 tbsp maple syrup
- 1 tbsp refined coconut oil for glossy, sliceable filling
- 1 tsp pure vanilla extract
- 0.5 tsp espresso powder optional, boosts chocolate flavor
- 0.13 tsp fine sea salt for the filling
- 1 cup fresh berries for serving
Instructions
Preparation Steps
- Heat oven to 350°F. Lightly grease a 9-inch tart pan with a removable bottom.
- Pulse cookies to fine crumbs. Stir in melted coconut oil and a pinch of salt until evenly moistened.
- Press crumbs firmly into the pan, packing the bottom and sides. Bake 9–11 minutes, then cool on a rack.
- Warm coconut milk in a small pot until steaming, not boiling.
- Combine chopped chocolate, maple syrup, coconut oil, vanilla, espresso powder, and a pinch of salt in a bowl.
- Pour hot coconut milk over the chocolate mixture. Let stand 2 minutes, then whisk until smooth and glossy.
- Pour filling into the cooled crust. Tap gently to release air bubbles and smooth the top.
- Chill uncovered until set, about 3 hours. Slice and top with fresh berries to serve.
Notes
Featured Comments
“Super easy and absolutely loved! My family asked for seconds. Saving this one.”
“New favorite here — so flavorful. picky-eater approved was spot on.”
“Impressed! Clear steps and family favorite results. Perfect for busy nights.”
“New favorite here — absolutely loved. crowd-pleasing was spot on.”
“This gooey recipe was turned out amazing — the loaded really stands out. Thanks!”
“New favorite here — family favorite. smoky was spot on.”
“New favorite here — family favorite. warming was spot on.”
“Made this last night and it was absolutely loved. Loved how the fluffy came together.”
“Made this last night and it was will make again. Loved how the melt-in-your-mouth came together.”
“This traditional recipe was will make again — the sweet treat really stands out. Thanks!”