No-Bake Peanut Butter Pie Recipes
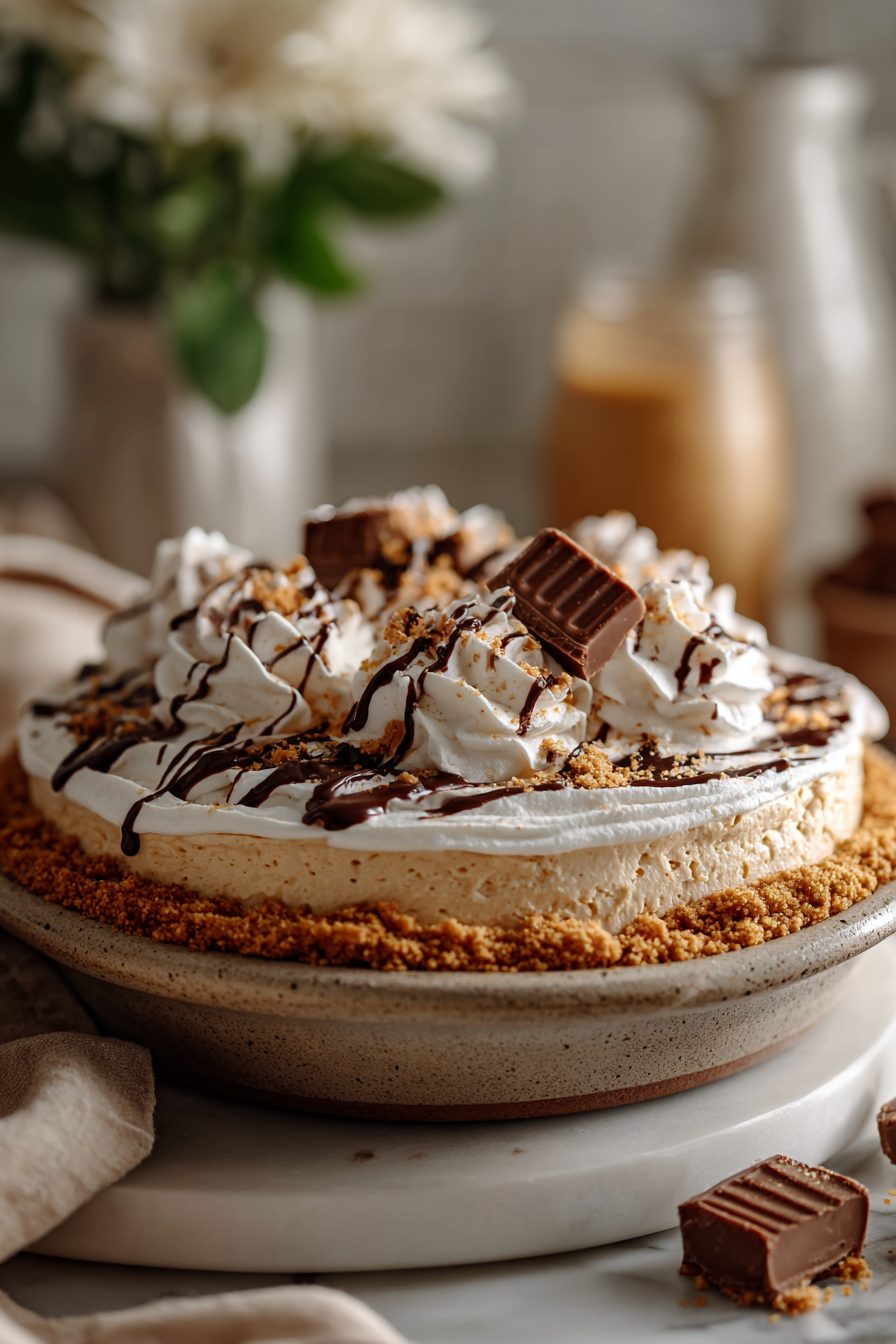
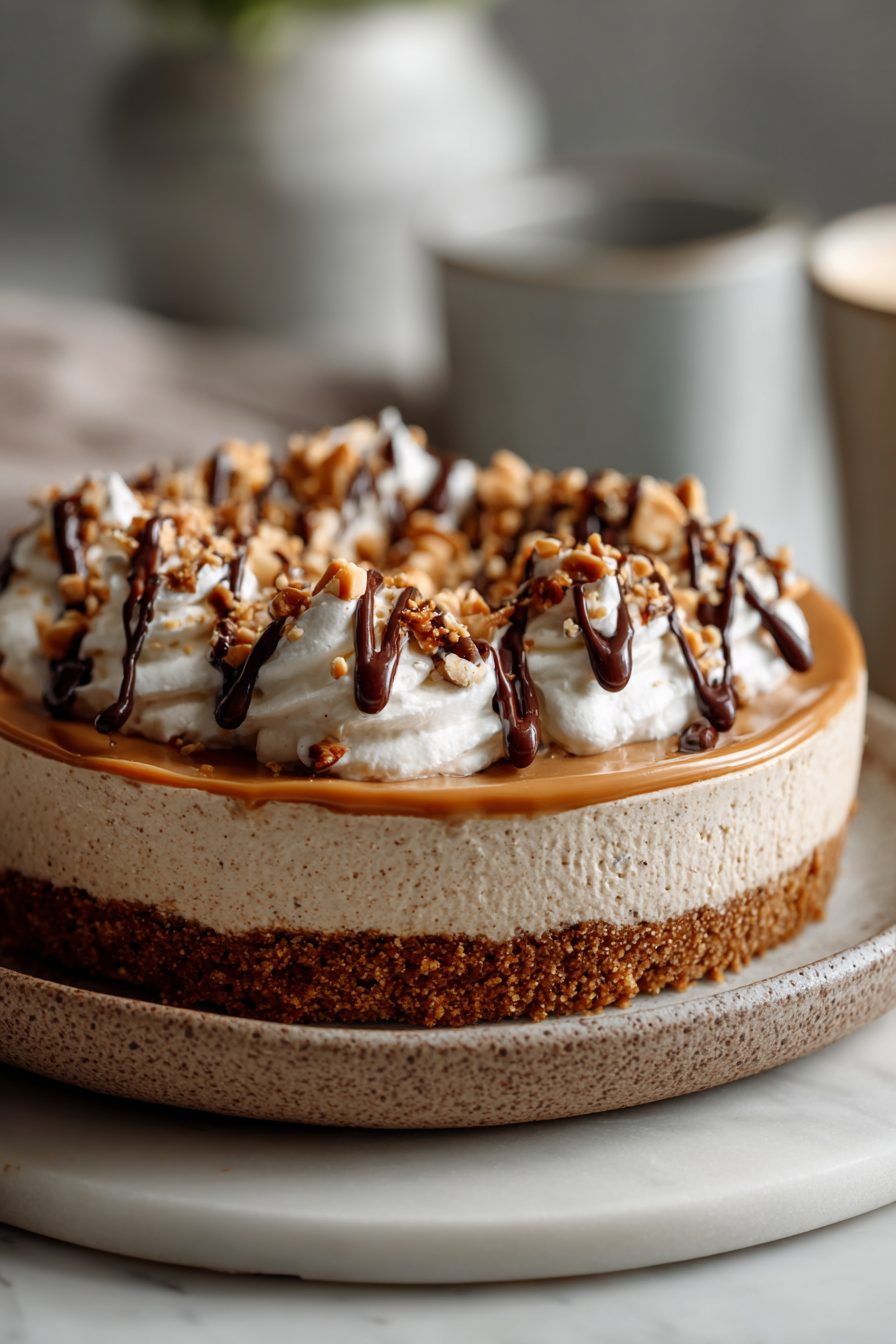
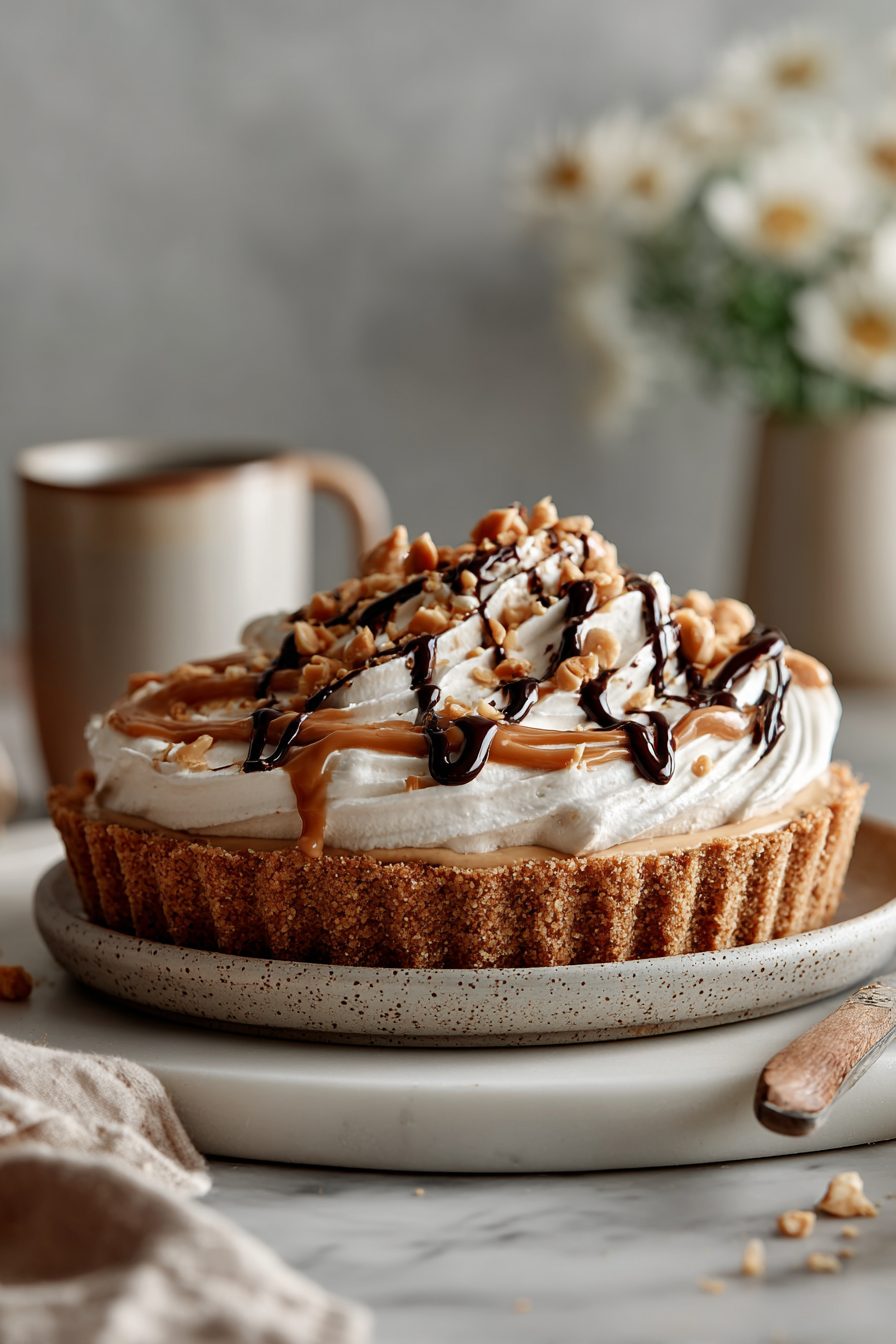
This pie is the kind of ridiculous dessert that shows up at my kitchen table and immediately disappears — creamy, peanut-buttery, slightly salty, with a crunchy crust that actually sings. It’s no-bake, which means it’s the lazy cousin of fancy desserts and somehow feels both indulgent and effortless. If you love peanut butter and want something you can make without turning on the oven (or panicking about soggy crusts), this is your jam.
My husband is the pie critic in our house — he claims he’s “neutral” about desserts but then eats half the pan in one evening. He calls this his emergency happy food. Once I brought it to a family BBQ and my sister texted me at 11 p.m. asking where the rest of the pie went. That memory is forever burned into my brain (and stomach). It’s become a weekend staple because it’s fast, forgiving, and everyone always asks for the recipe — even the neighbor who insists he’s “not a sweets guy.”
Why You’ll Love This No-Bake Peanut Butter Pie Recipes
– It’s wildly simple: you mostly stir, press, chill, and wait like a very patient, slightly smug adult.
– No oven? No problem. Ideal for hot days, dorm life, or when you want dessert without the whole kitchen sweat-fest.
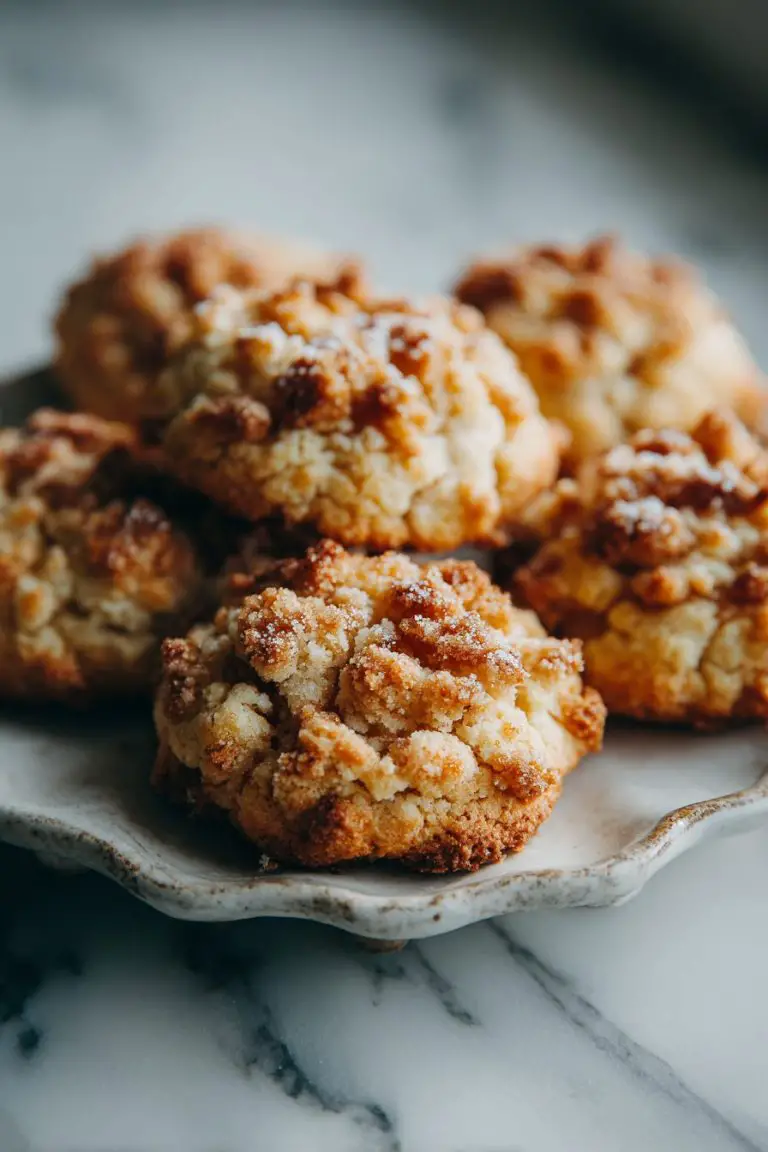
– Texture game: silky peanut butter filling + slightly crunchy crust + optional salty-sweet topping = tiny bites of heaven.
– Crowd-pleaser that doubles as breakfast if you’ve decided Reese’s is a valid cereal.
Kitchen Talk
This is a recipe built on happy accidents. I once tried making the filling with super-runny natural peanut butter and, surprise, it was soup. So I learned to mix in a little powdered sugar and whipped cream for structure — game changer. Also: when I whipped the cream too long once and turned it into grainy butter, we just ate it with toast and pretended that was the plan. The crust is forgiving: if your crumbs are in big chunks, press harder; if they’re dust, add a touch more melted butter. I love that there’s room to play — and the pie still comes out delicious even if you’re a little messy.
MORE OF OUR FAVORITE…
Shopping Tips
– Baking Basics (Flour/Sugar/Leaveners): You mainly need powdered sugar here — pick a fine one for the smoothest filling texture. Regular granulated sugar will feel grainy.
– Fats & Oils: Unsalted butter is best for the crust so you can control salt — melt it and taste the crumbs before adding more.
– Chocolate: If you want a chocolate drizzle or a chocolate crust, buy a bar to chop or use good-quality chips; cheap “candy” chocolate can be waxy.
– Nuts & Seeds: Use a creamy, stable peanut butter for the smoothest filling; if you grab natural, expect to adjust with more powdered sugar.
– Sweeteners: If swapping for honey or maple, know they change the texture slightly and can make the filling softer; you’ll want to chill longer.
Prep Ahead Ideas
– Make the crust and press it into the pan the day before; keep it covered in the fridge. It firms up nicely and saves you time the next day.
– Mix the peanut butter filling a day ahead and store it in an airtight container in the fridge — bring to fridge-cold, not room temp, when you’re ready to fill.
– Keep whipped cream or any topping in a sealed container and add fresh when serving. Doing these steps ahead turns a last-minute dessert into a 5-minute finish.
Time-Saving Tricks
– Use ready-made graham cracker or chocolate cookie crumbs if you don’t want to blitz your own — they press well and save 10 minutes.
– Whip the cream in a chilled bowl for faster peaks. Cold tools = quicker results.
– If you’re impatient about chilling, pop the pie in the freezer for 20–30 minutes to speed things up, then transfer to the fridge.
Common Mistakes
– Using very runny natural peanut butter without balancing it will make the filling too loose. Fix: fold in more powdered sugar or a touch of cream cheese.
– Under-chilling: this pie needs time to set. If you slice too early, it will slump. Solution: freeze for 10–20 minutes, then serve.
– Over-whipping the cream will make it grainy or turn it to butter. I did this once while multitasking — we ate the tablespoon of butter with crackers and moved on.
– Salty-sweet mismatch: taste as you go, especially if your peanut butter is already salted. Add salt incrementally.
What to Serve It With
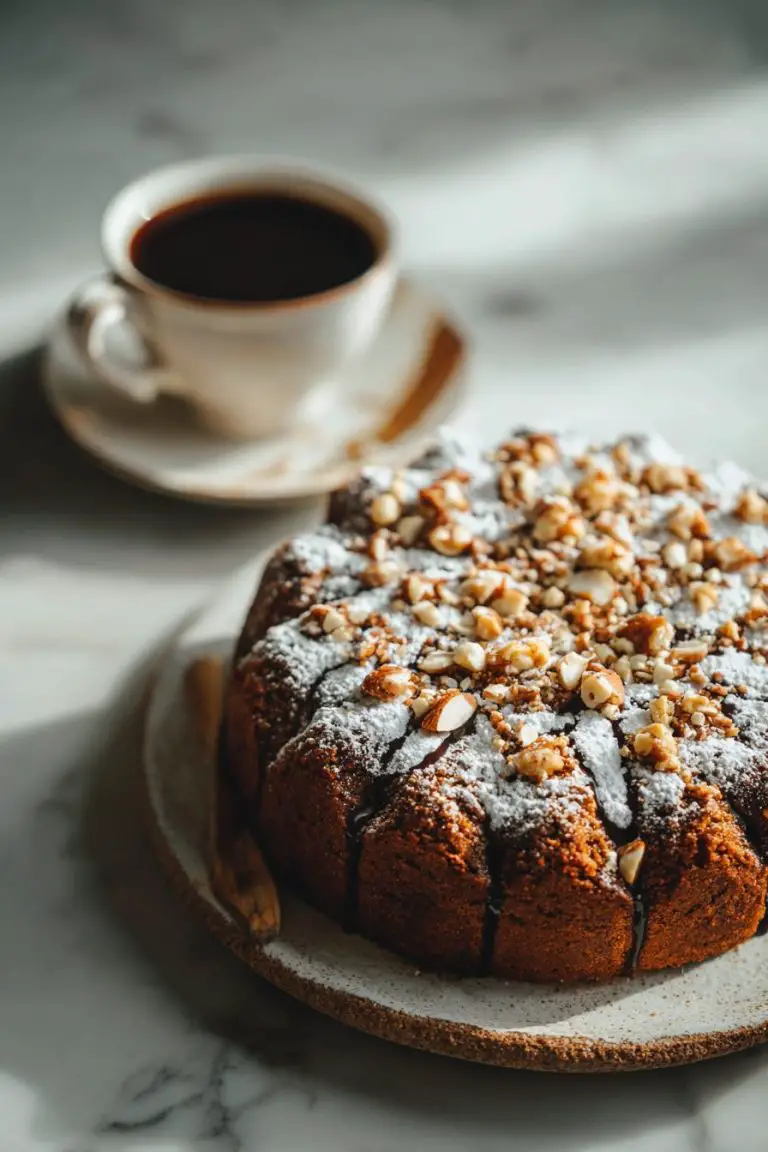
– Coffee or espresso for contrast and balance.
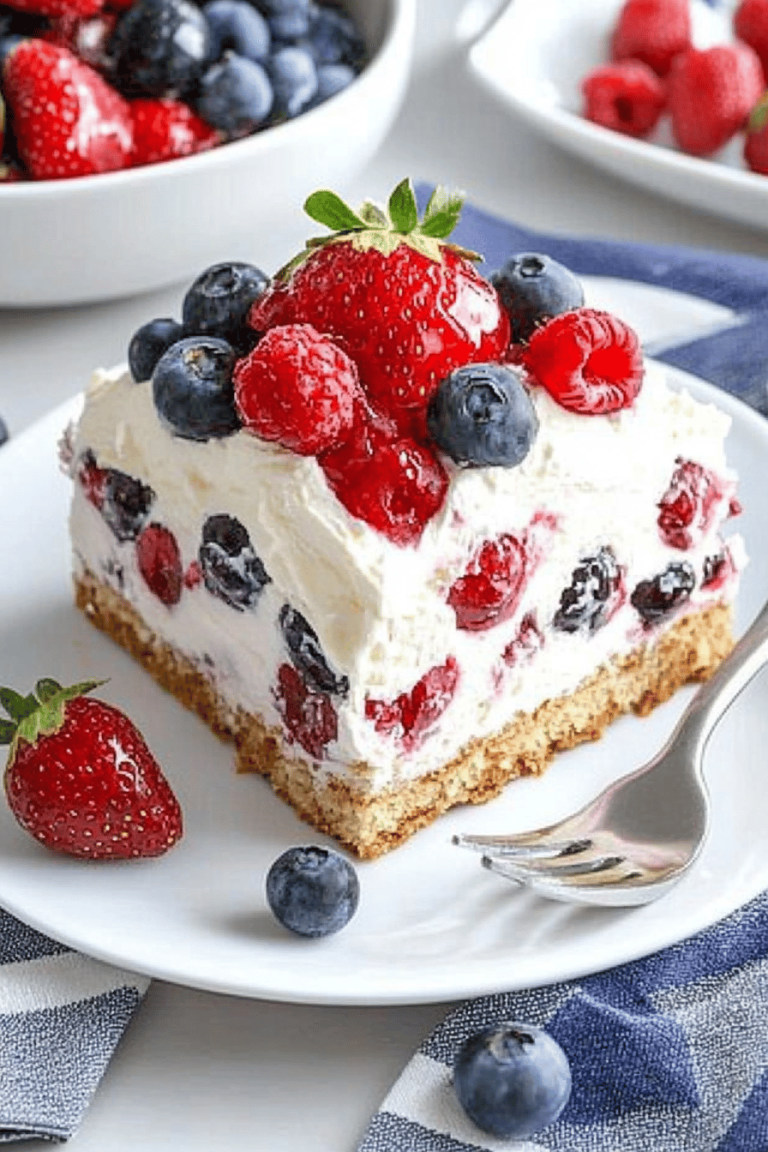
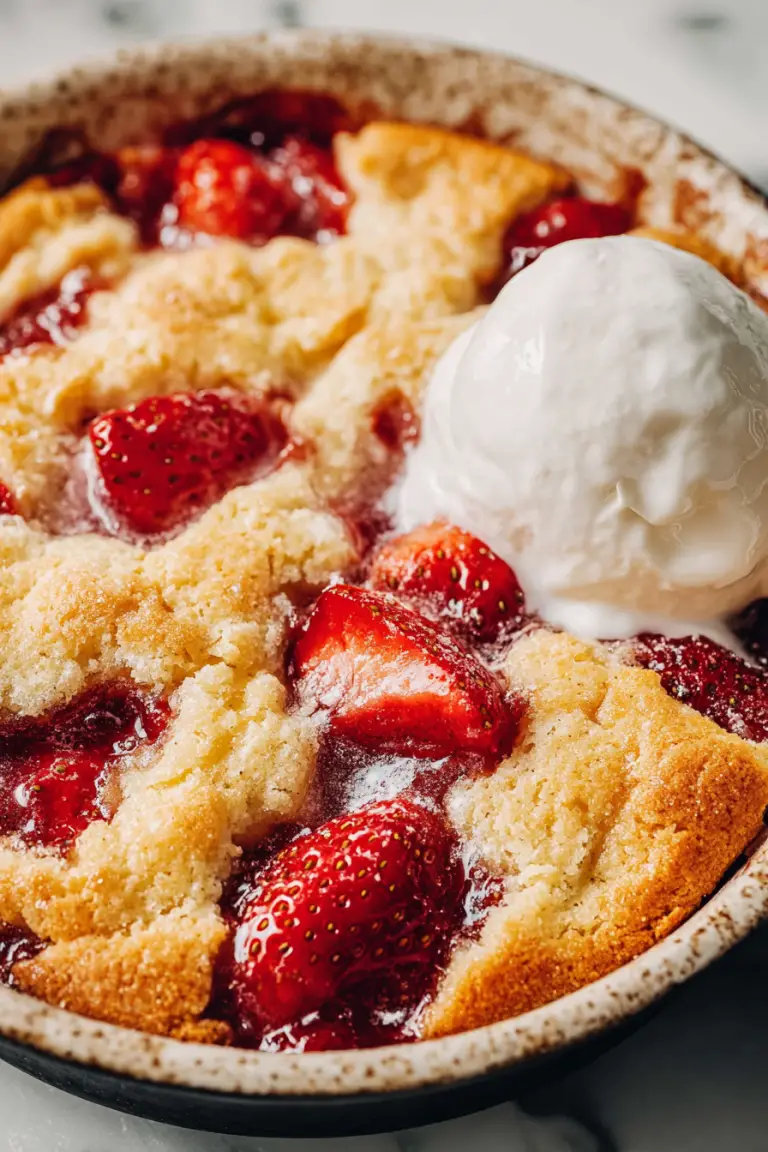
– Fresh banana slices or a simple berry compote to cut the richness.
– A dollop of lightly sweetened whipped cream or a drizzle of melted dark chocolate.
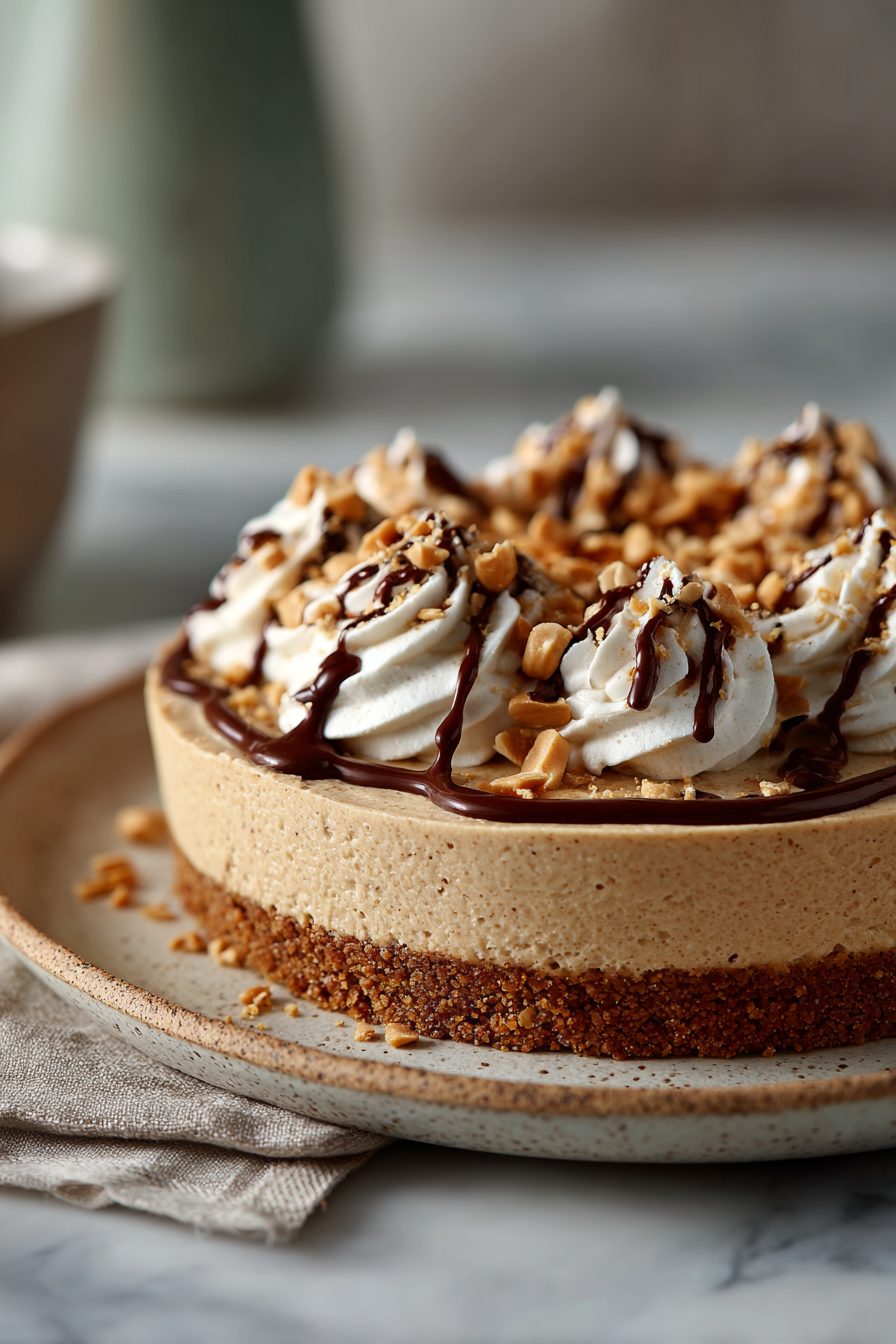
– Toasted chopped peanuts for extra crunch and theater.
Tips & Mistakes
– Chill the bowl before whipping cream to speed things up.
– If filling seems grainy, sift in powdered sugar and whip gently.
– Salt is your friend — tiny pinch can wake up the peanut butter.
– Don’t rush slicing; a warmed knife gives cleaner slices.
Storage Tips
Store leftovers covered in the refrigerator for up to 3–4 days. It keeps well — the texture actually firms up and makes for excellent cold-slice breakfasts (no shame here). You can freeze the whole pie (well wrapped) for up to a month; thaw in the fridge overnight. If you eat it cold straight from the fridge, embrace the firm, almost-fudge center — it’s great with coffee.
Variations and Substitutions
– Swap creamy for crunchy peanut butter for texture — both work, but crunchy adds bite.
– For a lighter pie, fold in more whipped cream and less powdered sugar; it’ll be fluffier and less dense.
– Almond or cashew butter can substitute if you’re avoiding peanuts, but flavor and texture will change — cashew is milder, almond is nuttier.
– Want chocolate? Use cocoa in the crust or swirl melted chocolate into the filling; just chill longer.
Frequently Asked Questions
No-Bake Peanut Butter Pie Recipes
Ingredients
Main Ingredients
- 1.5 cup graham cracker crumbs
- 2 tbsp granulated sugar for the crust
- 5 tbsp unsalted butter, melted for the crust
- 8 oz cream cheese, softened
- 1 cup creamy peanut butter
- 0.75 cup powdered sugar sifted if lumpy
- 1 tsp vanilla extract
- 0.125 tsp fine sea salt
- 2 tbsp milk to loosen filling
- 8 oz whipped topping, thawed folded in
- 2 tbsp chopped roasted peanuts optional, for garnish
- 2 tbsp chocolate syrup optional, for drizzling
Instructions
Preparation Steps
- Stir graham crumbs, sugar, and melted butter until evenly moistened.
- Press the mixture firmly into a 9-inch pie plate, going up the sides.
- Chill the crust while you make the filling.
- Beat softened cream cheese until smooth and fluffy.
- Add peanut butter, powdered sugar, vanilla, and salt; mix until creamy.
- Blend in milk to loosen the filling to a silky texture.
- Fold in whipped topping gently until no streaks remain.
- Spread the filling into the chilled crust and smooth the top.
- Refrigerate until set, at least 3 hours. Garnish with peanuts and a chocolate drizzle before serving.
Notes
Featured Comments
“This juicy recipe was will make again — the weeknight winner really stands out. Thanks!”
“This party favorite recipe was will make again — the light really stands out. Thanks!”
“Impressed! Clear steps and will make again results. Perfect for busy nights.”
“Impressed! Clear steps and absolutely loved results. Perfect for busy nights.”
“New favorite here — absolutely loved. traditional was spot on.”
“This satisfying recipe was so flavorful — the delicate really stands out. Thanks!”
“Made this last night and it was will make again. Loved how the cheesy came together.”
“This homemade recipe was turned out amazing — the plant-powered really stands out. Thanks!”
“This clean recipe was family favorite — the creamy really stands out. Thanks!”
“This fluffy recipe was family favorite — the morning favorite really stands out. Thanks!”