Easy Congo Bars Recipe
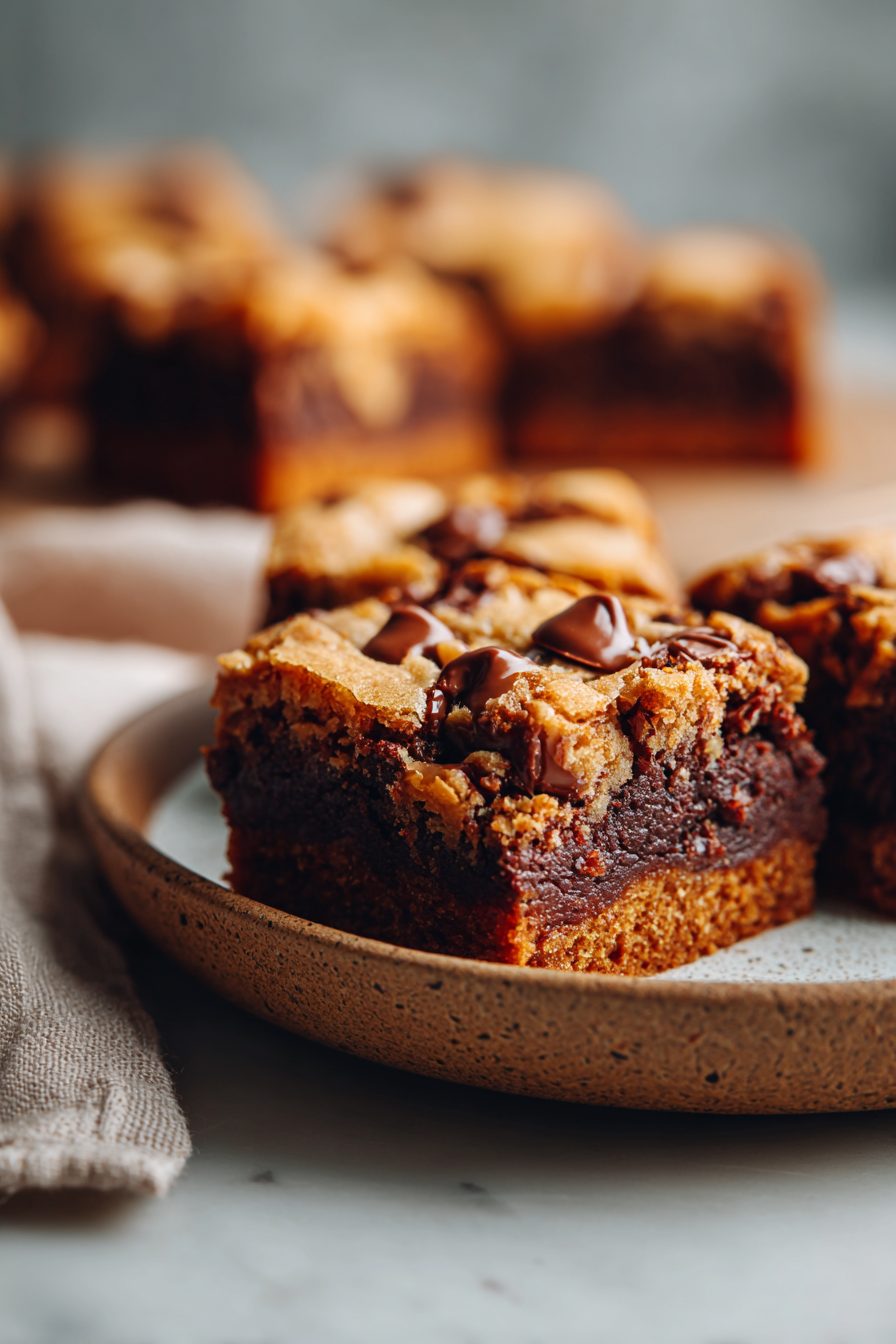
I am telling you, these Congo bars are the kind of sticky, chewy, slightly salty-sweet bars that make people hover in the kitchen like vultures — which, yes, includes my husband and the neighbor who always “happens” to be walking by. They’re basically cookie dough pressed into a pan with pockets of chocolate and toasted nuts, baked until golden, and then eaten warm with a fork because who has the patience to wait? If you like things that are comforting, a little messy, and wildly easy to throw together, this is your jam.
My husband calls them “danger bars” because one pan disappears faster than groceries on a Friday night. Our kiddo learned to make them at six (with supervision; emphasis on the supervision), which is how they became a staple: quick for after-school chaos, impressive for Friday guests, and completely forgiving if you forget the precise counting of chocolate chips. Once I accidentally used maple syrup instead of brown sugar and honestly? A whole new vibe. Not a mistake — just an upgrade.
Why You’ll Love This Easy Congo Bars Recipe
– Chewy, buttery, and studded with chocolate — the texture combo is addictive.
– Fast to mix and forgiving if you’re half paying attention (I speak from experience).
– Kid-friendly for mixing and adult-friendly for sneaking that extra piece before anyone notices.
– Uses pantry staples for a last-minute, show-up-with-dessert kind of magic.
Kitchen Talk

The first time I tried these I underbaked them on purpose because I like gooey centers — my spouse thought I’d ruined them. He converted after the first bite and now insists they be “a little undone.” I’ve burned the edges once (use a lighter pan, lesson learned) and rescued a batch by trimming the crispy rim and drizzling a quick ganache over the top. Chocolate chips? Toss ’em in frozen if you want them to keep their shape. Pecans? Toast them in a dry skillet for two minutes; the smell alone will make you weak-kneed.
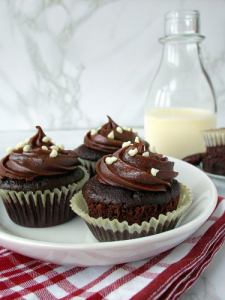
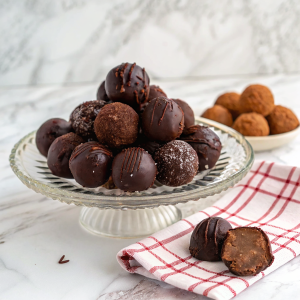
MORE OF OUR FAVORITE…
Shopping Tips
– Baking Basics (Flour/Sugar/Leaveners): All-purpose flour and a mix of granulated + brown sugar are classic here; pick a light brown sugar for softness or dark for molasses-y depth.
– Fats & Oils: Use real butter if possible — it makes the bars tender and flavorful; margarine will work in a pinch but changes the texture.
– Chocolate: Semisweet chips are the safe bet; swap in chopped chocolate for pockets of melty goodness.
– Nuts & Seeds: Pecans or walnuts are traditional — buy them shelled and toast briefly for best flavor.
– Flavor Boosts (Vanilla/Zest): Pure vanilla extract lifts everything; a little orange zest is an unexpected but delightful twist.
Prep Ahead Ideas
– Make the dough the night before and press it into the pan right before baking; keep it covered in the fridge.
– Toast nuts and store them in an airtight container for up to a week so they’re ready to go.
– If you want to be really efficient, measure dry ingredients into a jar ahead of time — shake and dump when you’re ready.
– Use shallow, freezer-safe containers for leftovers so they chill quickly and stack neatly.
Time-Saving Tricks
– Use room-temp butter that’s soft — you won’t need to cream for ages, and the dough comes together faster.
– Buy pre-chopped nuts and chocolate chips if you’re in a hurry; life is short.
– Line the pan with parchment that hangs over the edges so you can lift the whole slab out — much faster than slicing in the pan.
– Do not rush cooling entirely if you want gooey bars; a short rest is enough to set them for slicing.
Common Mistakes
– Overbaking: I once left a pan in because I was distracted by a call — it became more like a cookie sheet. Fix: shave off the very crisp outer edge or reheat briefly before serving with ice cream.
– Under-seasoning: Don’t skip the pinch of salt; it balances the sweetness.
– Not cooling enough: Cutting too hot makes a mess; let it rest until edges are set but centers still soft.
– Skimping on butter: These bars rely on real butter for tenderness — substitutes give a noticeably different texture.
What to Serve It With
– A scoop of vanilla ice cream for serious dessert vibes.
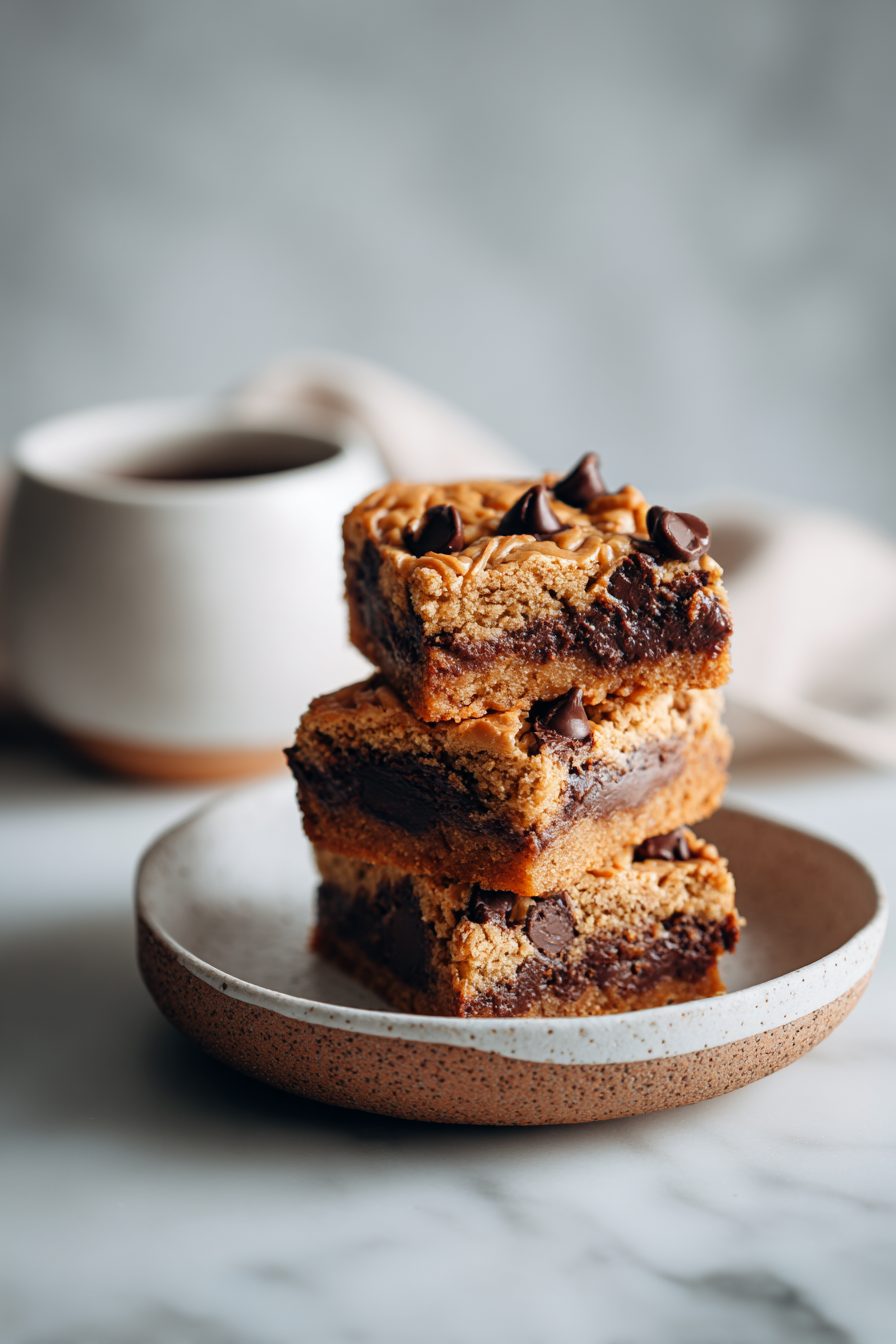
– Strong coffee or espresso to balance the sweetness.
– A simple green salad if you’re serving these as part of a brunch spread.
– Warm custard or a drizzle of caramel for the holidays.
Tips & Mistakes
– Use a light hand when folding in chips — you want distribution, not a chocolate clump.
– Salt the edges lightly after baking if you love sweet-and-salty contrast.
– If the top browns too quickly, tent loosely with foil and finish baking.
– One-liner rescue: too dry? Warm gently and serve with a smear of butter or a scoop of cream.
Storage Tips
Store leftover bars in an airtight container at room temperature for a couple of days, or in the fridge if your kitchen is hot. They slice better chilled but reheat wonderfully for a few seconds in the microwave if you want melty chocolate again. Cold bars make a perfectly acceptable breakfast (no judgment here) and are great crumbled over yogurt.
Variations and Substitutions
– Swap pecans for walnuts or almonds; toasted sunflower seeds also work if you need a nut-free option.
– Use brown sugar for chewiness or more white sugar for a slightly crisper bite.
– Add shredded coconut, dried cranberries, or oats for texture variations.
– For a vegan-ish version: try coconut oil plus a flax “egg” and non-dairy chocolate, but expect a texture shift.
Frequently Asked Questions
Easy Congo Bars Recipe
Ingredients
Main Ingredients
- 0.75 cup unsalted butter, melted and cooled
- 2.2 cup packed light brown sugar
- 0.25 cup granulated sugar
- 3 large eggs
- 1.5 tsp pure vanilla extract
- 2.6 cup all-purpose flour
- 2 tsp baking powder
- 0.5 tsp kosher salt
- 2 cup semisweet chocolate chips
- 0.9 cup chopped walnuts or pecans lightly toasted if desired
Instructions
Preparation Steps
- Heat oven to 350°F. Line a 9x13-inch pan with parchment and lightly grease.
- Whisk flour, baking powder, and salt in a medium bowl; set aside.
- Stir melted butter, brown sugar, and granulated sugar in a large bowl until glossy and smooth.
- Beat in eggs one at a time, then mix in vanilla until fully combined.
- Fold dry ingredients into the wet mixture just until no dry spots remain. Do not overmix.
- Stir in chocolate chips and nuts to evenly distribute.
- Scrape batter into the prepared pan and smooth the top.
- Bake 26–30 minutes, until the top is golden and a toothpick comes out with a few moist crumbs.
- Cool completely in the pan on a rack. Lift out using parchment and cut into bars.
Notes
Featured Comments
“Made this last night and it was turned out amazing. Loved how the crispy came together.”
“This playful recipe was will make again — the guilt-free really stands out. Thanks!”
“New favorite here — so flavorful. fruity was spot on.”
“Super easy and turned out amazing! My family asked for seconds. Saving this one.”
“New favorite here — will make again. hands-off was spot on.”
“Made this last night and it was so flavorful. Loved how the chilled came together.”
“Impressed! Clear steps and so flavorful results. Perfect for busy nights.”
“This chilled recipe was absolutely loved — the baked really stands out. Thanks!”
“Made this last night and it was family favorite. Loved how the nourishing came together.”
“Impressed! Clear steps and absolutely loved results. Perfect for busy nights.”