Peanut Butter Chocolate Thumbprint Cookies
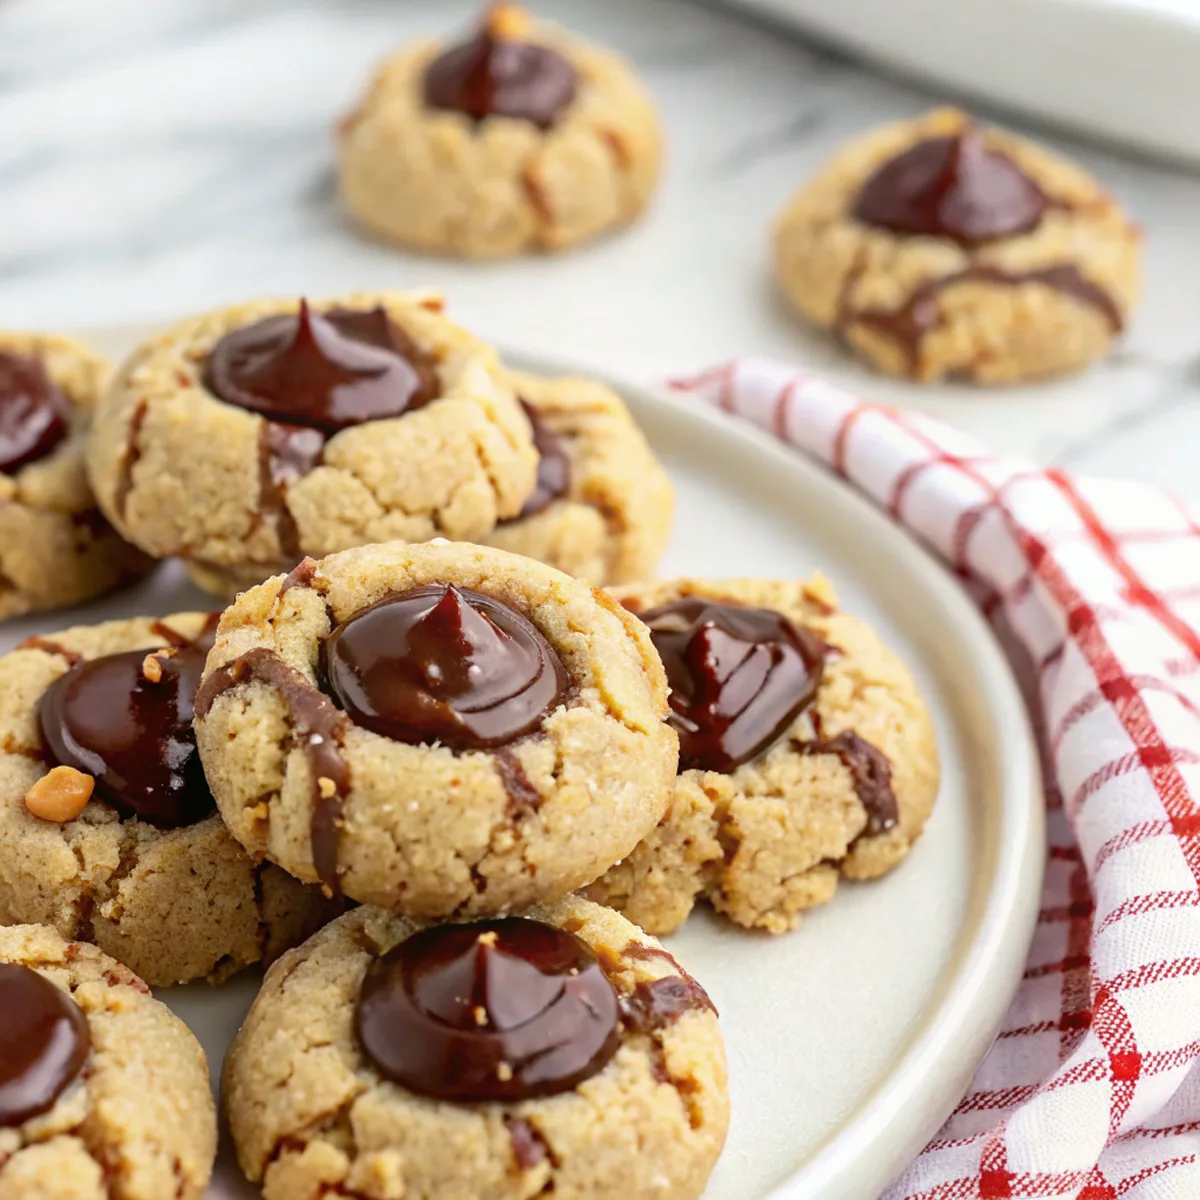
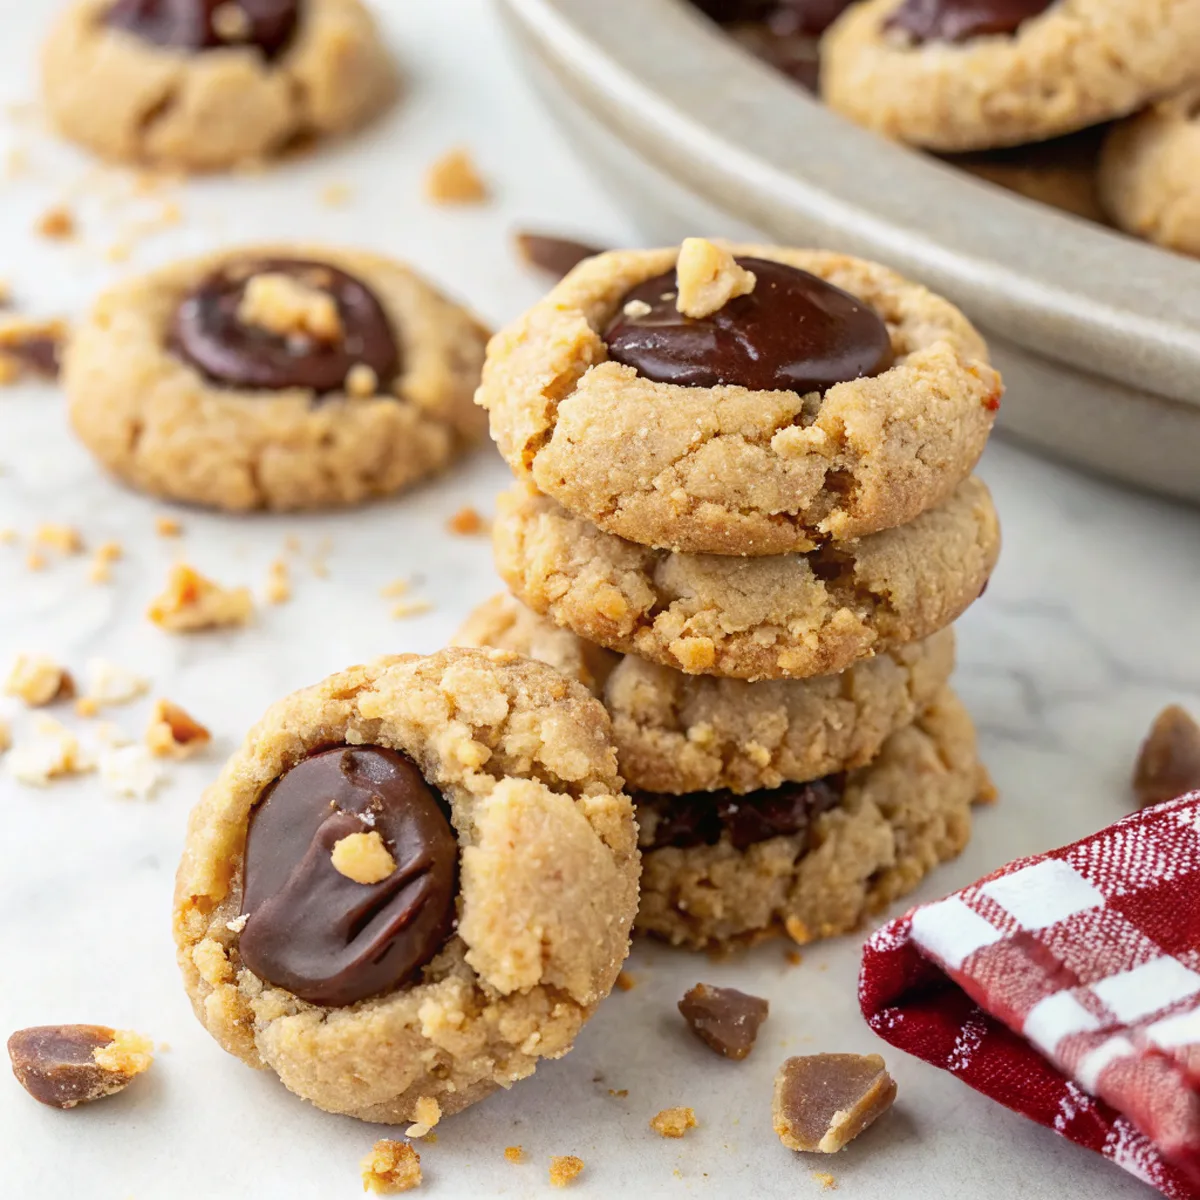
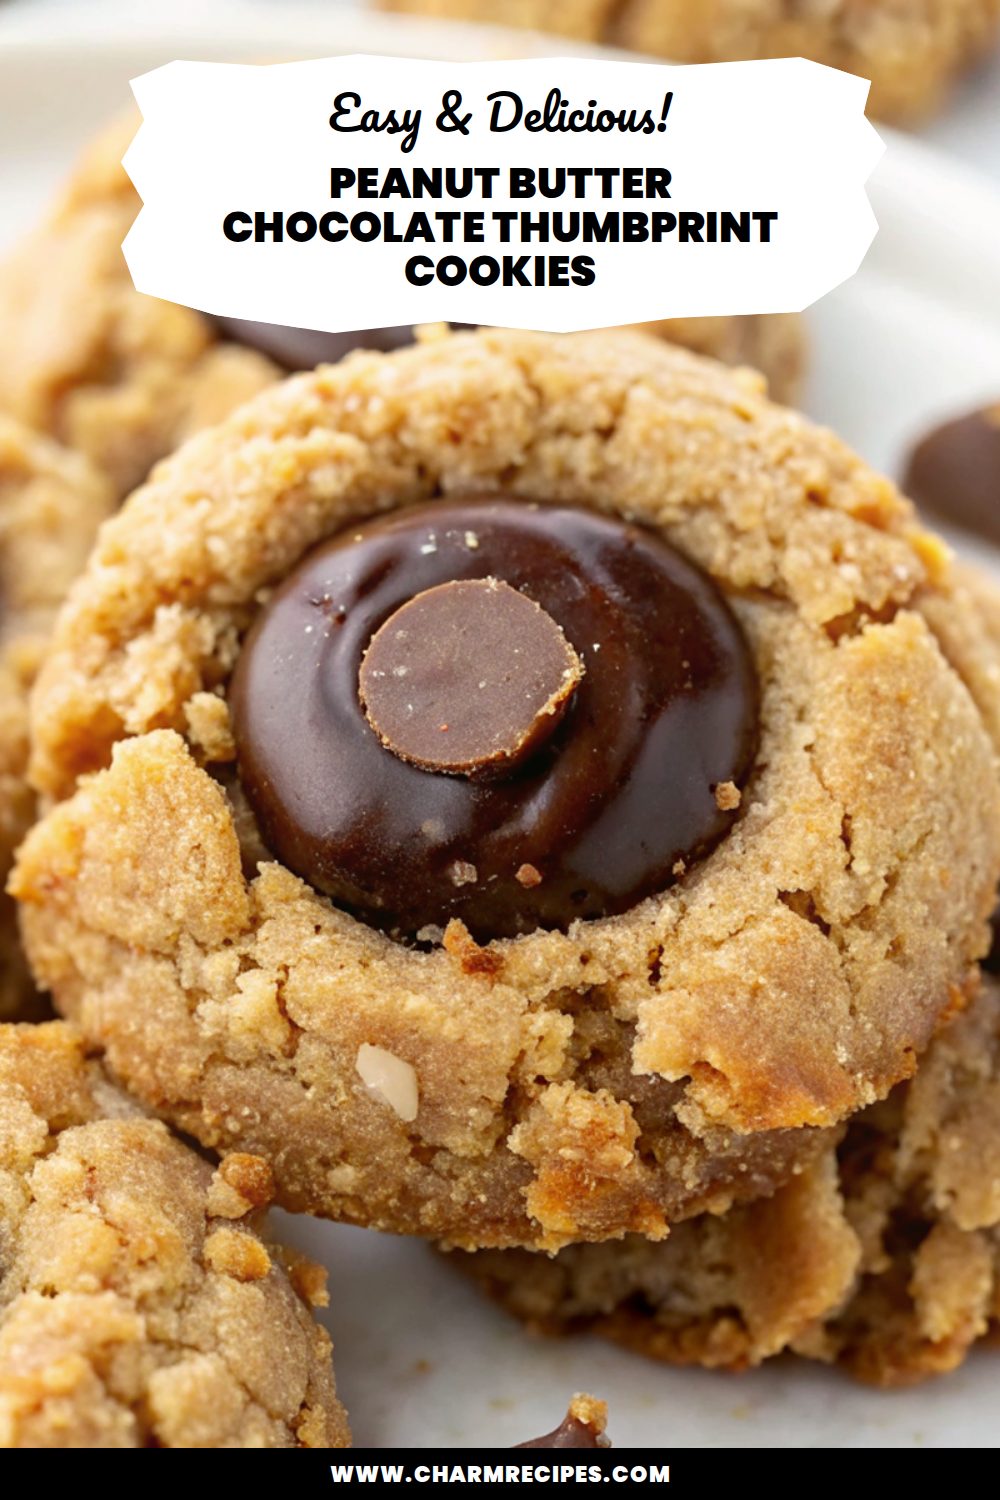
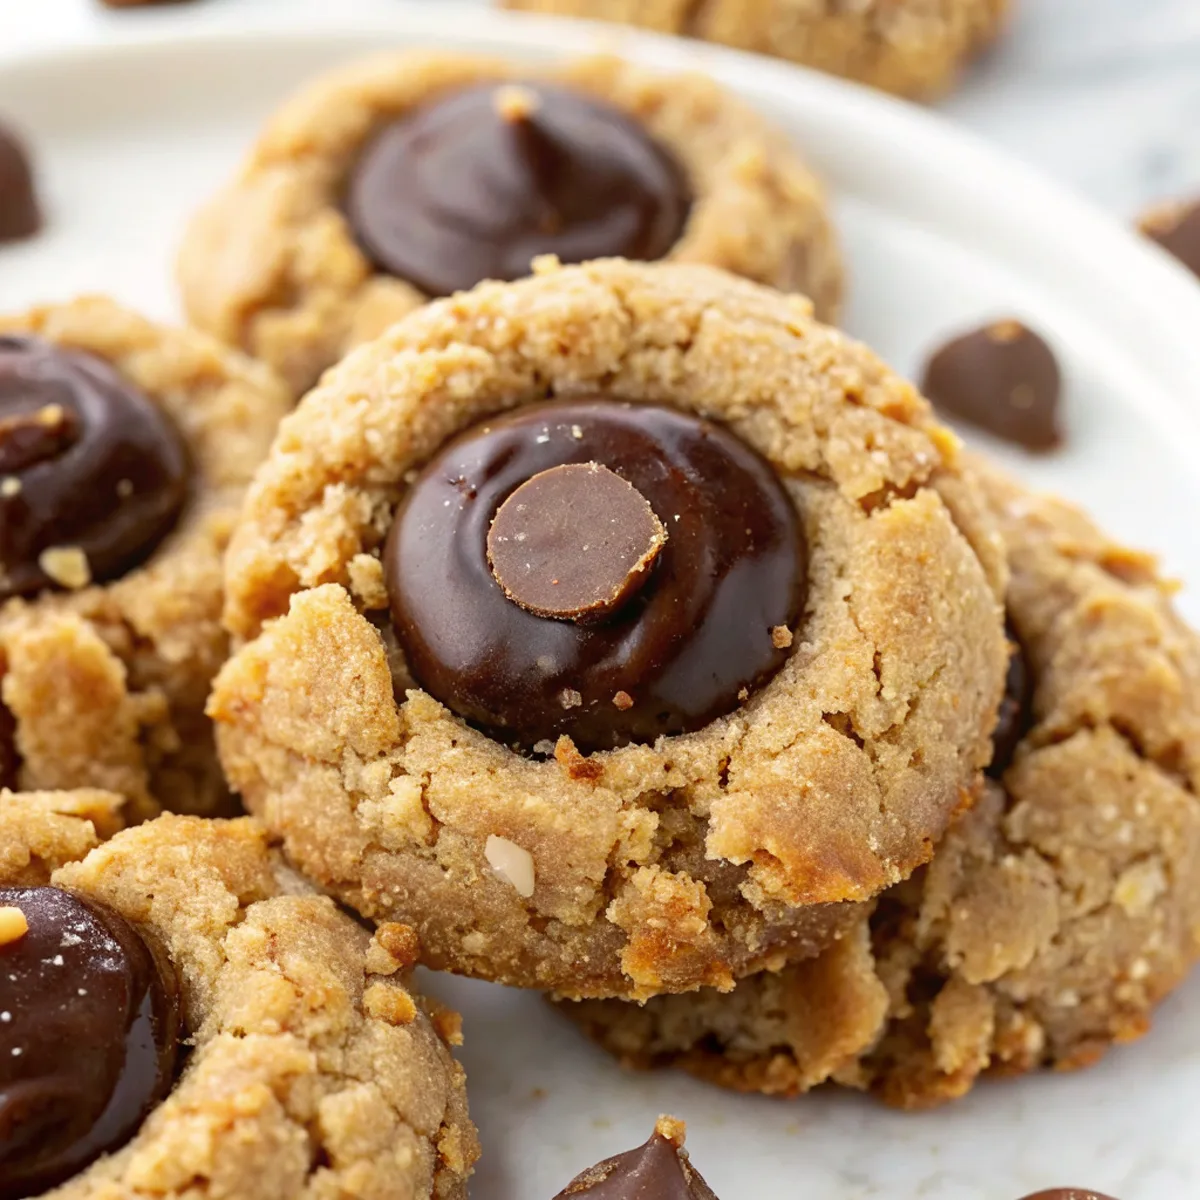
These peanut butter chocolate thumbprint cookies are small, buttery peanut-butter-forward rounds with a soft center and a glossy chocolate filling. They balance salty-sweet peanut flavor with a tender crumb and a smooth chocolate center — an easy, crowd-pleasing cookie worth making for a simple treat or a cookie plate.
They’re straightforward to mix by hand or with a mixer, and the dough is forgiving: a short chill keeps the cookies from spreading too thin and makes shaping easier. You can finish them with melted chocolate, chocolate ganache, or even a few chocolate chips pressed into the center.
Why This Peanut Butter Chocolate Thumbprint Cookies Works
1. The peanut butter-forward dough gives a rich, nutty flavor that pairs perfectly with semi-sweet chocolate.
2. Soft centers and slightly crisp edges create a nice contrast in texture.
3. A quick chill prevents excess spreading and helps the thumbprint hold its shape.
4. Simple pantry ingredients and a short bake time make them fast and reliable.
Ingredients




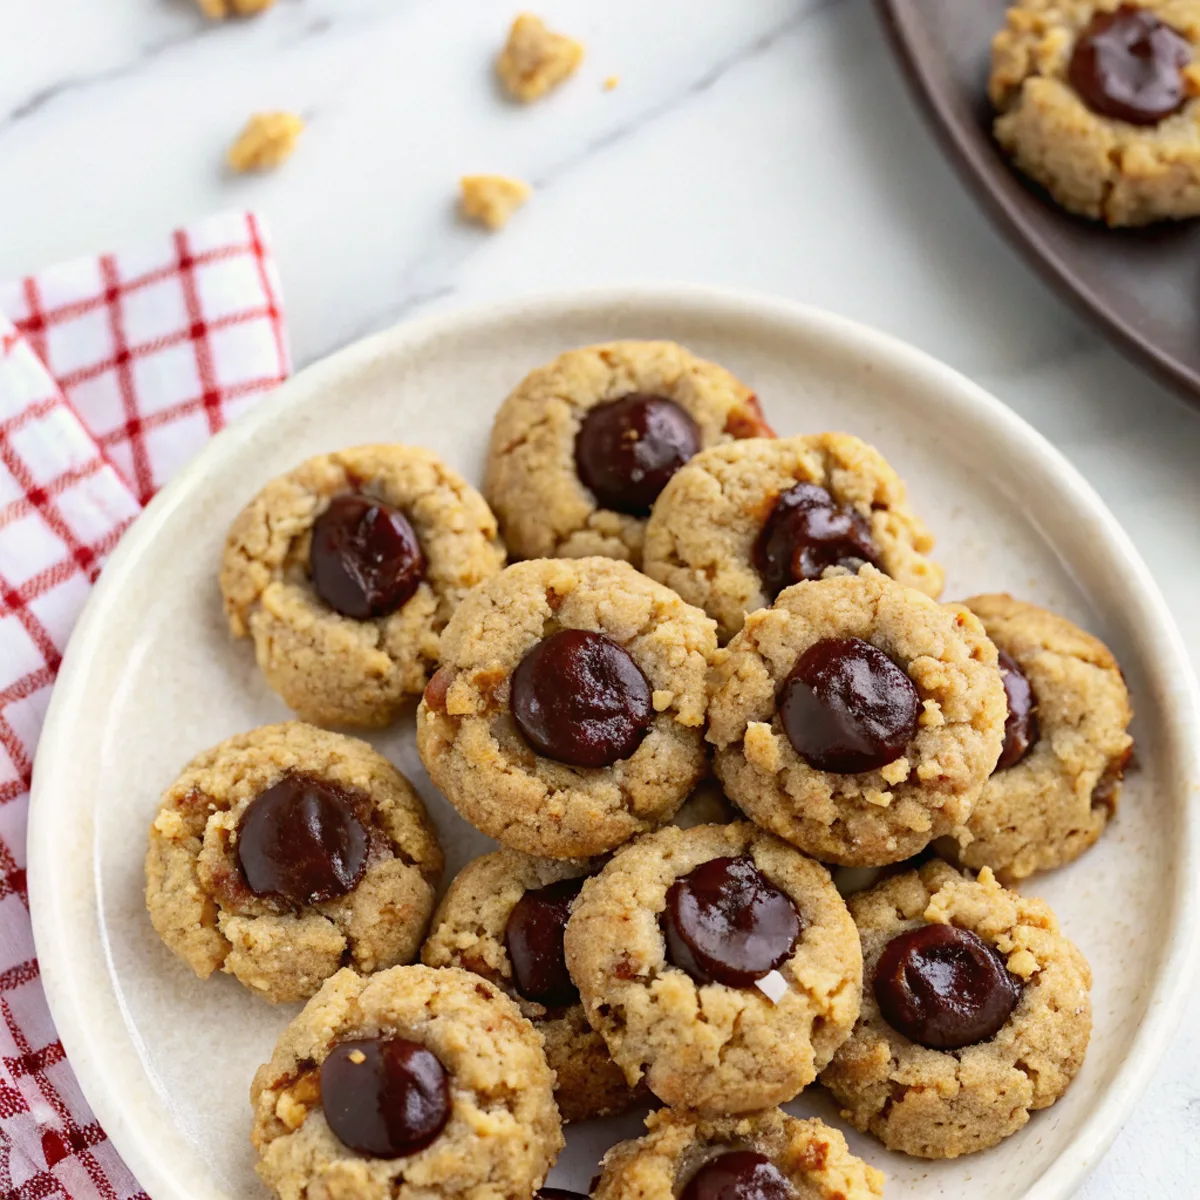
These are the ingredients to have ready; the full recipe card lists exact amounts.
MORE OF OUR FAVORITE…
– Creamy Peanut Butter: Use a stable, stirred peanut butter (not overly oily) for the best texture; crunchy works too for added bites.
– Unsalted Butter: Softened to room temperature so it creams easily with the sugars; can swap for plant-based spread in a pinch.
– Granulated and/or Brown Sugar: Granulated gives crispness; a bit of brown adds moisture and caramel notes.
– Egg: Binds the dough and adds tenderness; bring to room temperature for even mixing.
– All-Purpose Flour: Provides structure; measure by spooning into the cup or weigh for best results.
– Baking Soda and Salt: Baking soda helps lift and spread control; salt balances the sweetness — flaky sea salt is nice on top.
– Semi-Sweet Chocolate: Chips or chopped baking chocolate for melting into the thumbprint; higher-quality chocolate gives a smoother finish.
Substitutions and Variations
– Swap peanut butter for almond or cashew butter: flavor changes to a milder nut profile and cookies can be slightly drier — add a tablespoon more butter or a splash of milk.
– Use coconut oil instead of butter: results in a slightly softer, more fragile cookie and a faint coconut note.
– Make them vegan: use a flax or chia egg and vegan butter; texture will be similar but a touch more cake-like.
– Replace chocolate with jam (raspberry or strawberry): gives a PB&J twist and a brighter, fruitier flavor.
– Add chopped roasted peanuts or chocolate chips to the dough: increases crunch and chocolate pockets.
How to Make Peanut Butter Chocolate Thumbprint Cookies
This is a brief summary — the recipe card has exact measurements and bake times.
1. Cream softened butter and sugars until light, then mix in peanut butter until combined.
2. Beat in the egg and vanilla until smooth.
3. Stir together flour, baking soda, and salt; fold into the wet ingredients until a soft dough forms.
4. Chill the dough 20–30 minutes if it’s very soft or warm (this reduces spreading).
5. Scoop dough into walnut-sized balls, place on a lined baking sheet, and press a shallow thumbprint in each with your thumb or the back of a teaspoon.
6. Bake until edges are set and centers are just firm — the cookies will be slightly soft when you take them out.
7. Fill each thumbprint with melted chocolate or a small spoonful of ganache; let set on the counter or in the fridge until firm.
Tips for the Best Results
1. Chill very soft dough for 20–30 minutes to prevent flat, greasy cookies.
2. Use a small cookie scoop for uniform size and even baking.
3. Make the thumbprint indentation before baking; press firmly but not through the bottom.
4. Don’t overbake — remove when centers look set but still soft; they firm as they cool.
5. If chocolate sets too dull, warm slightly in the microwave (5–7 seconds) and smooth with the back of a spoon.
Common Mistakes
– Dough too oily from natural peanut butter: fix by chilling the dough and adding a tablespoon of extra flour if needed.
– Cookies spread too thin: dough was too warm or over-creamed — chill the dough and reduce mixing time.
– Thumbprints fill up or lose shape: not deep enough indentation — press a bit deeper before baking, or re-press gently right after baking.
– Chocolate runs out of the well: cookies were overfilled or not enough of a well — use less chocolate and leave a small rim.
– Overbaking: cookies dry out and lose tenderness — watch the last 1–2 minutes closely.
Storage
Storing: Keep cooled cookies in an airtight container at room temperature for up to 3–4 days. Layer with parchment to prevent sticking.
Freezing: Freeze baked cookies without the chocolate filling for up to 3 months; thaw and then pipe or spoon fresh melted chocolate before serving. You can also freeze unbaked dough balls (flash-freeze on a tray, then bag) and bake from frozen — add a minute or two to the bake time.
Reheating or serving later: Bring refrigerated cookies to room temperature before serving so the chocolate softens slightly. Microwave one cookie for 6–8 seconds to warm the chocolate if desired.
How to Serve Peanut Butter Chocolate Thumbprint Cookies
– With a cold glass of milk or a warm cup of coffee for a classic pairing.
– As part of a cookie platter paired with shortbread and jam cookies.
– Slightly warm, sandwiched with a scoop of vanilla ice cream for an easy dessert.
– Topped with a light sprinkle of flaky sea salt for a flavor lift.
More Helpful Notes
– Weighing flour or spooning and leveling gives more consistent cookies than packed cups.
– Room-temperature butter and egg combine more evenly for a smoother dough.
– If you like extra crunch, fold in 1/3 cup chopped roasted peanuts.
– For glossy chocolate centers, temper the chocolate slightly or add a teaspoon of neutral oil when melting.
Frequently Asked Questions
Peanut Butter Chocolate Thumbprint Cookies
Ingredients
Cookie Dough
- 6 tablespoons unsalted butter, softened
- 2/3 cup creamy peanut butter (not natural)
- 2/3 cup packed brown sugar
- 1 1/2 teaspoons pure vanilla extract
- 1 large egg
- 1/4 teaspoon baking soda
- 1/2 teaspoon fine sea salt
- 1 2/3 cups all-purpose flour
- 3/4 cup roasted unsalted peanuts, very finely chopped
Chocolate Center & Finish
- 3/4 cup semi-sweet chocolate chips
- 1/3 cup heavy cream
- 1/4 teaspoon instant espresso powder
- 1 pinch flaky sea salt for finishing, optional
Instructions
Preparation Steps
- Position a rack in the center of the oven and heat to 325°F (165°C). Line two sheet pans with parchment paper.
- Place the finely chopped peanuts in a shallow bowl. If your peanuts aren’t freshly roasted, toast them in a dry skillet over medium heat for 2–3 minutes until fragrant, then cool completely before using.
- In a medium bowl, whisk together the flour, baking soda, and fine sea salt.
- In a large bowl with a hand mixer (or stand mixer), beat the softened butter, peanut butter, and brown sugar on medium-high until light and creamy, about 2 minutes. Beat in the vanilla and egg just until smooth, about 30 seconds.
- Add the dry ingredients to the bowl and mix on low until a soft dough forms and no dry spots remain. Chill the dough for 15 minutes to firm slightly for easier rolling.
- Scoop dough into 1-tablespoon portions (about 20 g), roll into smooth balls, then coat each one in the chopped peanuts. Arrange on the prepared sheets, spacing about 2 inches apart.
- Use a 1/2-teaspoon measuring spoon to press a deep dimple into the center of each ball before baking. Bake 12–14 minutes, rotating the pans halfway, until the edges look set and the bottoms are pale golden.
- Immediately after baking, re-press the centers to reinforce the wells. Cool on the sheet for 5 minutes, then transfer to a rack to cool completely.
- Make the ganache: Warm the cream and espresso powder in a small saucepan over low heat until steaming (do not boil). Pour over the chocolate chips in a heatproof bowl. Let stand 2 minutes, then stir until smooth and glossy. Let thicken at room temperature for 10–15 minutes to a spoonable consistency.
- Fill and finish: Spoon or pipe the ganache into the centers of the cooled cookies. Sprinkle each with a tiny pinch of flaky sea salt, if using. Let stand until set, about 30 minutes.
Notes
Featured Comments
“Super easy and absolutely loved! My family asked for seconds. Saving this one.”
“Super easy and family favorite! My family asked for seconds. Saving this one.”
“New favorite here — absolutely loved. grilled was spot on.”
“Made this last night and it was absolutely loved. Loved how the cheesy came together.”
“New favorite here — family favorite. nostalgic was spot on.”
“Impressed! Clear steps and will make again results. Perfect for busy nights.”
“New favorite here — family favorite. quick bite was spot on.”
“Impressed! Clear steps and so flavorful results. Perfect for busy nights.”
“This loaded recipe was absolutely loved — the fizzy really stands out. Thanks!”
“This fluffy recipe was family favorite — the zesty really stands out. Thanks!”