Delish Chocolate Covered Pretzel Rods
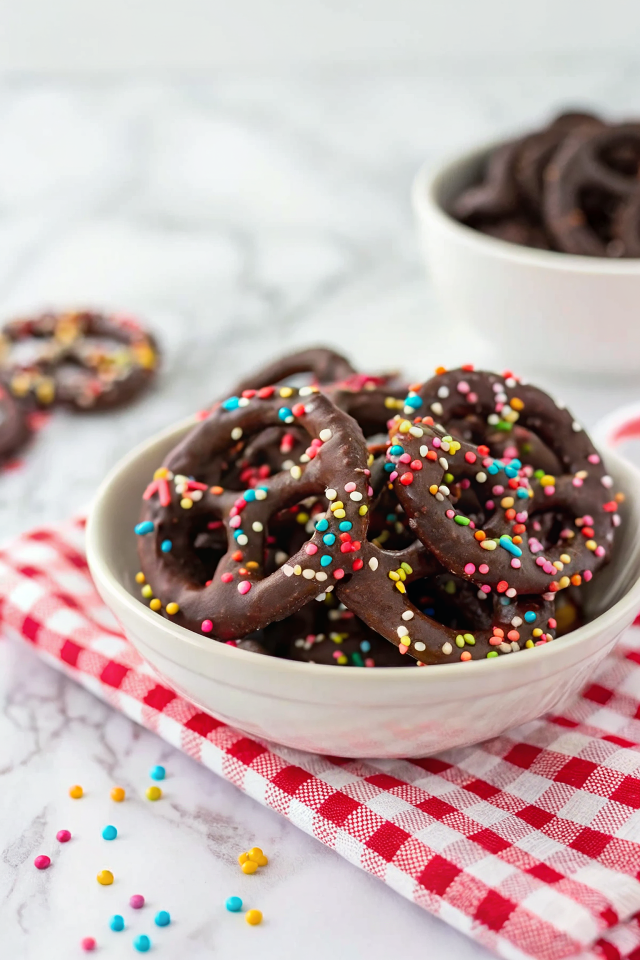
Crunchy pretzel rods dipped in glossy chocolate make a quick sweet‑and‑salty treat that’s as fun to make as it is to eat. The contrast of crisp pretzel, smooth chocolate, and a sprinkle of flaky salt or colorful toppings gives great texture and flavor, and they’re worth making for easy entertaining, gift boxes, or an afternoon snack.
They’re also forgiving and fast — you don’t need fancy tools, and toppings let you personalize each rod. Plan for a short chill time and a little patience while the chocolate sets.
Why This Delish Chocolate Covered Pretzel Rods Works
1. Sweet and salty balance: Semi‑sweet or milk chocolate plus flaky salt highlights both flavors.
2. Great texture contrast: Smooth, glossy chocolate covering a crisp, crunchy pretzel rod.
3. Simple ingredients and fast prep: Melting, dipping, and chilling — no baking required.
4. Highly customizable: Drizzles, nuts, sprinkles, or crushed candy make them party‑ready.
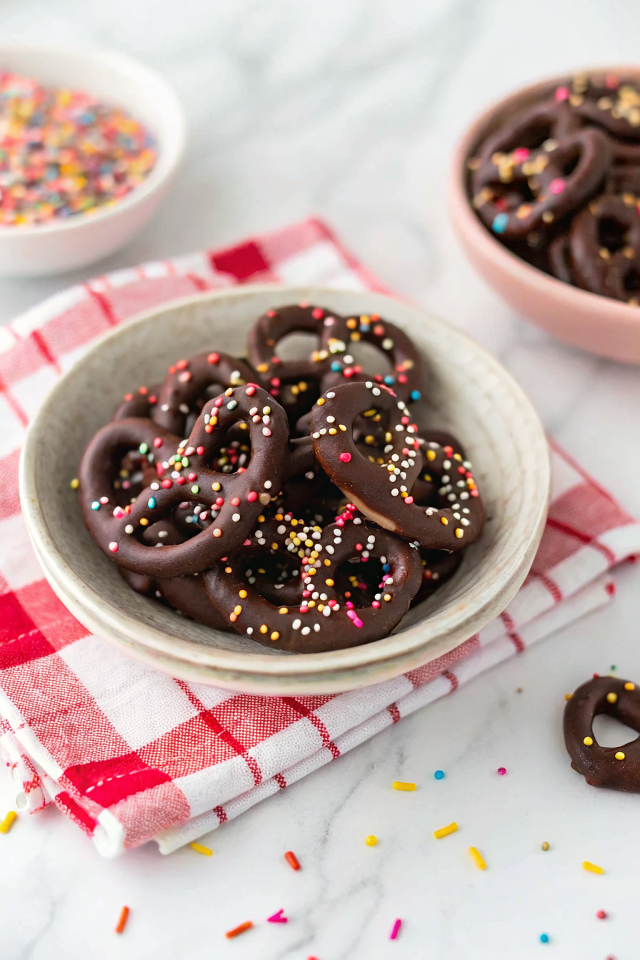
Ingredients




You only need a handful of pantry items to make these; pick good chocolate for the best flavor.
MORE OF OUR FAVORITE…
– Pretzel Rods: Choose straight, sturdy rods so they don’t snap while dipping; thin rods work too but handle gently.
– Semi‑sweet or Milk Chocolate: Chocolate chips or chopped baking chocolate melt smoothly and give the main flavor; dark chocolate gives a richer, less sweet finish.
– Coconut Oil or Neutral Oil: A tablespoon thins the chocolate slightly for smoother dipping and a shinier finish.
– White Chocolate or Candy Melts: For drizzling contrast; they set faster and look decorative.
– Assorted Toppings: Sprinkles, chopped nuts, crushed peppermint, mini M&Ms — add immediately so they stick.
– Flaky Sea Salt: Finish a few with a pinch for a classic sweet‑salt pop.
– Parchment Paper: For cooling the dipped rods so they release easily.
Substitutions and Variations
– Use dark chocolate instead of semi‑sweet for a less sugary, more intense cocoa flavor.
– Swap coconut oil for vegetable shortening; both thin chocolate but coconut oil adds a subtle flavor.
– Use gluten‑free pretzel rods to keep the treat gluten‑free — texture is the same.
– Replace chocolate with caramel for a softer, chewier coating (chill longer to firm up).
– Dip half the rod in chocolate and half in peanut butter for a salty‑nutty variation; peanut butter will be softer at room temp.
How to Make Delish Chocolate Covered Pretzel Rods
This is a quick summary — the full recipe card has exact amounts and detailed timing.
1. Line a baking sheet with parchment and arrange pretzel rods with space between them.
2. Melt chocolate gently in a double boiler or microwave in 20–30 second bursts, stirring; add a teaspoon of oil if needed to loosen.
3. Hold a pretzel by one end and dip two‑thirds into the melted chocolate, letting excess drip back into the bowl.
4. Place dipped rod on parchment and immediately add toppings or a pinch of sea salt.
5. Melt white chocolate or candy melts, then drizzle with a fork or squeeze bottle for decoration.
6. Chill the sheet in the fridge 10–20 minutes until chocolate is set.
7. Store or wrap once fully firm.
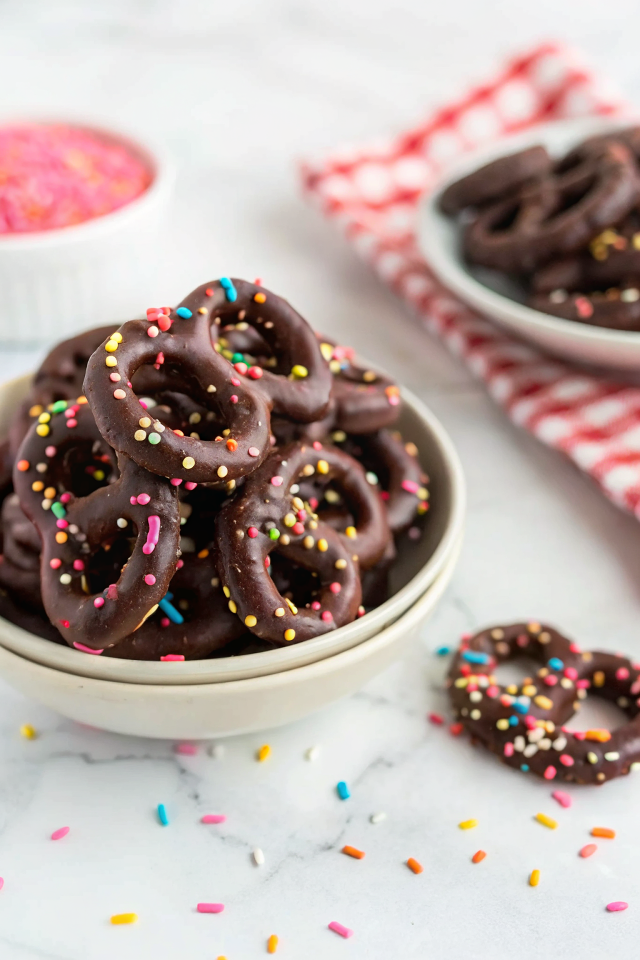
Tips for the Best Results
1. Dry everything: any water or steam will make chocolate seize — keep tools and pretzels dry.
2. Thin chocolate slightly: a teaspoon of oil helps the chocolate coat evenly and gives a glossy finish.
3. Work in small batches: reheat chocolate gently between batches rather than overheating it.
4. Add toppings right away: sprinkle or press toppings while chocolate is still wet so they adhere.
5. Chill only until set: too long in the fridge can cause condensation when you bring them back to room temp.
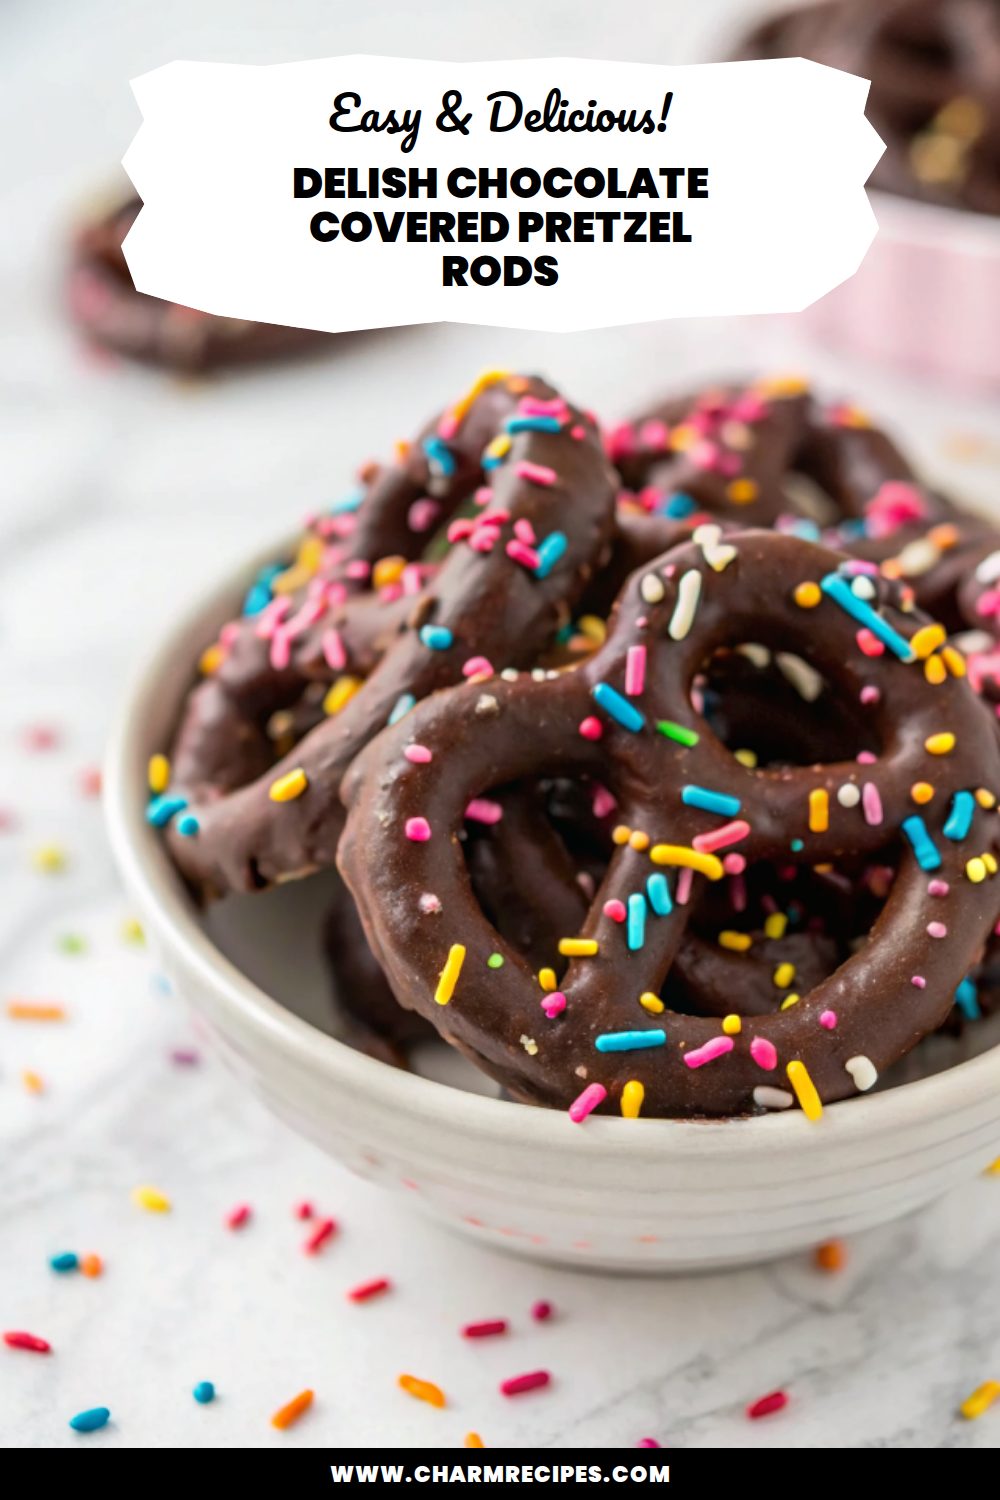
Common Mistakes
– Chocolate seized because of moisture — fix: discard any water, dry tools, and gently stir in a little oil or start fresh.
– Chocolate too thick and clumpy — fix: warm it in short bursts and stir, adding a small amount of oil to loosen.
– Toppings fall off after setting — fix: apply immediately after dipping and press lightly so they stick.
– Pretzels snap while dipping — fix: hold closer to the end or use thinner dips (less chocolate) to reduce weight.
– Condensation forms after refrigeration — fix: let rods come to room temp in a single layer inside the fridge or on the counter briefly before unwrapping.
Storage
Storing: Keep finished pretzel rods in an airtight container at cool room temperature (60–70°F) for up to 5 days. Avoid humid spots or direct sunlight which can cause chocolate bloom.
Freezing: Yes — freeze in a single layer on a sheet until firm, then transfer to a freezer‑safe container with parchment between layers. Freeze up to 2 months. Thaw in the fridge, then bring to room temperature before opening to prevent condensation.
Reheating or serving later: Don’t reheat the finished rods. If you need to soften chocolate for extra drizzling later, warm a small amount of chocolate and drizzle fresh — otherwise let frozen or chilled rods come to room temp before serving.
How to Serve Delish Chocolate Covered Pretzel Rods
– Arrange on a platter with other sweets (chocolate bark, nuts) for a dessert board.
– Bundle 3–5 rods in cellophane and tie with ribbon for simple edible gifts.
– Stick into mugs of hot cocoa as a chocolatey stirrer that melts slightly into the drink.
– Stand upright in a decorated foam block or jar for a candy table centerpiece.
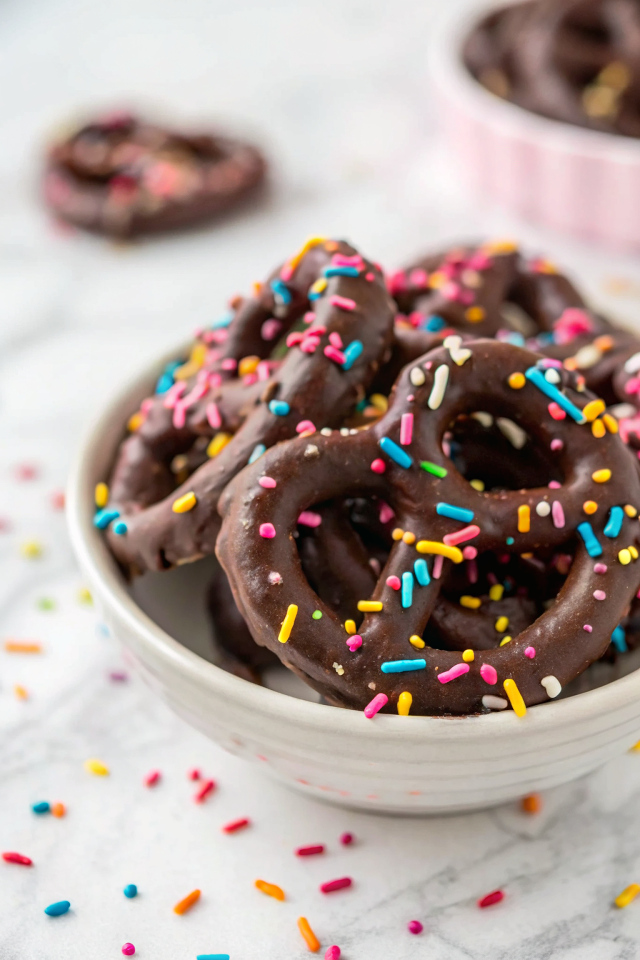
More Helpful Notes
– Use good quality chocolate for the best flavor; couverture or high‑quality chips melt and taste better.
– If you want an extra glossy finish, temper the chocolate or add a little vegetable oil for shine.
– For neat drizzle lines, put melted chocolate in a small zip bag, snip a tiny corner, and squeeze.
– Prep toppings and parchment before melting chocolate so everything moves quickly while chocolate is wet.
Frequently Asked Questions
Delish Chocolate Covered Pretzel Rods
Ingredients
Main Recipe
- 1 bag (10 oz) pretzel rods or 1 bag (14 oz) mini pretzel twists
- 12 oz semisweet chocolate melting wafers or milk chocolate
- 8 oz white chocolate melting wafers optional, for drizzling or dipping
- 1 tsp neutral oil optional, to thin chocolate if needed
- 1/3 cup sprinkles any color
- 1/3 cup chopped nuts optional; peanuts, almonds, or pistachios
- 1/3 cup mini chocolate chips optional; replaces crushed cookies
Instructions
Preparation Steps
- Line one or two sheet pans with parchment or a silicone mat and place them in the fridge for 5 minutes to lightly chill. Pour toppings into shallow bowls. Set a tall heatproof mug nearby for dipping rods.
- Melt the chocolate: Place about 9 oz (roughly 3/4) of the semisweet wafers in a microwave-safe bowl with the oil, if using. Microwave at 60% power in 25-second bursts, stirring well between each, until mostly melted (about 1 1/2–2 minutes total). Stir in the remaining 3 oz to seed and smooth the chocolate until glossy.
- Dip pretzel rods: Pour some melted chocolate into the tall mug, filling it halfway. Angle and rotate each rod through the chocolate to coat. Gently scrape one side of the rod on the mug’s rim and tap the base to shake off excess. Lay on the chilled parchment-lined pan.
- Dip pretzel twists: Add 6–8 twists to the bowl of chocolate at a time. Flip with a fork or skewer until covered, lift individually, tap the fork on the bowl’s edge, and scrape the fork’s underside to remove extra chocolate. Place on the pan.
- Decorate: While the coating is still tacky, add sprinkles, nuts, and/or mini chocolate chips. Work in small batches so the surface doesn’t set before you garnish.
- Optional white drizzle: Melt 4–6 oz white wafers at 50% power in 20-second bursts, stirring between each. If thick, stir in a tiny splash of oil. Spoon into a small zip-top bag, snip a fine corner, and drizzle over pretzels once the first layer has begun to set (about 5–10 minutes).
- Set and serve: Let pretzels stand until fully firm, 20–30 minutes at room temp, or chill 5–10 minutes if your kitchen is warm.
Notes
Featured Comments
“New favorite here — turned out amazing. satisfying was spot on.”
“New favorite here — turned out amazing. anytime was spot on.”
“This pressure-cooked recipe was absolutely loved — the warm really stands out. Thanks!”
“Made this last night and it was turned out amazing. Loved how the vibrant came together.”
“New favorite here — so flavorful. simple was spot on.”
“New favorite here — will make again. sweet treat was spot on.”
“Super easy and will make again! My family asked for seconds. Saving this one.”
“Impressed! Clear steps and family favorite results. Perfect for busy nights.”
“Made this last night and it was so flavorful. Loved how the messy-good came together.”
“Made this last night and it was so flavorful. Loved how the dairy-free came together.”