Peanut Butter Chocolate Thumbprint Cookies
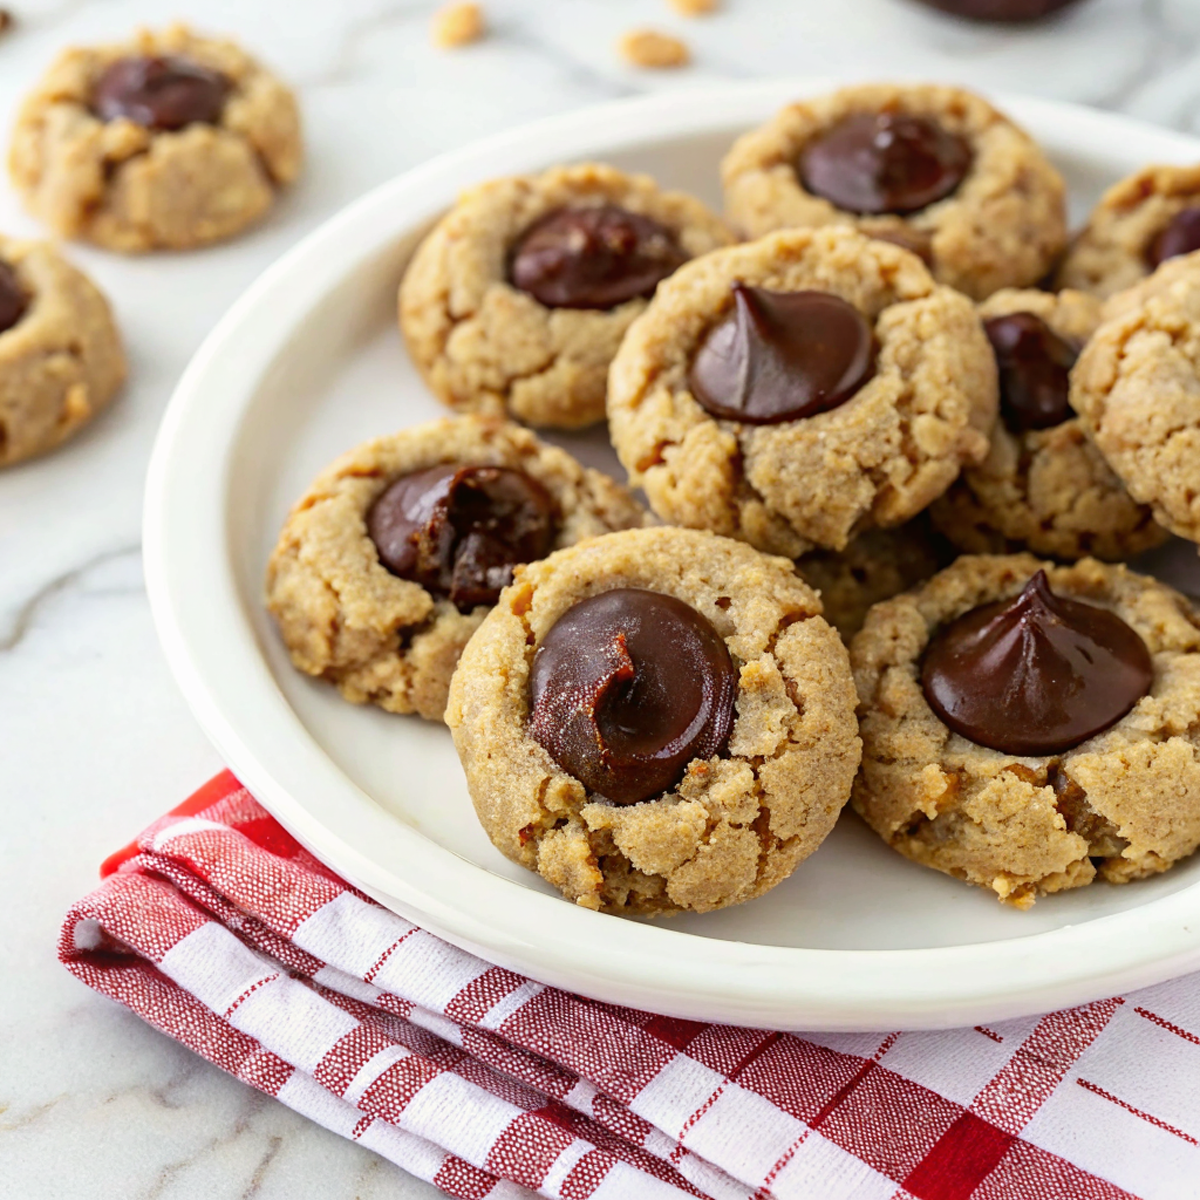
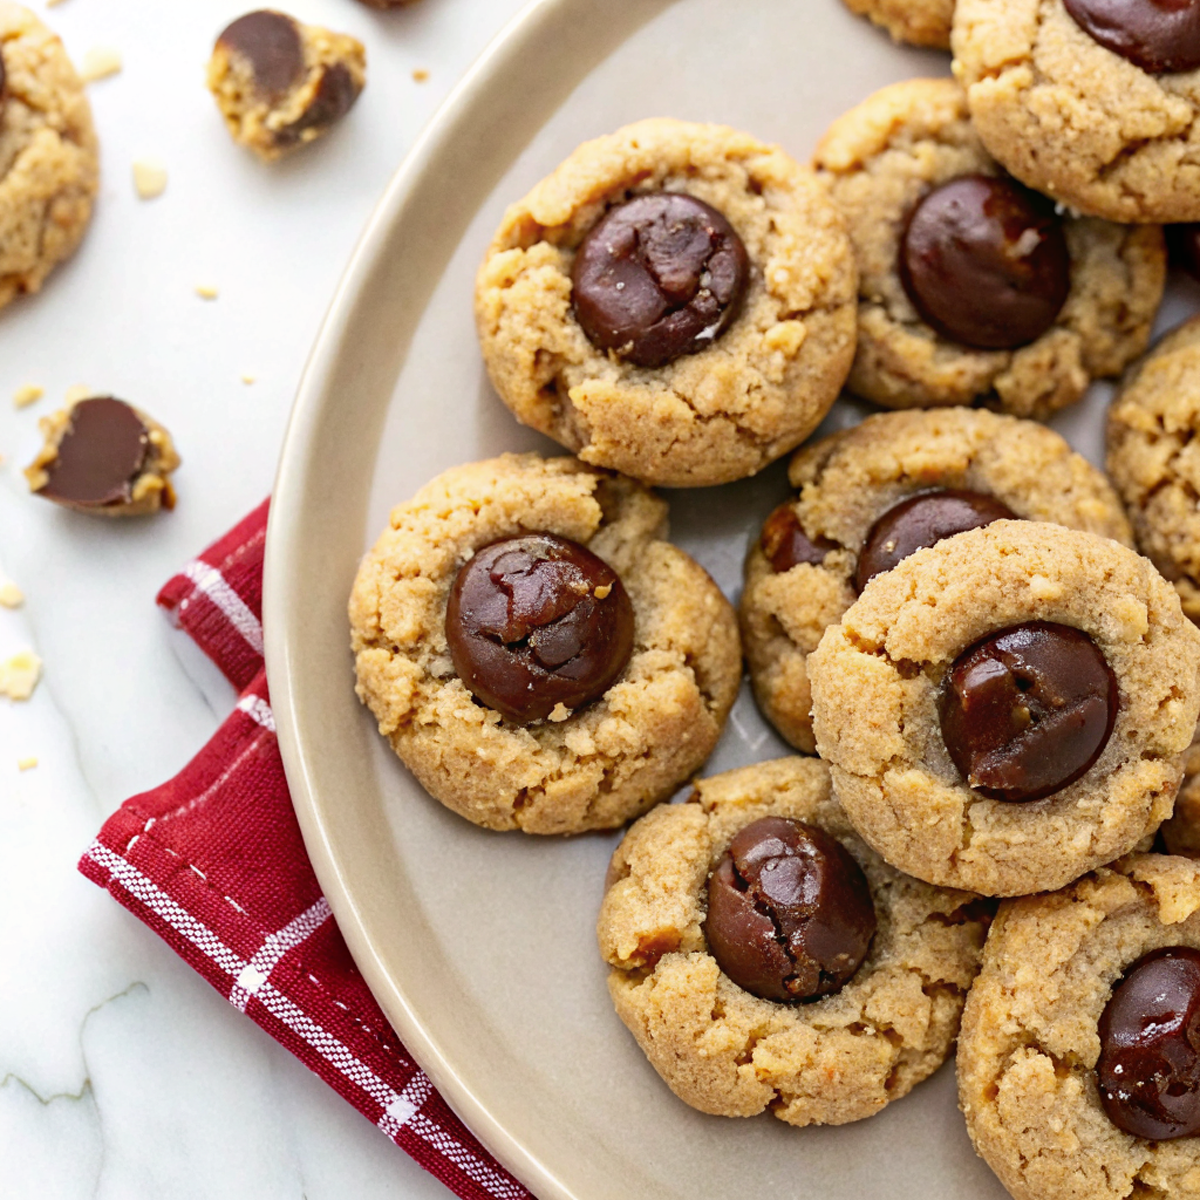
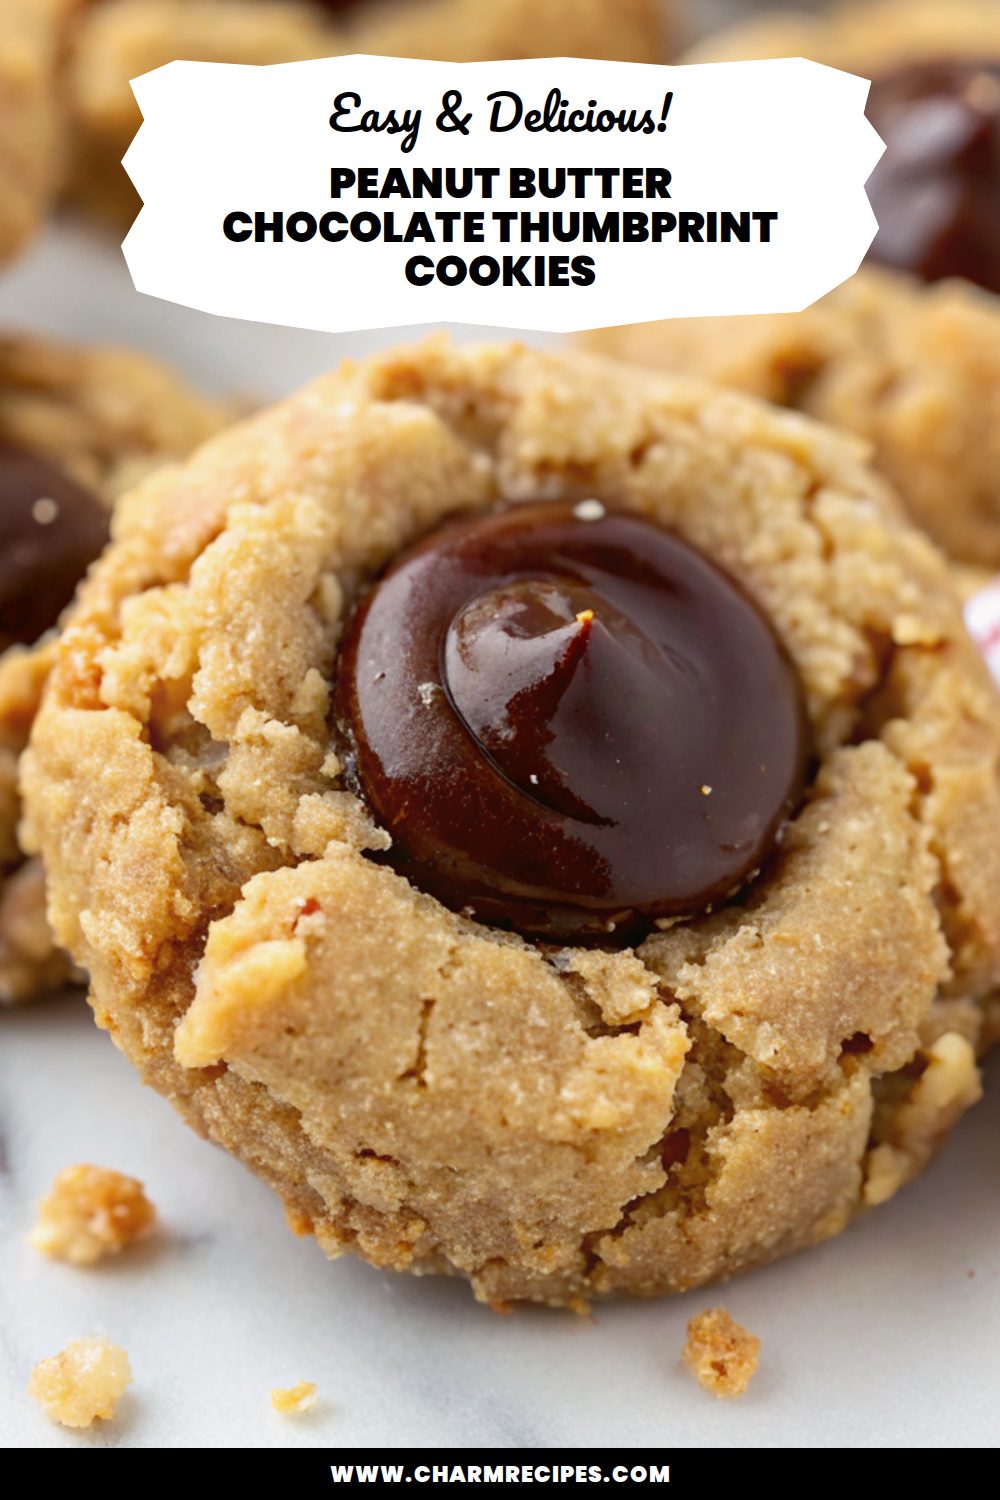
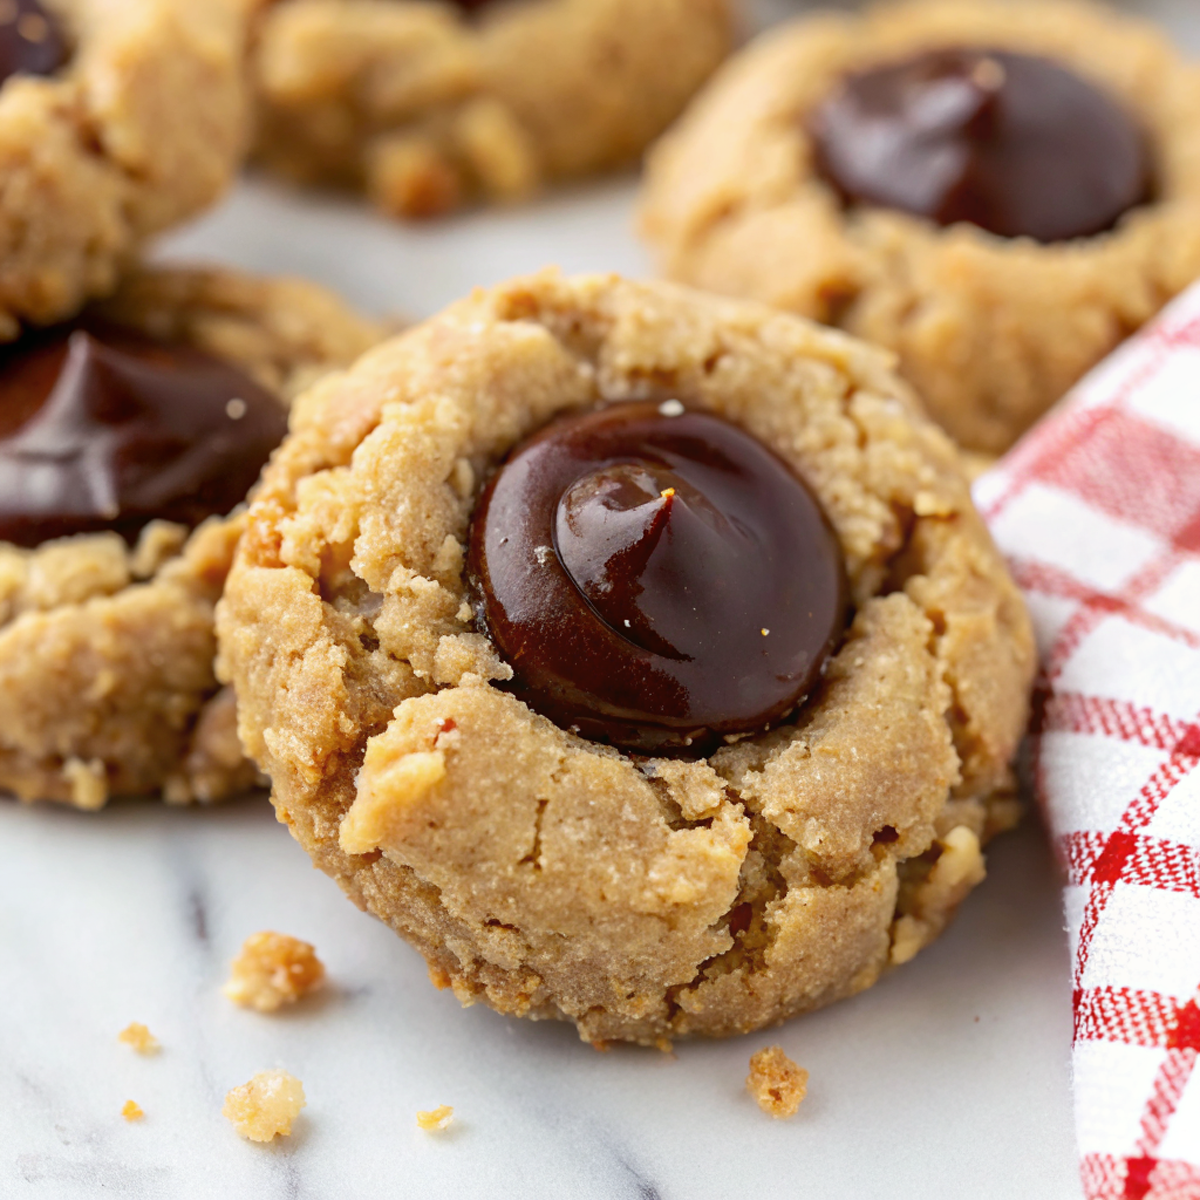
These peanut butter chocolate thumbprint cookies are soft, slightly chewy peanut-butter rounds with a glossy chocolate center — a nice balance of salty, sweet, and tender texture that’s easy to make and hard to stop eating.
They come together with simple pantry ingredients and a quick chill, so they’re a good choice for after-school baking or a last-minute cookie tray. The chocolate can be a melted dollop or a pressed chocolate chip for a fuss-free finish.
Why This Peanut Butter Chocolate Thumbprint Cookies Works
1. Classic flavor combo — peanut butter’s savory richness pairs perfectly with a sweet chocolate center.
2. Soft, slightly chewy texture — brown sugar and a short chill keep them tender without spreading too thin.
3. Simple technique — dough is mixed, scooped, indented, and filled; no fancy equipment required.
4. Flexible filling — use chopped chocolate, chips, or a quick ganache depending on how glossy or firm you want the center.
Ingredients




A few notes on the main ingredients so you get the best texture and flavor.
MORE OF OUR FAVORITE…
– Peanut butter: Use creamy for smooth dough and even texture; natural peanut butter works but may need extra chilling.
– Unsalted butter: Softened butter adds richness and structure; stick to room temperature, not melted.
– Sugars (granulated + brown): Brown sugar gives chew and depth, granulated helps spread control — adjust slightly for sweetness.
– Egg: Binds the dough and adds lift; one large egg is usually enough for a single batch.
– Vanilla extract: Adds warmth and rounds the peanut butter flavor.
– All-purpose flour: The base for structure; measure by spooning and leveling to avoid dense cookies.
– Baking soda and salt: Baking soda gives a light rise; salt balances the sweetness and enhances peanut butter.
– Chocolate for filling: Use chips, chopped baking chocolate, or a quick ganache — darker chocolate gives more contrast.
Substitutions and Variations
– Use natural peanut butter: dough will be oilier and softer; chill longer or add a tablespoon more flour.
– Swap for almond or cashew butter: milder or nuttier flavor; cookies may be slightly less sweet.
– Make them gluten-free: replace flour with a 1:1 gluten-free blend — texture may be a touch denser.
– Use jam instead of chocolate: creates a peanut butter & jelly thumbprint; bake and then spoon jam into centers.
– Press chocolate chips in after baking: yields firmer chocolate centers that won’t melt as easily.
– Add chopped peanuts on top: gives extra crunch and visual contrast.
How to Make Peanut Butter Chocolate Thumbprint Cookies
This is a summary — the recipe card has exact amounts and bake times.
1. Cream together softened butter, peanut butter, and sugars until light and combined.
2. Beat in the egg and vanilla until smooth.
3. Stir in flour, baking soda, and salt just until a soft dough forms.
4. Chill the dough 20–30 minutes to make scooping and shaping easier and to limit spread.
5. Scoop dough into uniform balls (about 1–1½ tablespoons), place on a lined baking sheet, and press an indentation in the center with your thumb or the back of a spoon.
6. Bake until edges are set and lightly golden (cookies may still be slightly soft in centers). Remove from oven.
7. Immediately fill each indentation with a chocolate piece or spoon a small amount of melted chocolate/ganache; let cool on the sheet until centers set.

Tips for the Best Results
1. Chill the dough if it feels sticky — colder dough spreads less and keeps indentations.
2. Use a small cookie scoop for even-sized cookies so bake times are consistent.
3. Make the indent after scooping but before baking; press gently so the cookie still rises around the edge.
4. If using melted chocolate, let cookies cool 5 minutes on the pan before adding so chocolate doesn’t sink.
5. Bake until edges are set and centers look slightly soft — they’ll firm as they cool.
Common Mistakes
– Dough too warm and cookies spread: fix by chilling the dough 20–30 minutes before baking.
– Indentations disappear during baking: press a slightly deeper thumbprint or make the indent again immediately after they come out of the oven.
– Chocolate filling runs or gets too thin: use chopped chocolate or press chips in after baking, or chill cookies briefly before adding ganache.
– Cookies are dry or crumbly: avoid overmeasuring flour and don’t overbake; remove when centers are still slightly soft.
– Bland flavor: make sure to add the salt and use real vanilla for better depth.
Storage
Storing: Store cooled cookies in an airtight container at room temperature for up to 3–4 days. Place parchment between layers to prevent sticking.
Freezing: Baked cookies freeze well for up to 3 months. Freeze single layers on a sheet first, then transfer to a freezer bag. You can also freeze shaped dough balls for up to 3 months — bake from frozen, adding a couple of minutes to the bake time.
Reheating or serving later: If chocolate centers are firm, bring to room temperature before serving. For a soft, just-melted center, microwave a cookie for 6–10 seconds on high (watch closely).
How to Serve Peanut Butter Chocolate Thumbprint Cookies
– With a cold glass of milk for a classic pairing.
– On a cookie platter alongside jam thumbprints and shortbread for variety.
– Slightly warm and sandwiched with a scoop of vanilla ice cream for a simple dessert.
– Pack in small boxes or bags for gifts — they travel well if chilled first.
More Helpful Notes
– Crunchy peanut butter adds texture but may make dough a bit firmer; use creamy for the smoothest centers.
– If doubling the recipe, use two sheet pans and rotate halfway through baking for even color.
– Parchment or silicone mats prevent sticking and help cookies brown evenly.
– Adjust chocolate amount to taste — a little goes a long way for balance.
Frequently Asked Questions
Peanut Butter Chocolate Thumbprint Cookies
Ingredients
Peanut Butter Cookies
- 10 tablespoons unsalted butter, softened
- 2/3 cup creamy peanut butter
- 2/3 cup packed light brown sugar
- 3 tablespoons granulated sugar
- 1 1/2 teaspoons pure vanilla extract
- 1 large egg
- 1 2/3 cups all-purpose flour
- 1/4 teaspoon baking powder
- 1/2 teaspoon fine sea salt
- 3/4 cup finely chopped roasted salted peanuts
Chocolate Center & Finish
- 1/2 cup semi-sweet chocolate chips
- 1/3 cup heavy cream
- 1/4 teaspoon instant espresso powder
- 1 pinch flaky sea salt, for garnish
Instructions
Preparation Steps
- Line two baking sheets with parchment paper. If your peanuts are not already roasted, toast them in a 350°F (175°C) oven for 5–7 minutes, cool completely, then chop finely.
- In a medium bowl, whisk together the flour, baking powder, and fine sea salt until well combined; set aside.
- In a large bowl with a hand mixer (or a stand mixer with the paddle), beat the softened butter with the brown sugar and granulated sugar on medium speed until light and creamy, about 2 minutes. Beat in the peanut butter and vanilla until smooth, then mix in the egg just until fully incorporated.
- Add the dry ingredients to the bowl in two additions, mixing on low only until the dough comes together and no dry streaks remain. The dough will be soft but not sticky.
- Scoop dough into 1 tablespoon portions (about 20 g each), roll into smooth balls, and coat each one in the chopped peanuts. Space on the prepared sheets about 2 inches apart.
- Use a 1/2-teaspoon measuring spoon or the end of a wooden spoon to press a shallow well in the center of each ball. Chill the trays for 10–15 minutes to help the cookies hold their shape.
- Bake at 325°F (165°C) for 13–15 minutes, until the edges look set and the bottoms are just turning golden. Rotate the pans once if your oven bakes unevenly.
- Immediately after baking, gently press the centers again to refresh the wells. Cool on the sheets for 5 minutes, then transfer to a wire rack to cool completely before filling.
- Make the ganache: Place the chocolate chips and espresso powder in a heatproof bowl. Heat the cream in a small saucepan over medium until steaming (just below a simmer), then pour it over the chocolate. Let stand 2 minutes, then whisk until glossy and smooth. Allow to thicken for about 10 minutes at room temperature.
- Fill the thumbprints by spooning or piping ganache into each well. Finish with a tiny pinch of flaky sea salt. Let the ganache set at room temperature for 30 minutes, or refrigerate the cookies for 10 minutes to speed it up.
Notes
Featured Comments
“Impressed! Clear steps and will make again results. Perfect for busy nights.”
“This morning favorite recipe was family favorite — the cozy really stands out. Thanks!”
“New favorite here — turned out amazing. vibrant was spot on.”
“Super easy and absolutely loved! My family asked for seconds. Saving this one.”
“Impressed! Clear steps and so flavorful results. Perfect for busy nights.”
“New favorite here — absolutely loved. cheesy was spot on.”
“Super easy and turned out amazing! My family asked for seconds. Saving this one.”
“This celebratory recipe was so flavorful — the nourishing really stands out. Thanks!”
“This golden recipe was will make again — the speedy really stands out. Thanks!”
“This tasty recipe was family favorite — the speedy really stands out. Thanks!”