Chocolate Chip Cookie Bars
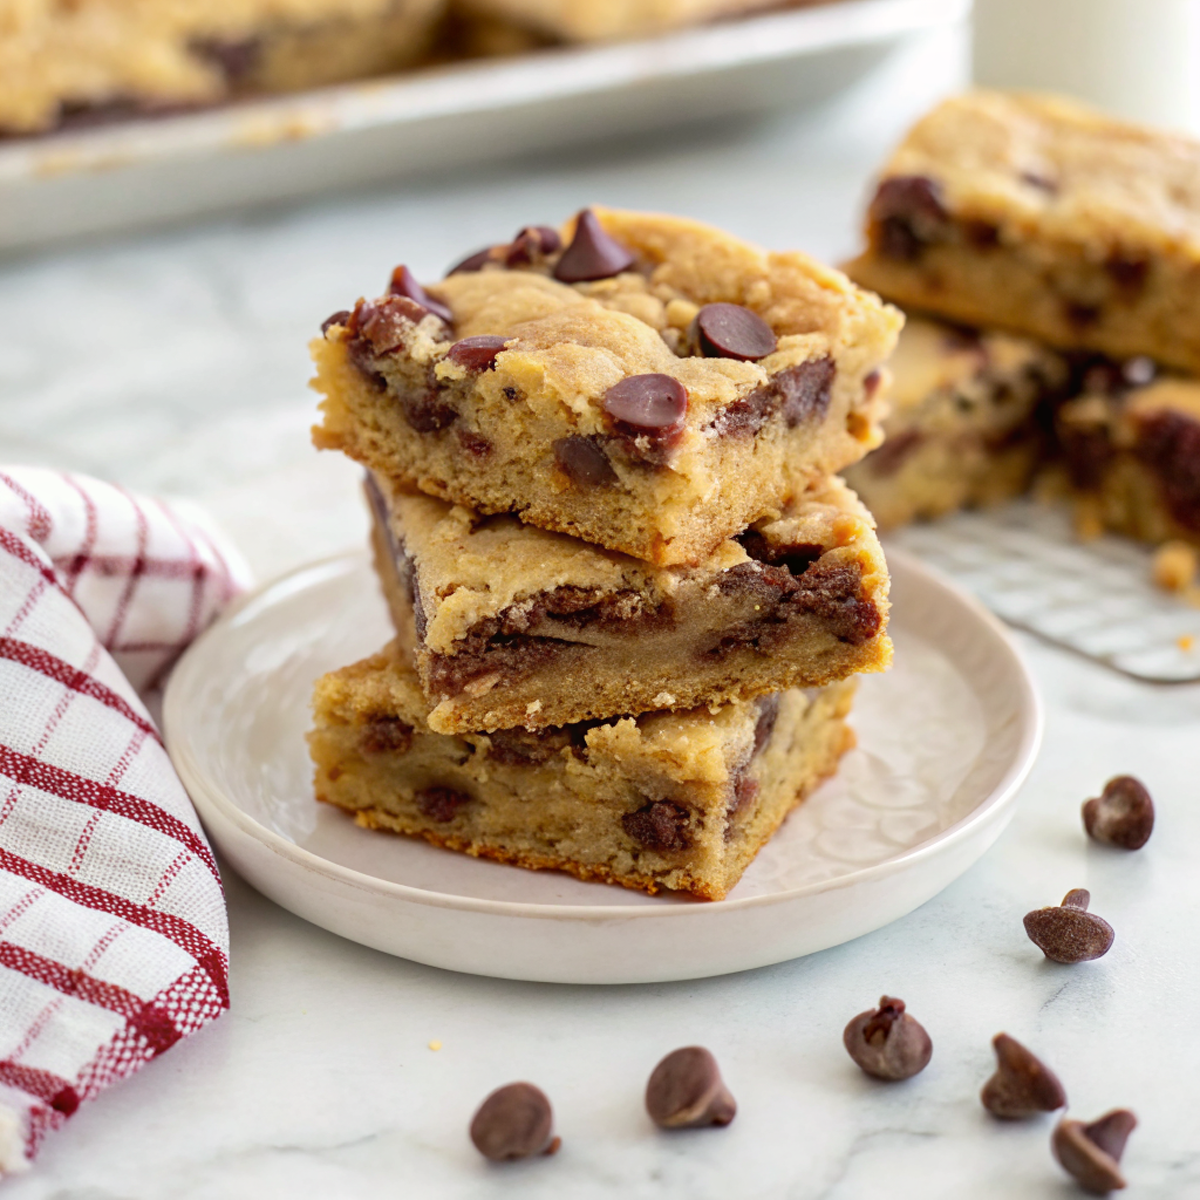
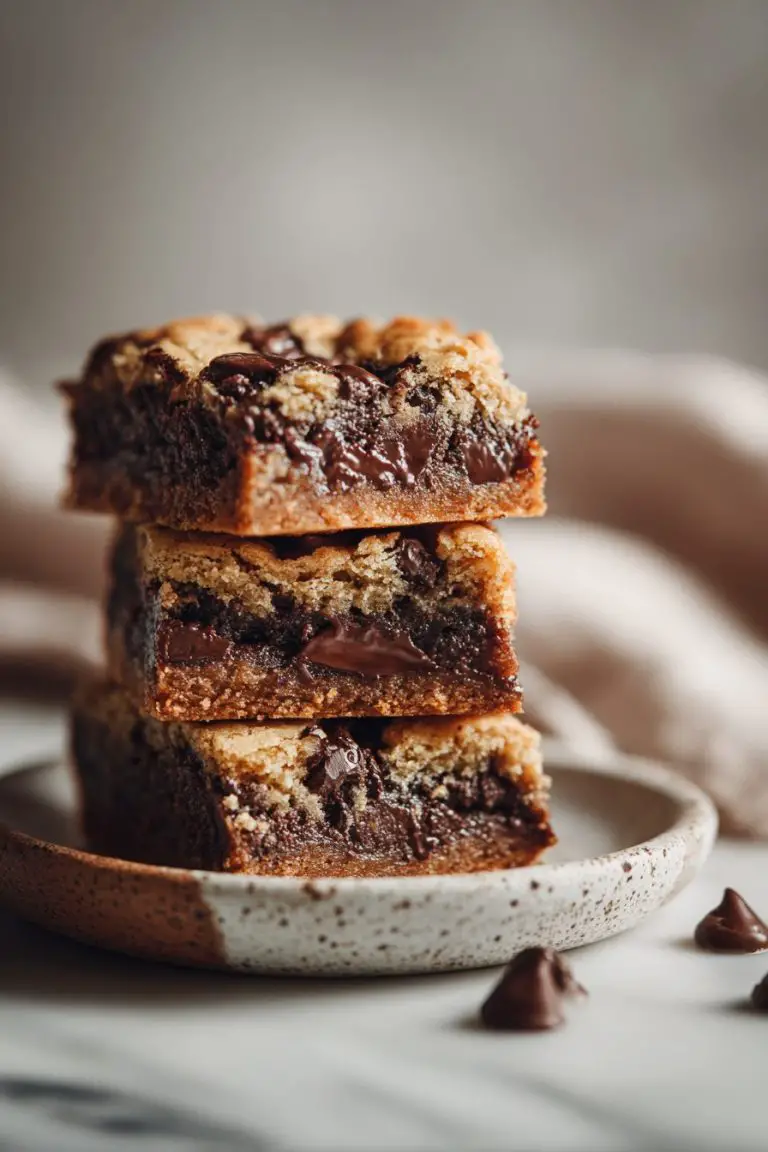
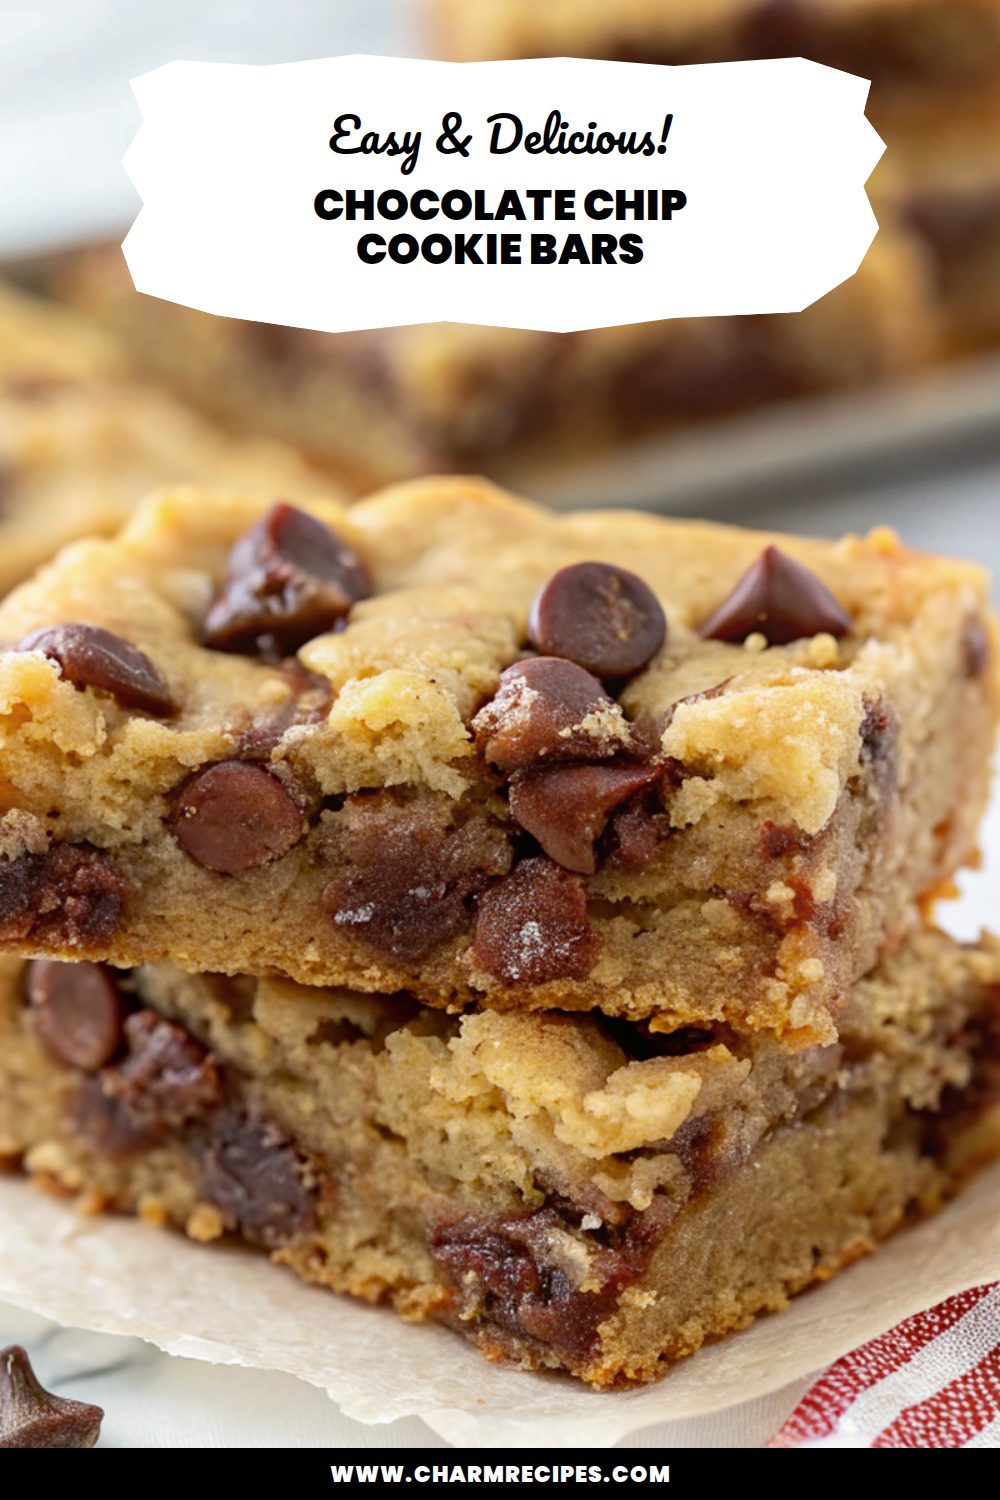
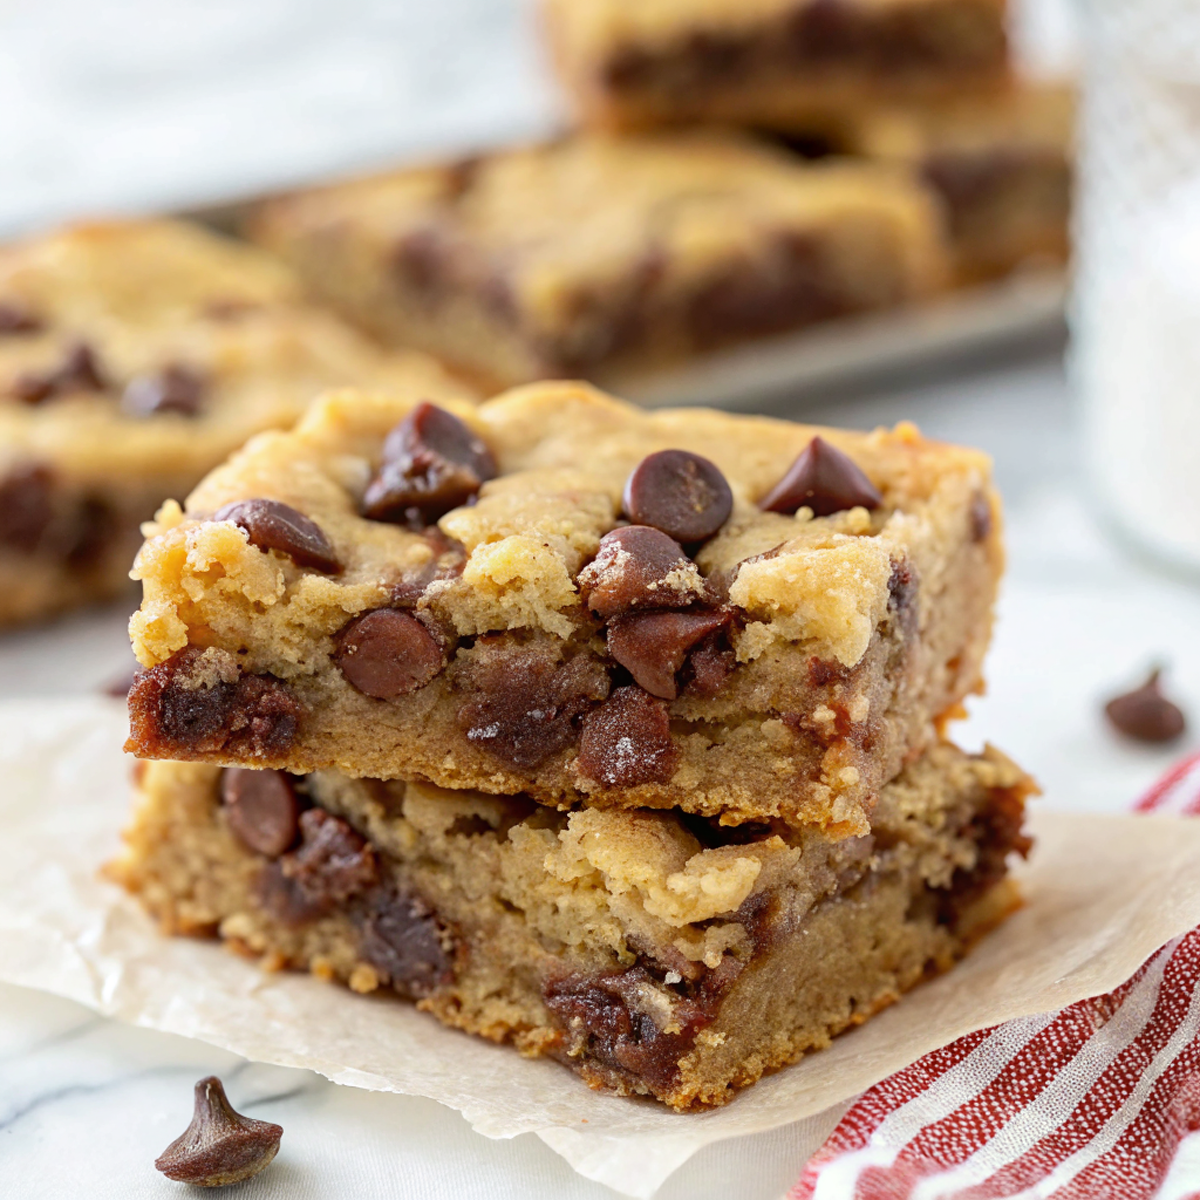
These chocolate chip cookie bars are a cross between a classic drop cookie and a brownie — chewy in the middle with lightly crisp edges and plenty of melty chocolate. They’re easy to press into a pan, slice, and share, so they’re worth making when you want a quick crowd-pleaser without fussing with individual cookies.
They come together with pantry staples and don’t require chilling the dough, which makes them a reliable weeknight bake or last-minute dessert. The texture is forgiving, so a slightly longer or shorter bake still gives a tasty result.
Why This Chocolate Chip Cookie Bars Works
1. The higher brown sugar ratio keeps the bars chewy and moist.
2. Chocolate chips dispersed through the batter give melty pockets in every bite.
3. Baked in a single pan for fast prep and easy cleanup — no scooping dozens of cookies.
4. The edges caramelize slightly while the center stays soft, offering a nice contrast.
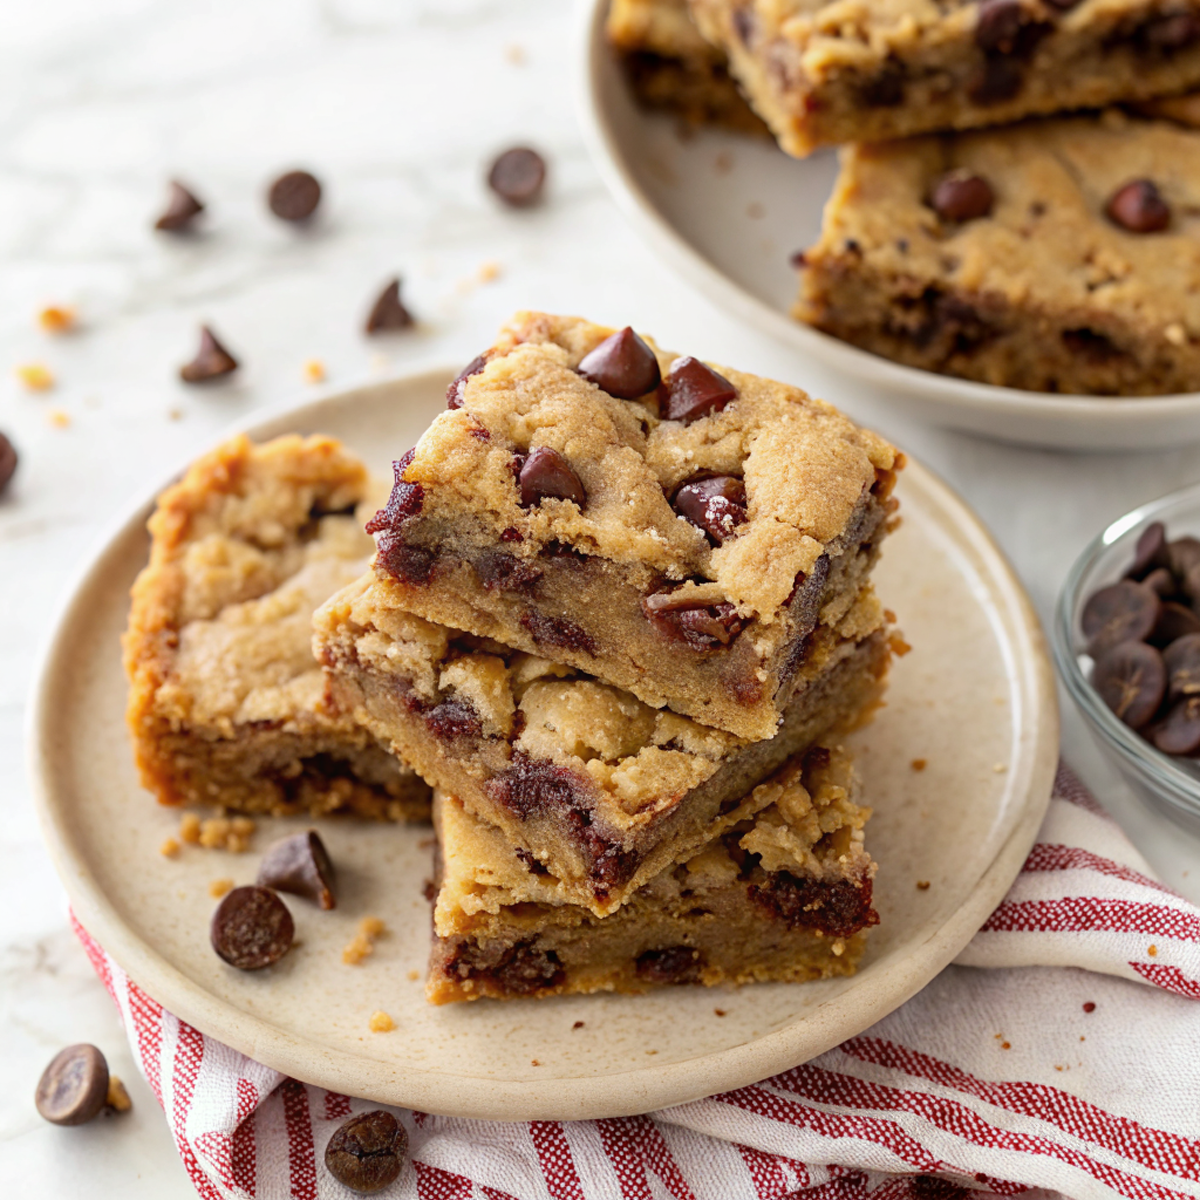
Ingredients




These are the key ingredients you’ll want on hand.
MORE OF OUR FAVORITE…
– Butter: Use softened or melted unsalted butter for flavor and richness; melted gives a denser, chewier bar.
– Brown sugar: Adds moisture and chew; light or dark both work (dark gives more caramel flavor).
– Granulated sugar: Balances sweetness and helps with a slightly crisp edge.
– Eggs: Provide structure and help the bars hold together when sliced.
– Vanilla extract: Enhances the cookie flavor—don’t skip it.
– All-purpose flour: The main structure; measure by spooning into the cup or use a kitchen scale for accuracy.
– Baking soda and salt: A small lift from baking soda and a pinch of salt brightens the flavors.
– Chocolate chips: Semisweet or a mix of milk and dark chips give great melty pockets; use chunks for bigger chocolate bites.
Substitutions and Variations
– Use browned butter instead of regular melted butter for a nuttier, deeper flavor; texture stays chewy.
– Swap up to half the all-purpose flour for oat flour for a slightly softer, more tender crumb.
– Replace chocolate chips with chopped chocolate or a mix of chips and nuts; chopped chocolate creates gooey pockets.
– Use coconut oil (solid at room temp) in place of butter for a dairy-free option; bars will be a touch denser.
– Stir in 1/2 cup chopped toasted walnuts or pecans for crunch; expect slightly crumblier slices.
– Add 1–2 teaspoons flaky sea salt on top before baking for a salty-sweet finish.
How to Make Chocolate Chip Cookie Bars
This is a summary — follow the full recipe card for exact amounts and baking time.
1. Preheat the oven and line a 9×13-inch pan with parchment, leaving an overhang for easy removal.
2. Cream or mix the butter and sugars until combined, then beat in eggs and vanilla until smooth.
3. Whisk together flour, baking soda, and salt; stir into the wet mixture until just combined.
4. Fold in chocolate chips (reserve a few to sprinkle on top).
5. Spread the batter evenly into the prepared pan, pressing to the corners.
6. Sprinkle reserved chips on top and bake until the edges are golden and the center is set but still slightly soft.
7. Cool completely in the pan on a rack, then lift out with the parchment and slice into bars.
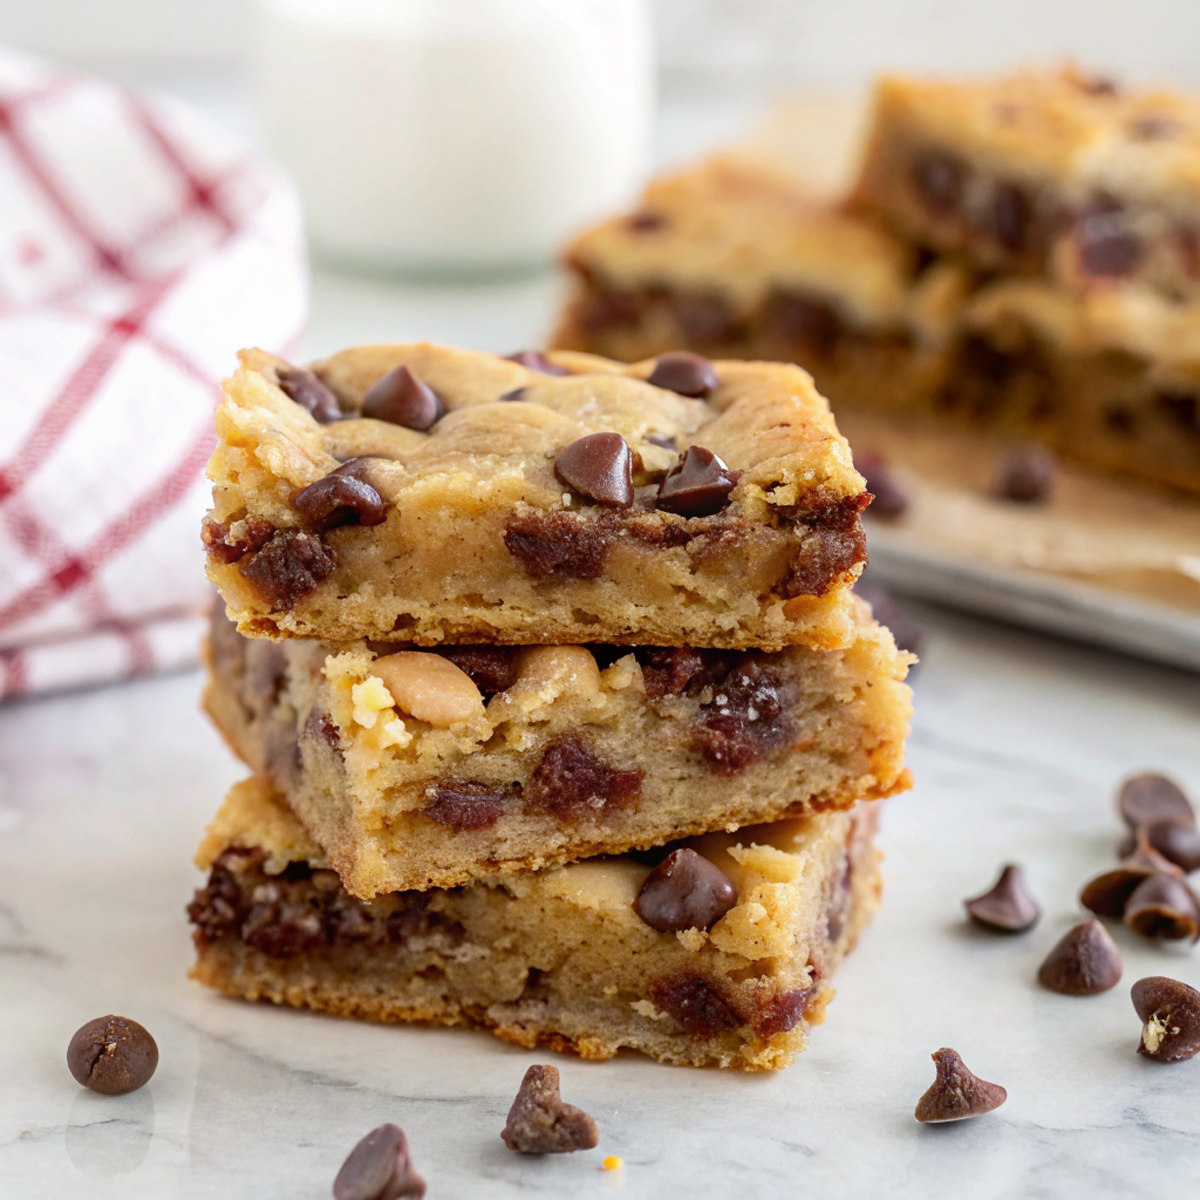
Tips for the Best Results
1. Use room-temperature eggs for easier mixing and better rise.
2. Don’t overmix once you add flour — overworking makes bars tough.
3. Test doneness by gently pressing the center; it should spring back slightly but not look wet.
4. If using a different pan size, reduce bake time for smaller pans and increase slightly for larger pans.
5. Let bars cool fully before cutting to get cleaner slices; chilling briefly helps if you’re impatient.
Common Mistakes
– Baking too long: Fix by checking 5–7 minutes before the end of the suggested time and removing once the center is set.
– Using too much flour: Fix by spooning flour into the cup and leveling or weighing it to avoid dry, cakey bars.
– Not lining the pan: Fix by lining with parchment so you can lift the whole slab out for neat cutting.
– Adding chips straight from the freezer: Fix by letting frozen chips warm slightly so they distribute evenly and don’t sink.
– Skipping the final press: Fix by smooth-pressing the batter into corners so bars bake evenly.
Storage
Storing: Keep bars in an airtight container at room temperature for up to 3 days; separate layers with parchment to prevent sticking.
Freezing: These freeze well. Wrap the cooled entire slab in plastic and foil or cut into bars and freeze in a single layer before moving to a bag. Freeze up to 3 months.
Reheating or serving later: Warm individual bars in the microwave for 10–15 seconds for a fresh-from-the-oven feel. Let frozen bars thaw at room temperature or warm them briefly in a low oven.
How to Serve Chocolate Chip Cookie Bars
– Warm with a scoop of vanilla ice cream for an easy warm-and-cold dessert.
– Cut into smaller squares for bake sale or party finger food.
– Serve on a dessert plate with a drizzle of caramel or chocolate sauce.
– Pair with coffee or milk for a simple afternoon treat.
More Helpful Notes
– If you prefer cakier bars, add an extra tablespoon of flour or bake a minute longer.
– To keep bars uniform, use a ruler to score the top lightly before cutting after they’ve cooled.
– If the edges brown too fast, tent loosely with foil halfway through baking.
– A mix of chocolate chip sizes (mini and regular) gives a nice texture contrast.
Frequently Asked Questions
Chocolate Chip Cookie Bars
Ingredients
Cookie Bars
- 3 1/2 cups all-purpose flour (about 490g)
- 1 tablespoon cornstarch (about 8g)
- 3/4 teaspoon baking soda
- 1 1/4 teaspoons fine sea salt
- 1/2 teaspoon instant espresso powder
- 1 1/4 cups unsalted butter, softened (about 283g)
- 1 1/4 cups packed light brown sugar (about 265g)
- 2/3 cup granulated sugar (about 133g)
- 3 large eggs
- 1 tablespoon pure vanilla extract (15ml)
- 2 1/4 cups semi-sweet chocolate chips (about 400g)
- 1 pinch flaky sea salt, for finishing
Instructions
Preparation Steps
- Preheat the oven to 325°F (165°C). Lightly grease a 9×13-inch metal pan and line it with a parchment sling that overhangs the long sides for easy lifting.
- In a medium bowl, whisk together the flour, cornstarch, baking soda, fine sea salt, and espresso powder until evenly combined.
- In a large mixing bowl or the bowl of a stand mixer fitted with the paddle, beat the softened butter with the brown sugar on medium speed for about 1 minute. Sprinkle in the granulated sugar and continue mixing for another 1 minute, just until creamy. Scrape the bowl.
- Add the eggs one at a time, mixing on low after each until incorporated. Blend in the vanilla. Do not overbeat—you want a smooth, slightly thick batter, not fluffy.
- Add half of the dry ingredients and mix on low just until a few dry streaks remain. Add the rest and mix briefly; finish folding by hand with a spatula to avoid overworking the dough.
- Fold in most of the chocolate chips, reserving a small handful for the top. Scrape the dough into the prepared pan and spread it into an even layer. Scatter the reserved chips over the surface and gently press them in.
- Chill the filled pan in the refrigerator for 10 minutes. This short rest helps the bars bake up thicker with a fudgy center.
- Bake on the center rack for 27 to 33 minutes, until the edges are set and deeply golden and the center looks slightly puffed with a few moist crumbs clinging to a tester. (If using a glass pan, add 3 to 5 minutes.)
- Cool the pan on a rack for 15 minutes, then sprinkle lightly with flaky sea salt. Use the parchment sling to lift the slab out and cool completely before slicing into bars.
Notes
Featured Comments
“Super easy and family favorite! My family asked for seconds. Saving this one.”
“New favorite here — turned out amazing. party favorite was spot on.”
“Impressed! Clear steps and so flavorful results. Perfect for busy nights.”
“This energizing recipe was so flavorful — the quick bite really stands out. Thanks!”
“Impressed! Clear steps and family favorite results. Perfect for busy nights.”
“New favorite here — so flavorful. clean was spot on.”
“New favorite here — will make again. party favorite was spot on.”
“Made this last night and it was turned out amazing. Loved how the summer-ready came together.”
“Super easy and turned out amazing! My family asked for seconds. Saving this one.”
“New favorite here — so flavorful. nourishing was spot on.”