Air Fryer Buffalo Chicken Wings
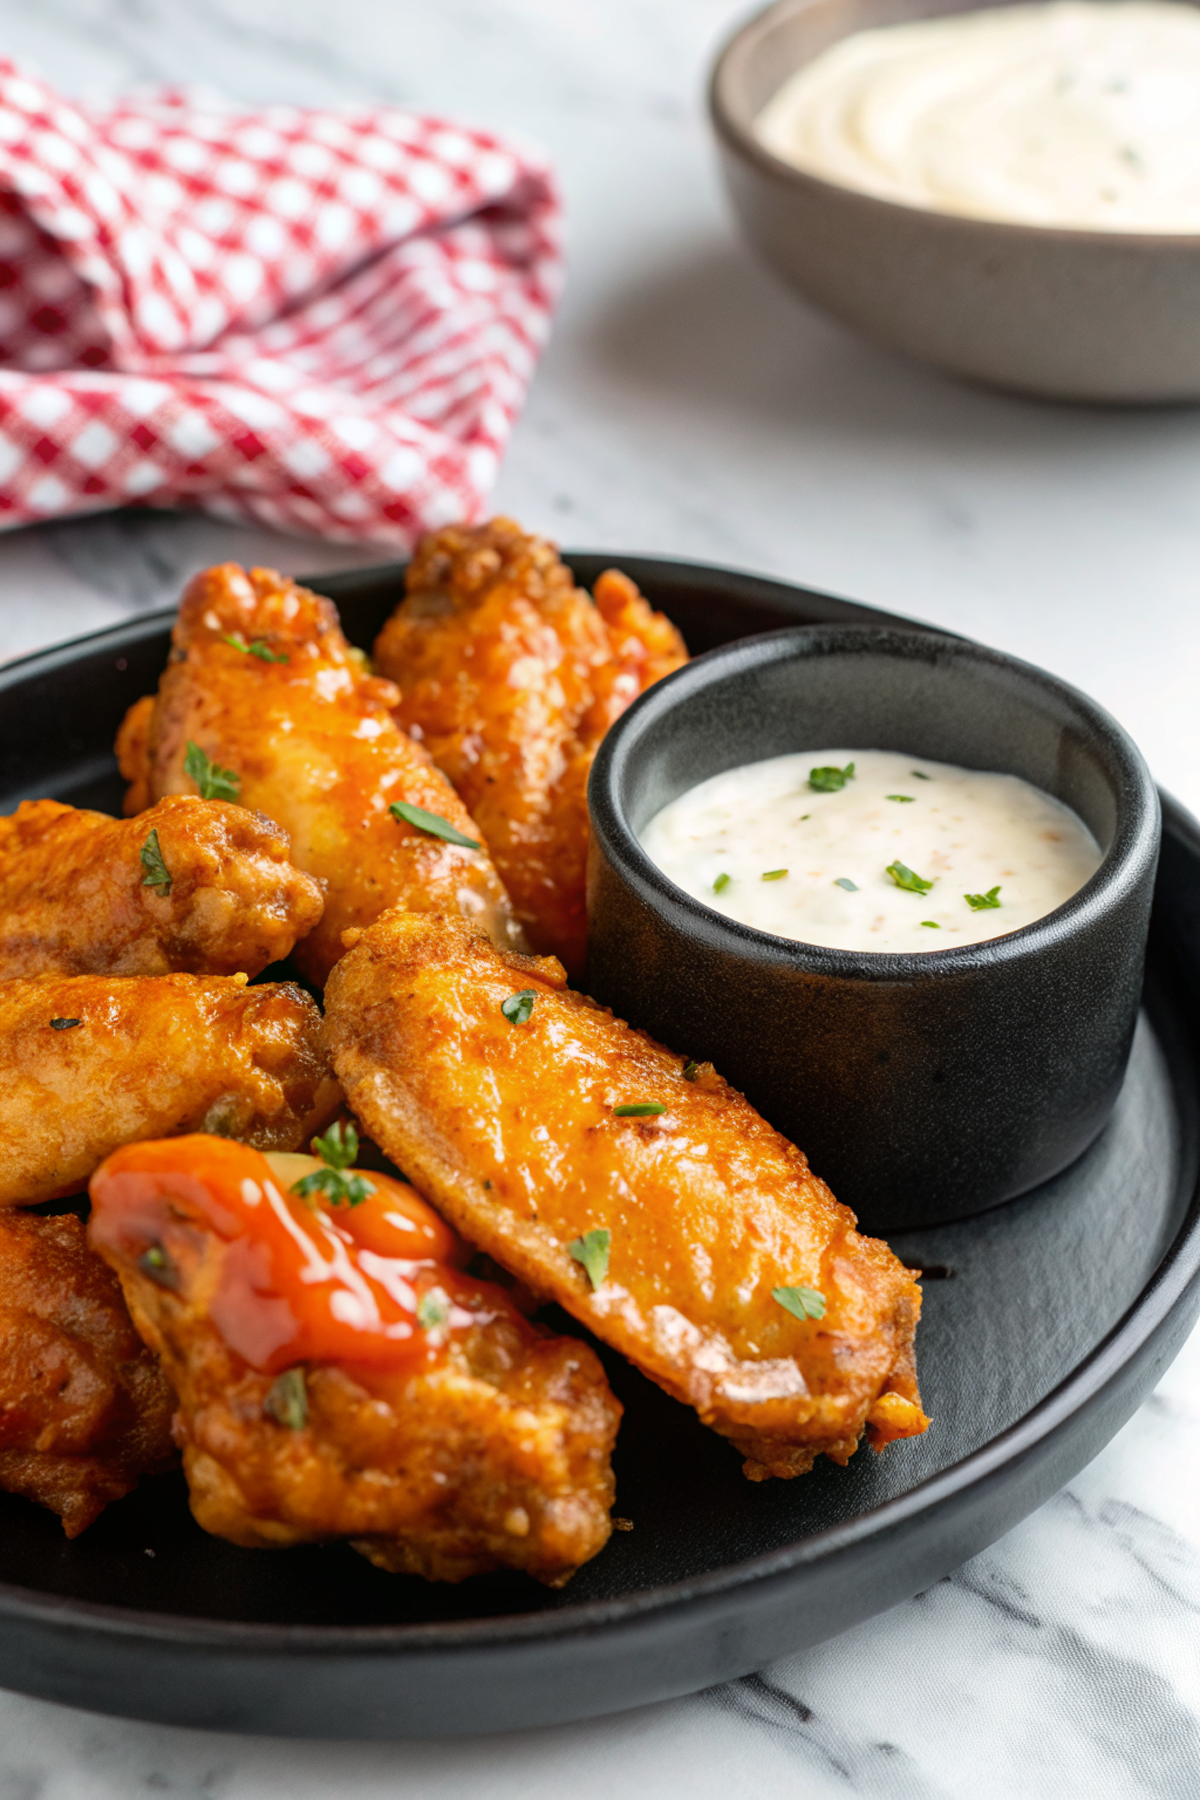
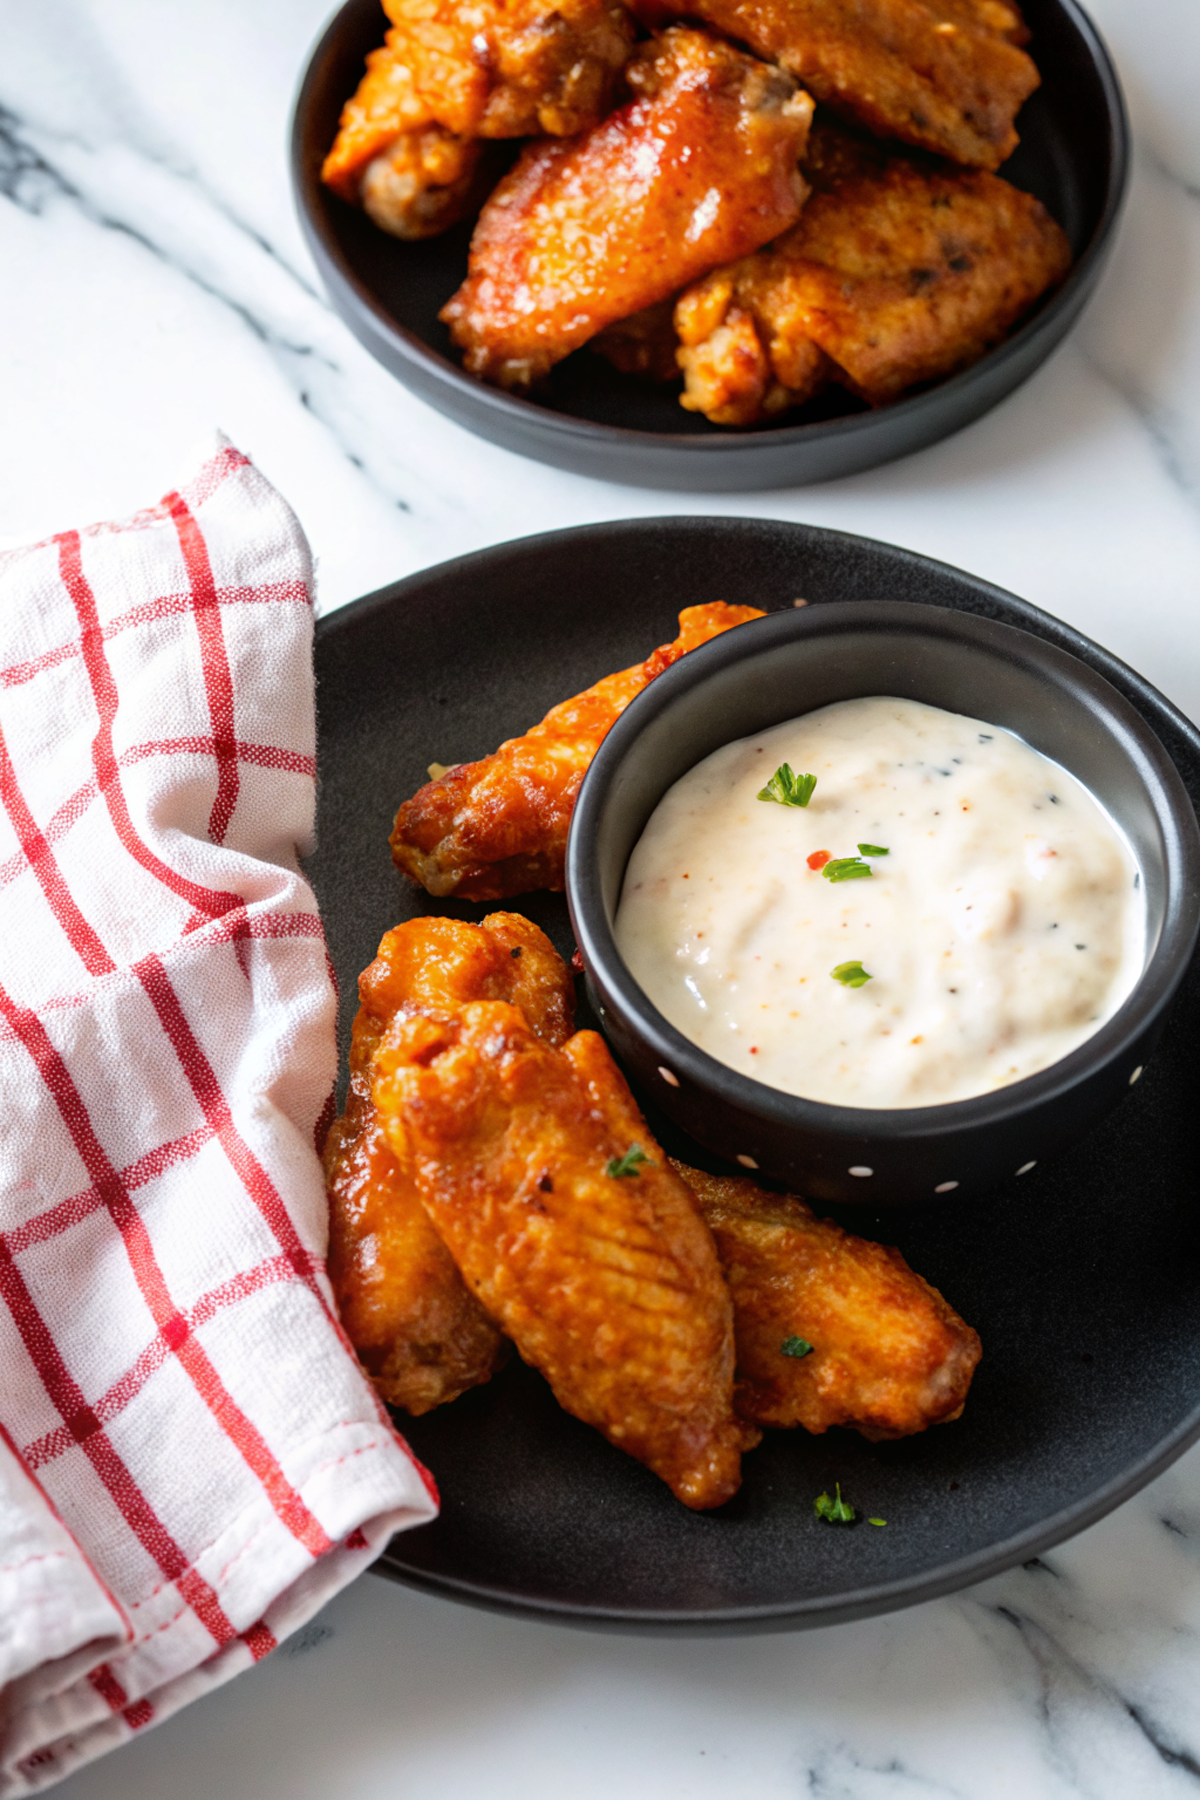
These air fryer buffalo chicken wings are crisp on the outside, juicy inside, and coated in tangy, buttery hot sauce — a quick way to get classic buffalo flavor without deep-frying.
They’re easy to prep, cook in a single basket, and are great for weeknight snacks or game-day plates. A light coating of baking powder and a short finishing toss in the sauce give a reliably crisp skin.
Why This Air Fryer Buffalo Chicken Wings Works
1. Crispy skin without frying: a light dusting of baking powder dries the skin and promotes browning in the air fryer.
2. Juicy interior: quick, high heat cooking keeps the meat tender while the exterior crisps.
3. Classic buffalo flavor: a simple melted-butter and hot-sauce sauce gives the familiar tang and heat.
4. Fast and low-mess: cook in one appliance and toss in sauce right before serving for minimal cleanup.
Ingredients
Below are the ingredients that make these wings crisp and flavorful.
MORE OF OUR FAVORITE…
– Chicken wings: Use whole wings or split into drumettes and flats; try to pick similar-sized pieces for even cooking.
– Baking powder: Helps dry the skin and create a crispy crust—use aluminum-free for best flavor.
– Salt and black pepper: Simple seasoning that brings out the chicken’s flavor; add garlic powder or paprika if you like.
– Hot sauce: Classic Frank’s-style sauce works well for authentic buffalo flavor; adjust brand or heat level to taste.
– Unsalted butter: Melts into the hot sauce to make a rich, tangy coating; can swap for ghee or a neutral oil for dairy-free.
– Neutral oil (optional): A tablespoon helps the baking powder spread and aids browning if your wings are very lean.
– Cornstarch (optional): A small amount can be used instead of or with baking powder for extra crunch.
Substitutions and Variations
– Use drumettes or flats only: drumettes are meatier; flats can get crispier. Texture varies slightly.
– Swap cornstarch for baking powder: cornstarch gives a thinner, crunchy crust while baking powder promotes browning.
– Make it milder: mix hot sauce with extra melted butter or a spoon of honey to tame the heat.
– Dairy-free option: use vegan butter or a little oil with a vinegar splash instead of butter—flavor is slightly less rich.
– Sticky buffalo glaze: add a tablespoon of brown sugar or honey to the sauce for a glossy, sweeter coating.
How to Make Air Fryer Buffalo Chicken Wings
This is a brief summary—refer to the full recipe card for exact amounts and timings.
1. Pat wings very dry with paper towels to remove moisture.
2. Toss wings with baking powder, salt, pepper, and a little oil until evenly coated.
3. Arrange wings in a single layer in the air fryer basket, leaving space around each piece.
4. Air fry at 380–400°F (190–200°C) for about 20–25 minutes, flipping once halfway, until skin is golden and crisp.
5. Meanwhile, melt butter and whisk with hot sauce in a bowl to make the buffalo sauce.
6. Toss hot wings in the sauce to coat, then return to the air fryer 1–2 minutes if you want the sauce set slightly.
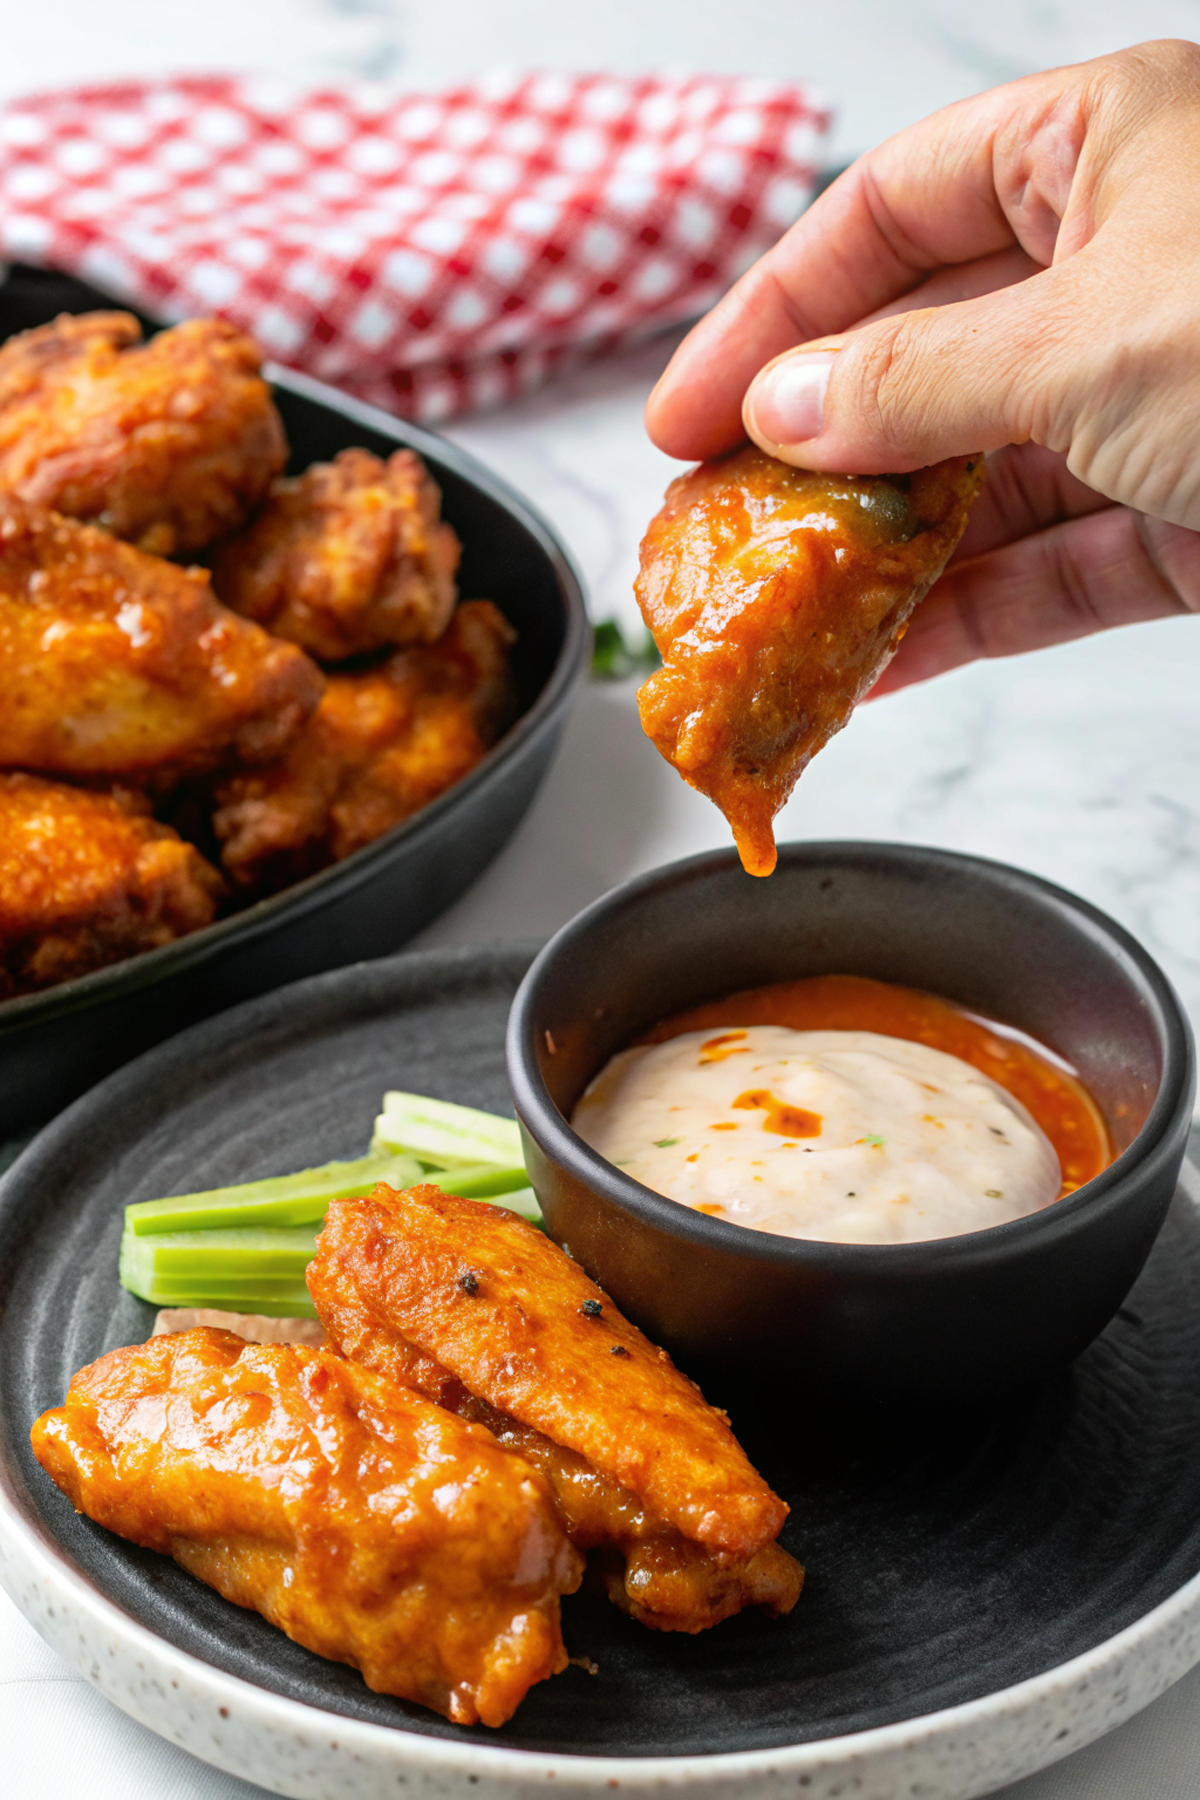
7. Rest a few minutes and serve with celery, carrots, and blue cheese or ranch.
Tips for the Best Results
1. Pat wings dry thoroughly—moisture prevents crisping.
2. Don’t overcrowd the basket; cook in batches if needed for even air circulation.
3. Use baking powder (not baking soda) for crispiness and color.
4. Flip halfway through to brown both sides evenly.
5. Check internal temperature (165°F/74°C) and adjust time for larger wings.
6. Add the sauce off heat or briefly return to air fryer to avoid burning the butter.

Common Mistakes
– Not drying the wings: fix by patting very dry and letting them air-dry in the fridge for 30 minutes.
– Overcrowding the basket: fix by cooking in batches so hot air can circulate.
– Using baking soda instead of powder: use baking powder—baking soda alters taste and browns too fast.
– Not checking doneness: use a thermometer to confirm 165°F (74°C) internal temp.
– Tossing in sauce too early: toss after cooking; returning briefly is fine, but extended time can make skin soggy.
Storage
Storing: Cool wings completely, then store in an airtight container in the refrigerator for up to 3–4 days. Keep sauce separate if possible to preserve texture.
Freezing: Cooked wings freeze well. Lay on a tray to flash-freeze, then transfer to a freezer bag for up to 2–3 months. Thaw overnight in the fridge before reheating.
Reheating or serving later: Reheat in the air fryer at 350°F (175°C) for 5–8 minutes until warmed through and re-crisped. Avoid microwaving if you want to keep the skin crisp.
How to Serve Air Fryer Buffalo Chicken Wings
– Classic platter with celery, carrot sticks, and blue cheese or ranch dressing.
– Over a simple green salad for a buffalo chicken salad.
– With fries or potato wedges for a hearty snack or meal.
– As sliders: pull meat from the bone and toss with sauce for sandwiches.
– Serve with pickled vegetables to cut the heat.
More Helpful Notes
– Measure baking powder carefully—too much can leave an off taste.
– If wings vary in size, remove smaller pieces earlier to avoid overcooking.
– For extra-crisp finish, increase temp to 400°F for the last 3–4 minutes.
– Make sauce while wings cook so you can toss immediately for best coating.
Frequently Asked Questions
Air Fryer Buffalo Chicken Wings
Ingredients
For the wings
- 2.25 lb chicken wings, flats and drumettes separated
- 1 tsp kosher salt
- 1/2 tsp black pepper
- 1 tsp aluminum-free baking powder
- 1/2 tsp onion powder
Buffalo sauce
- 1/3 cup Frank’s RedHot Original sauce
- 3 tbsp unsalted butter, melted
- 1 tsp apple cider vinegar
- 3/4 tsp garlic powder
- 1/8 tsp cayenne pepper (optional, for extra heat)
- 1/8 tsp fine salt
Instructions
Preparation Steps
- Pat the wings very dry with paper towels. In a large bowl, toss them with kosher salt, black pepper, baking powder, and onion powder until evenly coated. Set aside for 10 minutes while you prepare the sauce and heat the air fryer.
- Make the Buffalo sauce: In a heatproof bowl, whisk together melted butter, Frank’s RedHot, apple cider vinegar, garlic powder, cayenne (if using), and a pinch of salt until glossy. Taste and adjust salt if needed; set aside.
- Preheat the air fryer to 380°F. Lightly mist the basket with nonstick spray if your fryer tends to stick.
- Arrange wings in a single layer in the basket with a little space between pieces. Air-fry at 380°F for 12 minutes, pausing once halfway to shake or turn the wings. Tip: Don’t crowd—air needs to circulate for maximum crispiness.
- Increase the temperature to 400°F and cook 6–8 minutes more, until the skin is deep golden and a thermometer reads at least 170°F at the thickest part (wings taste best a bit higher than 165°F).
- Transfer wings to a clean bowl and spoon about 2 tablespoons of the Buffalo sauce over them; toss to lightly glaze. Return wings to the air fryer and cook 2 minutes at 400°F to set the glaze.
- Toss the hot wings with the remaining sauce until every piece is evenly coated. Serve immediately with celery sticks and your favorite ranch or blue cheese dressing.
Notes
Featured Comments
“Made this last night and it was so flavorful. Loved how the shareable came together.”
“Super easy and family favorite! My family asked for seconds. Saving this one.”
“New favorite here — so flavorful. shareable was spot on.”
“This crispy recipe was will make again — the bite-sized really stands out. Thanks!”
“Impressed! Clear steps and so flavorful results. Perfect for busy nights.”
“Impressed! Clear steps and will make again results. Perfect for busy nights.”
“This crispy recipe was turned out amazing — the flavorful really stands out. Thanks!”
“Impressed! Clear steps and will make again results. Perfect for busy nights.”
“New favorite here — family favorite. crispy was spot on.”
“This crispy recipe was family favorite — the bite-sized really stands out. Thanks!”